
Finding the perfect trekking tent can feel overwhelming with so many options available. The right tent balances your needs for shelter, comfort, and portability while withstanding the elements. This guide breaks down the essential features to consider when selecting your next trekking companion, helping you make an informed decision based on your specific outdoor adventures.
1. Weight and Packability: Finding the Right Balance for Your Journey
When embarking on multi-day treks, every ounce matters. The weight of your tent becomes increasingly noticeable with each mile, making this consideration crucial for enjoyable hiking experiences.
Understanding tent weight specifications helps in making informed decisions:
- Minimum Trail Weight: Typically includes just the tent body, rainfly, and poles—the bare essentials for setup.
- Packaged Weight: Includes everything (stakes, guy lines, stuff sacks, repair kit, etc.)—what you’ll actually carry.
- Packed Size: How compact the tent becomes when stored in your backpack.
Most trekking tents fall into these weight categories:
– Ultralight: 1-2 lbs (0.45-0.9 kg)
– Lightweight: 2-4 lbs (0.9-1.8 kg)
– Standard: 4-7 lbs (1.8-3.2 kg)
The weight of your tent directly impacts your hiking experience, especially on longer treks where optimal tent weight for hiking becomes increasingly important. For example, carrying an extra pound over a 20-mile trek effectively means carrying that pound for 20 miles—a significant energy expenditure that could be avoided.
When selecting a tent, consider how the weight will be distributed among hiking partners. Some lightweight tents for long treks feature modular designs allowing components to be shared between backpacks, making the load more manageable for everyone.
Remember that lighter tents often compromise on durability, space, or features. The key is finding the right balance for your specific journey needs.
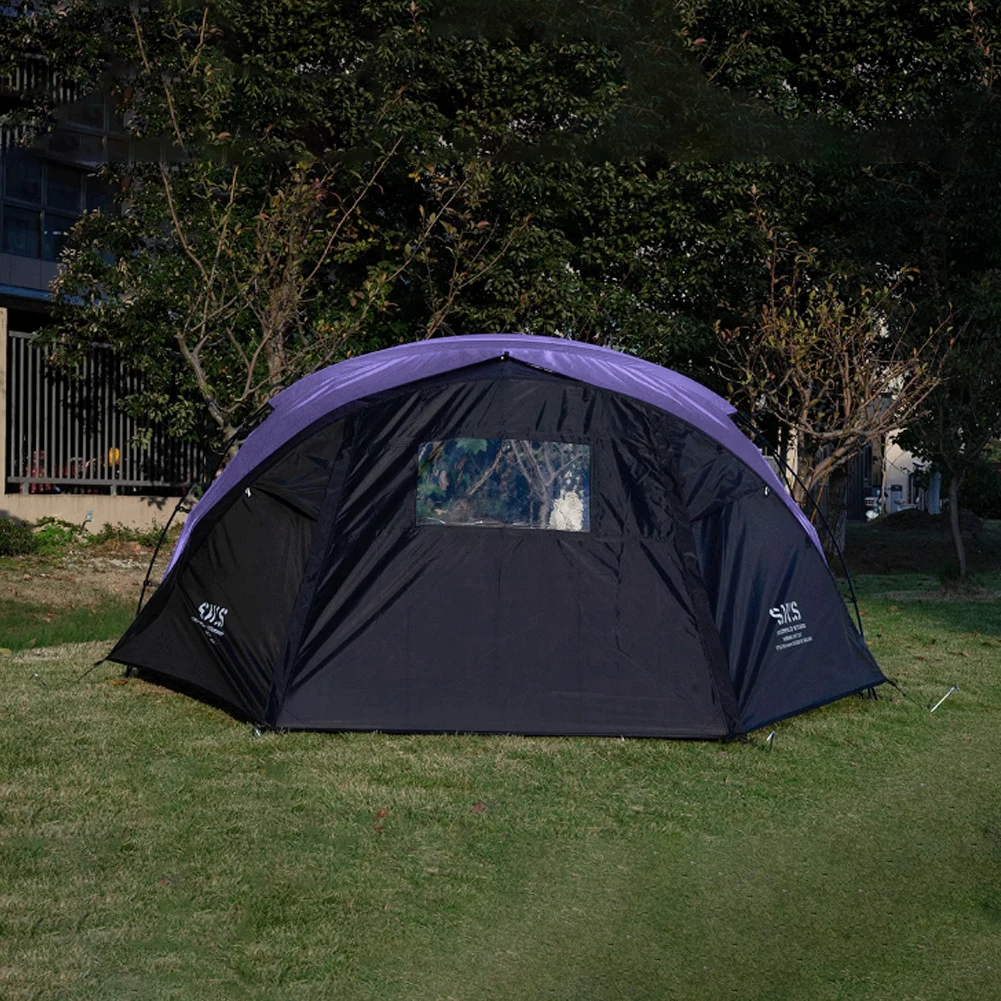
2. Weather Resistance: Protection Against the Elements
Your tent serves as your primary shelter against unpredictable elements, making weather resistance a non-negotiable feature for any trekking tent.
Waterproofing Ratings
Waterproofing is measured in millimeters of hydrostatic head (mm HH), indicating how much water pressure a fabric can withstand before leaking:
- 1500mm: Minimum for light rain protection
- 2000-3000mm: Standard for most 3-season tents
- 3000-5000mm: Heavy-duty waterproofing for serious weather conditions
Most waterproof backpacking tent options will have different ratings for the floor (typically higher) and rainfly (can be lower).
| Tent Component | Minimum Recommended Rating | Optimal Rating for Harsh Conditions |
|---|---|---|
| Rainfly | 1500mm | 3000mm+ |
| Floor | 2000mm | 5000mm+ |
| Footprint | 1500mm | 3000mm+ |
Seam Sealing
Water commonly enters through needle holes where the tent fabric is stitched. High-quality tents address this with:
– Factory-taped seams
– Full seam sealing
– Inverted seams that place stitching inside the tent
Wind Resistance
Weather resistance design features also include wind management through:
– Strategic pole configuration that distributes force
– Adequate guy-out points (6-8 minimum for stability)
– Low-profile designs that deflect rather than catch wind
Rainfly Coverage
Full-coverage rainflies extend nearly to the ground, providing maximum protection against windblown rain. Partial coverage designs prioritize ventilation and weight savings but offer less protection in severe storms.
Remember that effective weather resistance works as an integrated system—the best waterproofing is ineffective without proper setup and seam sealing.
3. Seasonality and Climate Adaptability
Tents are typically categorized by their seasonal ratings, which indicate the conditions they’re designed to handle.
3-Season vs. 4-Season Tents
3-Season Tents (Spring, Summer, Fall)
– Feature more mesh for ventilation
– Lighter pole structures
– Focus on rain protection and moderate wind resistance
– Typically weigh less and pack smaller
– Ideal for temperatures above freezing
4-Season Tents (All Seasons Including Winter)
– Sturdier pole structure to withstand snow loads
– Less mesh, more solid fabric for heat retention
– Steeper walls to shed snow
– Stronger materials throughout
– Usually heavier but more durable
For those planning expeditions in extreme conditions, winter hiking shelters contain specialized features like reinforced pole intersections and snow skirts to prevent drafts.
Most backpackers who occasionally trek in winter might consider 4-season winter tents that offer more versatility across varying conditions.
Adaptability Features
Look for tents with:
– Removable rainfly for stargazing on clear nights
– Adjustable vents that can be closed in cold/opened in heat
– Multiple door configurations for different weather situations
– Convertible mesh panels that can be covered in poor weather
The best tents allow adaptation to changing conditions without requiring a complete equipment change.
4. Durability and Materials: Ensuring Longevity in the Wilderness
The materials used in your tent directly impact its durability, weight, and cost. Understanding these components helps you make informed decisions based on your specific needs.
Fabric Materials
Nylon
– Lighter and more elastic than polyester
– Typically less expensive
– May absorb water and sag when wet
– Common in lightweight designs
Polyester
– More UV resistant than nylon
– Maintains tension when wet
– Often found in entry-level to mid-range tents
– Less elastic but generally more durable
DCF/Dyneema (formerly Cuben Fiber)
– Extremely lightweight
– Waterproof without coating
– Very expensive
– Excellent strength-to-weight ratio
– Common in premium ultralight tents
The denier rating (indicated by “D” like 20D or 70D) shows fabric thickness—higher numbers mean thicker, more durable, but heavier fabric. Understanding lightweight trekking shelter materials can help you select appropriate durability for your usage patterns.
Pole Materials
Aluminum
– Most common in quality trekking tents
– DAC aluminum poles are industry standard for high-end tents
– Balanced weight-to-strength ratio
– Can be repaired in the field
Carbon Fiber
– Ultralight but expensive
– More brittle than aluminum
– Difficult to repair if broken
– Premium option for weight-conscious trekkers
Fiberglass
– Found in budget tents
– Heavier and less durable
– Not recommended for serious trekking
Floor Materials
The tent floor typically uses higher denier fabric (often 30-70D) with more robust waterproofing. Look for reinforced corners and bathtub-style construction that brings floor material up the sides to prevent water entry.
5. Interior Space and Livability: Comfort Beyond the Numbers
While specifications list floor dimensions and peak height, livability depends on how effectively that space is designed and distributed.
Understanding Floor Space
Most 2-person backpacking tents provide between 28-35 square feet of floor space. However, two standard sleeping pads (typically 20”x72” each) occupy about 20 square feet, leaving limited room for gear inside the tent.
For comfortable accommodations:
– Solo trekker: 15-20 square feet minimum
– Two people: 30+ square feet
– Each additional person: Add 15+ square feet
Peak Height and Usable Space
A tent’s peak height only tells part of the story. Consider:
– Wall steepness (more vertical walls create more usable space)
– Location of the peak height (centered vs. offset)
– Overall volume rather than just floor dimensions
For example, a 40” peak height with steeply angled walls provides more functional space than a 42” height with sharply sloping walls.
Comfort Features
Look for:
– Interior pockets for organizing small items
– Gear lofts or hooks for hanging lights
– Doors positioned for easy entry/exit
– Symmetrical designs if sharing with a partner
Remember that tent capacity ratings are usually based on tight quarters—a “2-person” tent might be comfortable for one person plus gear but snug for two adults with backpacking equipment.
6. Tent Design and Structure: Form Follows Function
The structural design of your tent affects its stability, weight, ease of setup, and livability. Understanding these differences helps match a tent to your specific needs.
Freestanding vs. Non-Freestanding
Freestanding Tents:
– Can be set up without stakes on most surfaces
– Easier to reposition after initial setup
– Generally simpler to pitch for beginners
– Freestanding backpacking tents offer versatility across various terrains
Non-Freestanding Tents:
– Rely on stakes and sometimes trekking poles for structure
– Typically lighter as they use fewer poles
– Require suitable ground for staking
– More challenging to set up on rock or hard-packed surfaces
The debate between freestanding vs. staked hiking shelters continues among experienced backpackers, with each design offering distinct advantages in specific situations.
Common Structural Designs
Dome Tents
– Excellent balance of strength, weight, and interior space
– Two poles crossing at the center create the basic structure
– Good wind stability from multiple directions
– Most common design for freestanding tents
Tunnel Tents
– Parallel hoops create a tunnel shape
– Excellent space-to-weight ratio
– Must be properly oriented to wind direction
– Non-freestanding design requiring stakes
Geodesic Tents
– Multiple pole intersections create triangulated structure
– Superior strength for extreme conditions
– Heavier than simpler designs
– Preferred for mountaineering and winter expeditions
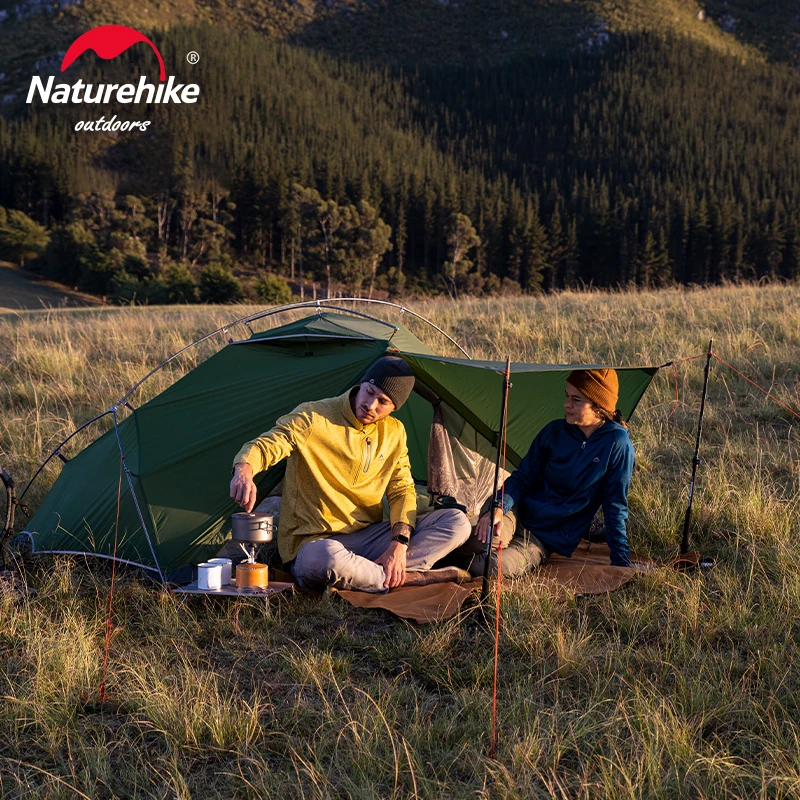
A-Frame/Ridge Tents
– Classic design using minimal poles
– Often utilizes trekking poles for support
– Lightweight but less interior volume
– Limited headroom except at center
7. Ventilation Systems: Managing Condensation and Comfort
Proper ventilation prevents condensation—a common issue where water vapor from your breath and body condenses on tent surfaces, potentially soaking your gear.
Understanding Condensation
When warm, moist air (from breathing and perspiration) contacts the cool tent walls, it condenses into water droplets. This process accelerates when:
– There’s a significant temperature difference between inside and outside
– Humidity is high
– Ventilation is poor
Effective Ventilation Features
- Mesh Panels: Allow air circulation while keeping insects out
- Adjustable Vents: Can be opened/closed depending on conditions
- Dual Doors: Create cross-ventilation when both are partially open
- Rainfly Design: Adequate space between fly and tent body promotes airflow
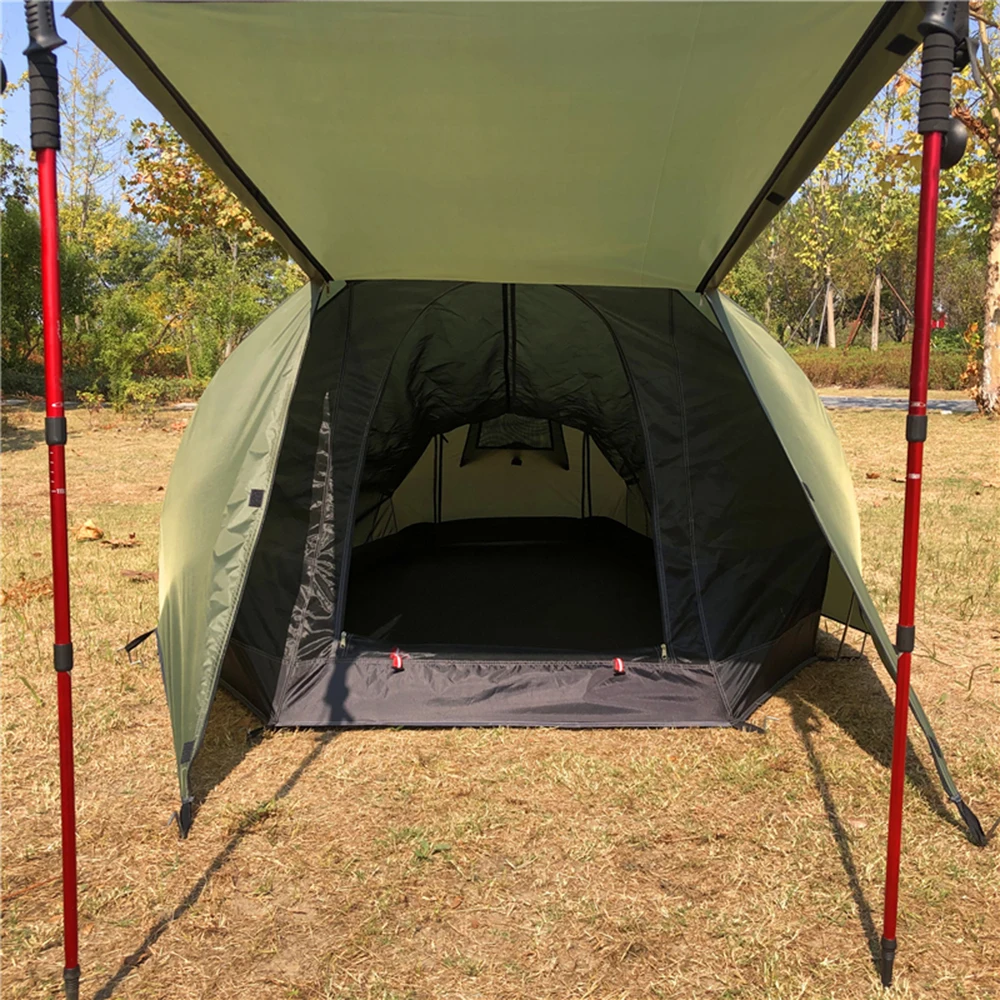
Double-Wall vs. Single-Wall Construction
Double-Wall Tents:
– Separate inner tent (usually mesh) and rainfly
– Better ventilation as moisture can escape through mesh
– Versatile—inner tent can be used alone in dry, bug-free conditions
– More effective at managing condensation
Single-Wall Tents:
– Combine weather protection and tent body in one layer
– Lighter and simpler
– More prone to condensation
– Require strategic venting and careful site selection
– Best for dry climates or winter use
For any tent design, proper site selection (avoiding low, damp areas) and appropriate setup (ensuring adequate tension and spacing) significantly improve ventilation performance.
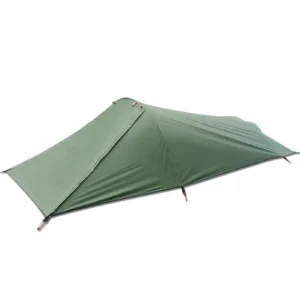

Lightweight Backpacking Tent, Ultralight Backpacking Tent, Ultralight Bivy Tent
Ultralight Single Person Camping Tent with Aluminum Poles for 3-Season Backpacking Waterproof DesignPrice range: $94.88 through $326.82 Select options This product has multiple variants. The options may be chosen on the product page
Lightweight Backpacking Tent, Ultralight Backpacking Tent, Waterproof Backpacking Tent
$391.05 Select options This product has multiple variants. The options may be chosen on the product page
Heavy Duty 4 Season Tent, Mountaineering Tent, Winter Camping Tent
$870.40 Select options This product has multiple variants. The options may be chosen on the product page
Compact Backpacking Tent, Lightweight Backpacking Tent, Waterproof Camping Tent
$335.52 Select options This product has multiple variants. The options may be chosen on the product page
Ultralight Backpacking Tent, Ultralight Dome Tent, Winter Camping Tent
Price range: $369.63 through $370.07 Select options This product has multiple variants. The options may be chosen on the product page
Heavy Duty 4 Season Tent, Ultralight Freestanding Tent, Winter Camping Tent
$3,722.66 Select options This product has multiple variants. The options may be chosen on the product page
8. Setup and Ease of Use: Practical Considerations in the Field
When you’re exhausted from a day of trekking or racing to beat an approaching storm, an intuitive tent setup becomes invaluable.
Pole Attachment Systems
Sleeve Systems:
– Poles slide through fabric sleeves
– Provides stable structure
– Can be challenging when wet or with cold hands
– Takes longer but creates solid connections
Clip Systems:
– Plastic clips attach tent body to poles
– Quick and easy to set up
– Promotes better airflow between rainfly and tent
– Lighter but potentially less stable in high winds
Many modern tents use hybrid approaches, with sleeves at stress points and clips elsewhere.
User-Friendly Design Elements
Look for:
– Color-coded poles and connection points
– Intuitive rainfly orientation indicators
– Pre-attached components that reduce setup steps
– Unified pole structure (rather than multiple separate poles)
Understanding how to set up trekking pole tents is especially important for non-freestanding designs, as proper tension and staking are crucial for structural integrity.
Practical Setup Considerations
- Setup in Adverse Conditions: Can the tent be pitched quickly in rain without soaking the interior?
- Single-Person Setup: Is it manageable alone, or does it require multiple hands?
- Intuitive Design: Can setup be completed in low light or without instructions?
- Takedown Efficiency: Does the tent pack away quickly and compactly?
Practice setting up your tent before heading into the wilderness—what seems simple in your backyard might be challenging on a windy mountaintop or in heavy rain.
9. Doors, Vestibules, and Storage: Managing Gear and Access
Access points and storage spaces significantly impact daily livability in your tent, especially during extended treks or poor weather.
Door Configurations
Single-Door Designs:
– Lighter weight
– Lower cost
– Force one person to climb over another in 2-person models
– Best for solo trekkers
Double-Door Designs:
– Provide individual access for each occupant
– Offer better ventilation options
– Create two vestibule spaces for gear
– Ideal for shared accommodations but add weight
Vestibule Considerations
Vestibules create covered outdoor space for gear storage, cooking in poor weather (with proper ventilation), and wet boots or clothing. Tent vestibules serve multiple practical functions:
- Protection for gear that shouldn’t be inside the tent (dirty/wet items)
- Expanded living space during extended weather events
- Transition zone that keeps the tent interior cleaner
Many backpacking tents with vestibules offer significant advantages for multi-day treks. Vestibule size is typically measured in square feet:
– Small: 4-6 square feet (boots and small pack)
– Medium: 7-10 square feet (larger pack plus boots)
– Large: 11+ square feet (multiple packs or cooking space)
Interior Storage
Well-designed tents incorporate:
– Mesh pockets at head/foot ends for small items
– Overhead gear lofts for clothing or electronics
– Gear loops for hanging lanterns or clotheslines
– Strategic placement of storage features for convenient access

10. Value Assessment: Price vs. Performance Considerations
Trekking tents represent a significant investment, with prices ranging from under $100 to over $700. Understanding the correlation between price and performance helps ensure your investment matches your needs.
Price Tier Expectations
Budget ($100-200):
– Heavier materials
– Less refined designs
– Adequate for occasional use in mild conditions
– Often less durable long-term
Mid-Range ($200-350):
– Good balance of weight, durability, and features
– Suitable for regular 3-season use
– Reasonable weather resistance
– Most recreational trekkers find this tier sufficient
Premium ($350-500+):
– Lightweight, high-performance materials
– Superior weather protection
– Enhanced durability-to-weight ratio
– Specialized features for specific conditions
Features Worth Paying More For
- Significant weight reduction (if you trek frequently)
- Enhanced weather protection (for challenging environments)
- Superior ventilation (for humid conditions)
- Additional doors/vestibules (for shared accommodations)
- Specialized seasonal performance (for winter camping)
Long-Term Value Considerations
Calculate cost-per-use rather than focusing solely on purchase price. A $400 tent used 40 times costs $10 per night—potentially less than lower-quality options that require replacement after fewer uses.
Also consider warranty coverage, the availability of replacement parts, and repair options when assessing long-term value.
11. How to Choose the Right Tent for Your Specific Trekking Needs?
With so many variables, creating a personalized decision framework helps prioritize features based on your specific requirements.
Start by honestly answering these questions:
What environments will you primarily camp in?
– Desert (prioritize ventilation, sun protection)
– Mountains (focus on wind resistance, durability)
– Forest (consider space, protection from falling debris)
– Mixed environments (seek versatility in design)What seasons will you camp in?
– Summer only (lightweight, ventilation)
– 3-season (balance of features)
– 4-season including winter (durability, snow-shedding design)What’s your typical trip length?
– Overnight (comfort can outweigh weight)
– Weekend (balanced approach)
– Extended treks (weight becomes crucial)Who will use the tent?
– Solo (consider smaller footprint)
– With partner (double doors become valuable)
– Group (modular options, weight distribution)
The comprehensive guide on tent selection provides detailed frameworks for different scenarios, but remember to prioritize the features that matter most for your specific adventures rather than chasing specifications that won’t benefit your particular needs.
12. Are Ultralight Tents Worth the Premium Price?
The ultralight movement has pushed tent weights below 2 pounds, but these weight savings come with significant price increases and potential compromises.
Defining “Ultralight”
In today’s market, tents considered ultralight typically weigh:
– 1-2 lbs (0.45-0.9 kg) for 1-person models
– 2-3 lbs (0.9-1.4 kg) for 2-person models
These ultralight trekking pole tents often rely on hiking poles for structure rather than carrying dedicated tent poles.
The Ultralight Trade-Off
Advantages:
– Significantly reduced pack weight and volume
– Less fatigue on long-distance treks
– Often faster setup with simpler designs
– Enable longer daily mileage with less effort
Disadvantages:
– Premium prices (often 30-100% more expensive)
– Generally less durable materials
– Reduced interior space and comfort
– May require more careful site selection and setup
Understanding what constitutes a good weight for ultralight tents helps establish reasonable expectations when comparing models.
Who Benefits Most?
Ultralight tents deliver maximum value for:
– Thru-hikers covering hundreds of miles
– Trekkers with physical limitations where weight matters
– Those who regularly backpack long distances
– Minimalist adventurers prioritizing efficiency
Occasional backpackers might find better value in slightly heavier but more durable and less expensive options.
13. What Maintenance Extends the Life of a Trekking Tent?
Proper maintenance significantly extends a tent’s lifespan, protecting your investment and ensuring reliable performance when you need it most.
Essential Cleaning Practices
- After Each Trip: Shake out dirt and debris
- At Home: Hand wash with non-detergent soap when visibly dirty
- Stubborn Stains: Spot clean with diluted non-detergent soap
- Never: Machine wash or dry clean
- Drying: Always completely dry before storage to prevent mold and mildew
Storage Best Practices
- Store loosely in a breathable bag—not tightly compressed
- Keep in cool, dry location away from direct sunlight
- Avoid storing in damp basements or hot attics
- Consider using a larger storage sack than the one provided
Extending Waterproofing
Most tent waterproofing diminishes over time and can be refreshed:
– Apply appropriate seam sealer to worn seams
– Use tent-specific waterproofing spray for fabric
– Focus on high-wear areas like the floor and rainfly
Field Repair Essentials
Pack a basic repair kit including:
– Seam sealer
– Adhesive repair patches
– Spare guy line
– Multi-tool with pliers (for bent poles)
With proper care and maintenance, a quality trekking tent can provide reliable shelter for many seasons of adventure, making it one of your most valuable outdoor investments.
At Explore Elements, we understand that selecting the right tent is a crucial decision for any outdoor enthusiast. Our curated collection focuses on quality shelters that deliver reliable performance in the environments where you need them most.