
Introduction: Why Your Tent Choice Makes or Breaks Your Trek
When you’re miles from civilization with everything you need strapped to your back, the tent you’ve chosen becomes your home, your shelter, and sometimes your lifeline. Multi-day trekking involves consecutive days on the trail carrying all your supplies, making your tent selection one of the most critical decisions for your adventure’s success.
Choosing the wrong tent can quickly derail your experience:
– A tent too heavy will exhaust you before you reach your daily destinations
– A shelter with inadequate weather protection could leave you cold, wet, and at risk
– Poor durability might mean a catastrophic failure when you’re furthest from help
– Insufficient space can make rest impossible after long days on the trail
Finding the perfect balance between weight, weather protection, and livability becomes essential when you’re carrying your home on your back for days or even weeks. This balance varies based on your unique trek conditions, personal preferences, and the specific challenges you’ll face.
At Explore Elements, we’ve tested our gear in conditions ranging from desert heat to alpine snowstorms. We’ve seen firsthand how the right tent has protected trekkers through unexpected storms at 11,000 feet, while inferior options led to emergency evacuations from the same conditions.
Throughout this guide, we’ll walk you through everything you need to know about lightweight tents for long treks so you can make an informed choice that enhances your adventure rather than hindering it.
Understanding Your Multi-Day Trekking Requirements
Before comparing tent features, you need to understand your specific needs based on your trekking plans:
Environmental Assessment:
– Where will you be trekking? Desert, forest, mountains, coastal areas?
– What extreme weather conditions might you encounter?
– What’s the typical temperature range and precipitation likelihood?
Trip Duration Factors:
– 2-3 day trips allow for slightly heavier, more comfortable options
– 7+ day expeditions typically require lighter gear, even at some comfort cost
– Extended trips need more durability to withstand prolonged use
Group Considerations:
– Solo trekkers benefit from small, lightweight 1-person designs
– Partners can distribute tent components to share weight
– Group size affects space requirements and potentially the number of tents needed
Seasonal Variables:
– Summer treks prioritize ventilation and bug protection
– Shoulder season trips (spring/fall) require better rain and wind resistance
– Winter adventures demand specialized cold-weather construction
Your personal comfort threshold matters too. Some trekkers willingly sacrifice comfort for less weight, while others need more space to rest properly. The key is understanding what makes lightweight tent trekking effective for your specific needs.
Critical Tent Features for Extended Backcountry Travel
When embarking on multi-day treks, certain tent characteristics become substantially more important than they would be for casual weekend camping. The stakes are simply higher when you’re relying on your shelter for multiple consecutive nights in potentially changing conditions.
Four core features deserve your closest attention when selecting a tent for extended backcountry travel:
- Weather Protection: Your primary defense against the elements
- Weight & Packability: Critical for sustainable daily carrying
- Livable Space: Essential for rest and gear organization
- Durability: Necessity for continuous use without failures
These elements create what we call the backpacker’s triangle of compromise—improving one often means sacrificing another. Understanding the specific essential features of trekking tents will help you make smart trade-offs based on your priorities.
Weather Protection: Your First Line of Defense
When you’re days from safety, your tent’s ability to keep you dry and protected becomes a safety issue, not just a comfort one. Weather protection starts with understanding waterproof ratings and construction.
Waterproof Ratings (Hydrostatic Head):
– 1000-1500mm: Minimal protection, only for fair weather
– 2000-3000mm: Standard protection, handles moderate rainfall
– 3000-5000mm: Enhanced protection for heavy, sustained precipitation
– 5000mm+: Expedition-grade protection for extreme conditions
Floors typically have higher ratings than rain flies because of ground pressure and runoff. A 3000mm fly paired with a 5000-8000mm floor provides balanced protection for most multi-day treks.
Beyond waterproofing, consider:
– Seam construction: Fully-taped seams prevent water penetration at the most vulnerable points
– Rain fly coverage: Full-coverage flies that extend to the ground offer superior protection
– Guy-out points: Multiple attachment points improve stability in high winds
– Vestibule design: Properly designed vestibules keep gear dry while allowing ventilation
For comprehensive protection during extended adventures, understanding weatherproof gear for backpacking becomes essential knowledge that could save your trip.
Weight & Packability: Balancing Your Load
Every ounce matters when you’re carrying your home for multiple days. Understanding tent weight specifications helps you make informed decisions:
| Category | Trail Weight | Packed Weight | Durability Level | Best For |
|---|---|---|---|---|
| Ultralight | 1-2 lbs (0.45-0.9 kg) | 1.5-2.5 lbs (0.7-1.1 kg) | Lower | Experienced minimalists, fair weather |
| Lightweight | 2-4 lbs (0.9-1.8 kg) | 2.5-4.5 lbs (1.1-2 kg) | Moderate | Most multi-day treks, balanced needs |
| Standard | 4+ lbs (1.8+ kg) | 4.5+ lbs (2+ kg) | Higher | Prioritizing comfort/durability over weight |
When evaluating weight, consider:
– Trail weight: Tent, poles, and minimum stakes (what you’ll actually carry)
– Packed weight: Everything included with purchase, including stuff sacks, extra stakes, etc.
– Material density: Higher denier fabrics add weight but increase durability
– Pole material: Aluminum balances weight and strength; carbon fiber is lighter but more fragile
For partners, splitting tent components (one carries poles/stakes, the other carries canopy/fly) can effectively distribute weight. Many ultralight trekking tents for long-distance hikers can shave significant weight from your pack through innovative designs and materials.
Livable Space: Beyond Basic Shelter
After hiking all day, your tent becomes your living space for recovery, relaxation, and protection. True livability involves more than just floor dimensions:
- Floor space reality: A 7×3 foot floor (84×36 inches) in a 1-person tent means usable space is actually less due to sloping walls
- Peak height: Determines whether you can sit up comfortably (40-45 inches is typical for backpacking tents)
- Wall steepness: Vertical walls create more usable space than sharply sloping ones
- Vestibule area: Critical for gear storage, especially in rainy conditions
- Interior organization: Pockets and gear lofts keep essentials accessible at night
A tent’s capacity rating (1P, 2P, etc.) often represents a tight fit. Many solo trekkers prefer 2-person tents for the extra space, especially for trips longer than a few days. Quality backpacking tent vestibules significantly enhance livability by creating protected storage space for wet or dirty gear outside the sleeping area.
Durability for the Long Haul: Materials Matter
For multi-day treks, tent failure is not just inconvenient—it can be dangerous. Understanding material specifications helps you choose appropriate durability:
Fabric Considerations:
– Denier ratings: Higher numbers indicate thicker, more durable (but heavier) fabrics
– Common fly materials: 10-20D for ultralight; 30-70D for standard durability
– Floor materials: 20-30D for ultralight with careful use; 40-70D for standard durability
– Reinforcement: Pay attention to stress points and how they’re reinforced
Structural Elements:
– Aluminum poles: Standard 7000-series aluminum offers good strength-to-weight ratio
– Carbon fiber: Significantly lighter but more brittle and expensive
– Hub designs: Fewer connection points generally means fewer failure opportunities
UV damage accumulates over time, especially at high altitudes, so consider UV-resistant treatments for extended trips. The specific lightweight trekking shelter materials used in tent construction directly impact both initial performance and long-term reliability.
Tent Designs and Seasonality: Matching Structure to Conditions
The structural design of your tent determines its strength, stability, and space efficiency. Each design has specific advantages for different trekking scenarios:
Common Tent Structures:
– Dome: Excellent stability-to-weight ratio and good interior space
– Tunnel: Maximizes interior volume but requires proper orientation to wind
– Semi-freestanding: Combines some freestanding benefits with lighter weight
– Non-freestanding: Lightest option but requires proper staking and often trekking poles
Freestanding vs. Non-Freestanding:
Freestanding tents can be set up without stakes, making them versatile for different terrain types. They’re easier to move once pitched and generally more intuitive to set up. Non-freestanding designs save significant weight but require suitable ground for staking and often more setup experience.
Seasonality Guide:
| Rating | Best For | Features | Limitations |
|---|---|---|---|
| 3-Season | Spring through fall, mild conditions | Better ventilation, lighter, less expensive | Limited snow/wind resistance |
| 3-Season+ | Extended shoulder seasons, light snow | Stronger poles, less mesh, better stability | Slightly heavier, less ventilation |
| 4-Season | Winter, alpine, extreme conditions | Robust construction, snow shedding design, minimal mesh | Heaviest, hottest in warm weather, expensive |
For varied conditions, 4-season winter 2-person tents provide versatile protection that can handle unexpected weather changes, though at a weight penalty compared to dedicated 3-season options.
Setup and Stability: Critical for Changing Conditions
When weather deteriorates rapidly, your ability to quickly establish shelter becomes crucial. The average setup time varies dramatically between designs:
- Freestanding dome: 3-5 minutes for experienced users
- Semi-freestanding hybrid: 4-7 minutes with practice
- Non-freestanding trekking pole tent: 7-10 minutes (requires more precision)
Key setup considerations include:
1. Color-coded components for intuitive assembly in low light
2. Connection simplicity (clips vs. sleeves for poles)
3. Guy line quality and quantity for proper tensioning
4. Stake design appropriate for expected terrain
Practice setting up your tent before your trek—ideally in challenging conditions like darkness, wind, or while wearing gloves. This practice could make a critical difference when you’re tired at the end of a long hiking day.
For areas with rocky ground or varied terrain, freestanding backpacking tents offer significant advantages in setup speed and placement flexibility when suitable staking locations are limited.
Ventilation and Condensation Management
Condensation inside your tent isn’t just uncomfortable—it can soak your gear and reduce insulation effectiveness. Understanding condensation physics helps you manage it effectively:
- Warm air holds more moisture than cold air
- When warm, moist air (from breathing/perspiration) contacts cold tent walls, condensation forms
- Even “breathable” tents experience condensation in certain conditions
Effective ventilation features include:
– High/low venting to create convective airflow
– Mesh panels strategically placed for air exchange
– Adjustable vestibule openings for customized airflow
– Door positioning that allows partial opening during rain
Strategic campsite selection also impacts ventilation—avoid low areas where cool, damp air collects, and position your tent to catch prevailing breezes when possible.
Lightweight backpacking tents typically incorporate effective ventilation systems that balance airflow with weather protection, helping you stay comfortable throughout multi-day adventures.
Budget Considerations: Investment vs. Value
Tent pricing reflects materials, engineering complexity, and brand positioning. Understanding what each price bracket offers helps you allocate your budget effectively:
| Price Range | Typical Features | Best For |
|---|---|---|
| $100-200 | Basic materials, simpler designs, heavier | Occasional trekkers, fair weather use, budget priority |
| $200-400 | Better materials, improved design, moderate weight | Regular trekkers, varied conditions, value-focused |
| $400+ | Premium materials, optimized design, lightest options | Frequent trekkers, challenging conditions, performance priority |
When considering value:
– Calculate cost per night over the tent’s expected lifespan
– Factor in repair/replacement costs for budget options that may fail sooner
– Consider the consequences of failure in your typical trekking environments
For serious multi-day trekkers, investing in a quality shelter often pays dividends in reliability, comfort, and longevity. Understanding how heavy a hiking tent should be helps you balance cost against comfort and carrying capacity for your specific needs.
Top Recommended Tents for Different Multi-Day Scenarios
Based on extensive field testing and trekker feedback, these categories represent the most suitable options for various multi-day trekking scenarios:
For the Ultralight Minimalist:
Look for tents under 2 pounds that use trekking poles for support, minimalist features, and have excellent weather resistance despite their low weight. These typically use 10-15D fabrics and require careful handling.
For Unpredictable Mountain Weather:
Prioritize tents with full-coverage rainflies, multiple guy-out points, sturdy pole structures, and vestibules large enough to cook in during sustained storms. These shelters emphasize weather protection while maintaining reasonable weight.
For Budget-Conscious Trekkers:
Focus on tents that may weigh slightly more (3-4 pounds) but offer solid weather protection and durability at lower price points. These often use slightly heavier materials (30-50D) but provide excellent value.
For Versatile, All-Around Use:
Semi-freestanding designs with 2-3 pound trail weights, 20-30D fabrics, and adaptable ventilation systems offer the best balance for varied conditions. These tents typically feature dual doors and vestibules for convenience.
For Extended Expeditions:
Look for slightly heavier designs (3-4 pounds) with reinforced stress points, repair-friendly construction, and proven track records in challenging conditions. These tents prioritize long-term reliability over minimum weight.
Ultralight trekking pole tents offer compelling advantages for weight-conscious hikers willing to adapt their setup routine for significant weight savings on multi-day adventures.
Pre-Trek Preparation and Field Maintenance
Before heading out on your trek, proper preparation ensures your tent performs as expected:
Pre-Trip Checklist:
– Set up tent completely to check for damage/missing parts
– Seal seams if necessary (especially on budget tents)
– Practice setup/takedown until confident
– Replace any damaged components
– Clean and dry from previous trips
Essential Field Repair Kit:
– Tenacious Tape or similar fabric repair tape
– Spare guy line
– Pole repair sleeve
– Silicone sealant (for small tears/seam repairs)
– Extra stakes
Daily maintenance during your trek significantly extends tent life:
– Brush off dirt before packing
– Dry condensation when possible
– Avoid prolonged UV exposure when not in use
– Choose campsites that minimize abrasion risks
Understanding proper freestanding tent setup on rocky terrain helps prevent damage to your tent floor and ensures stability in challenging conditions.
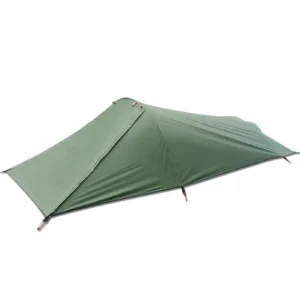

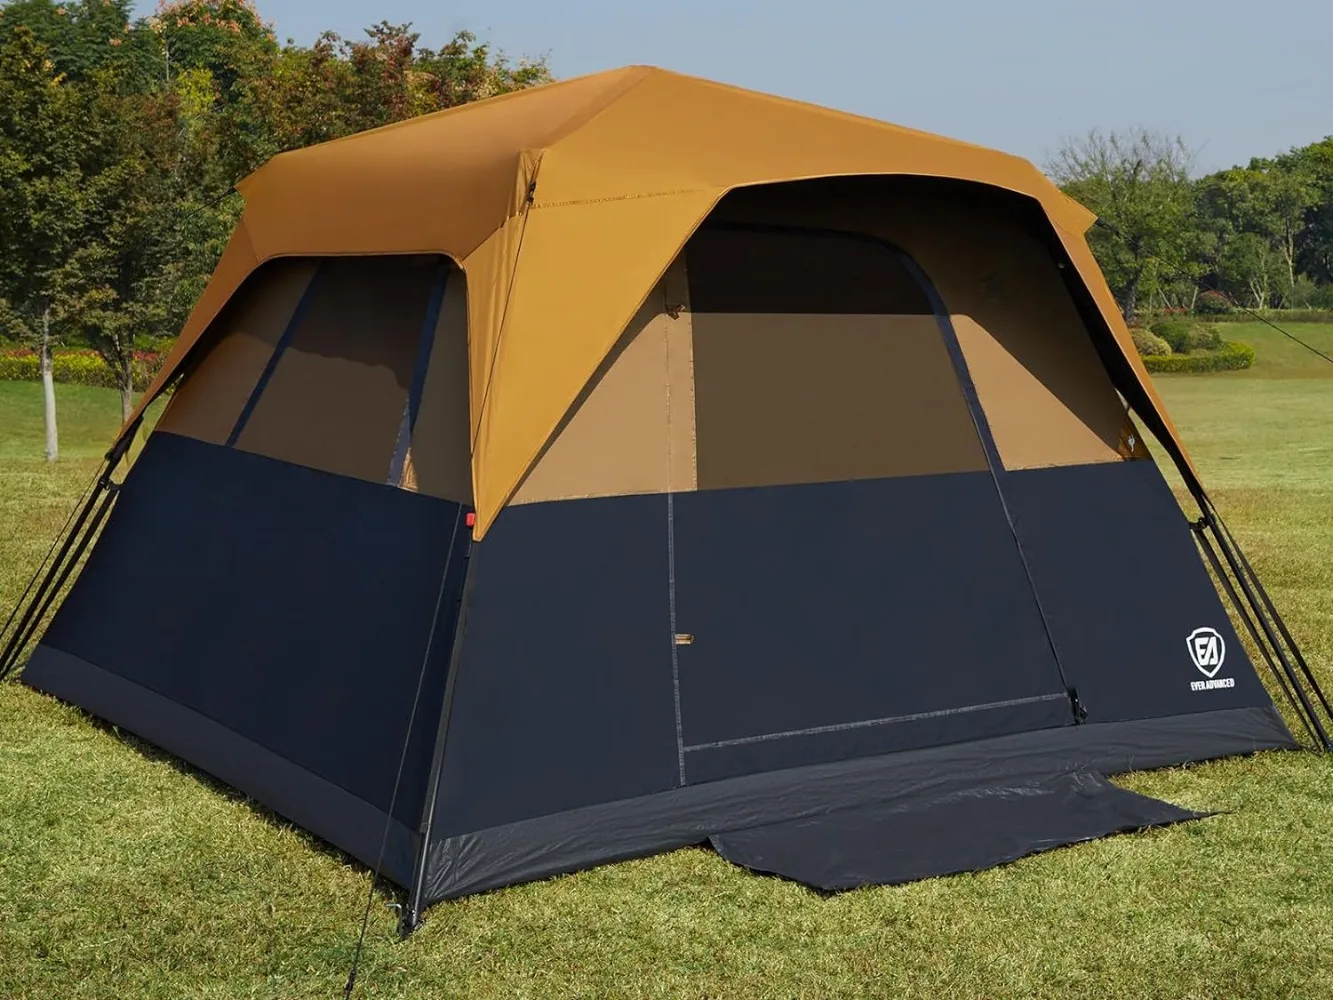
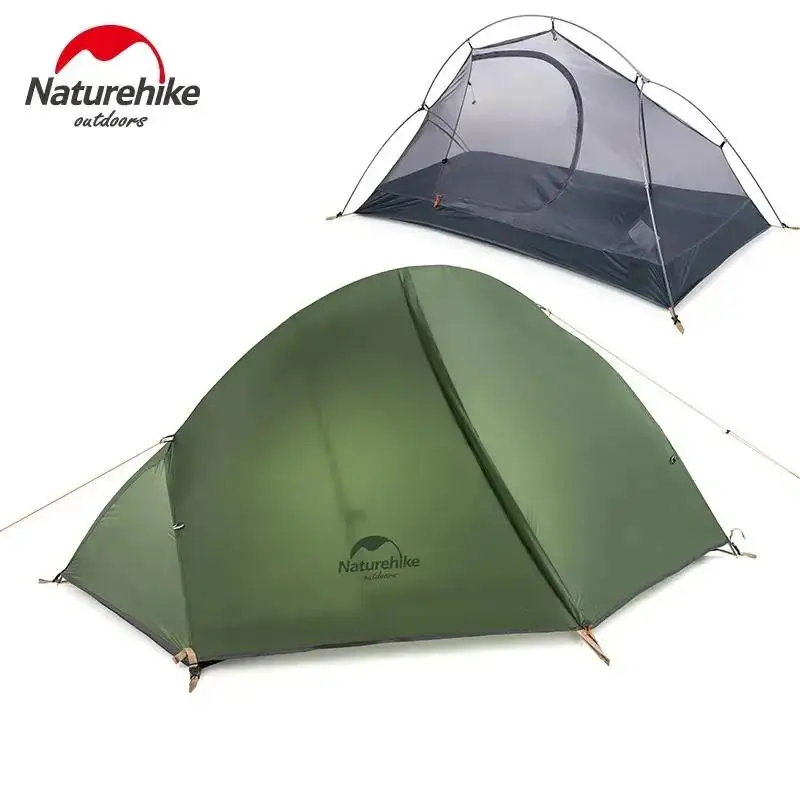
Lightweight Backpacking Tent, Ultralight Backpacking Tent, Ultralight Bivy Tent
Ultralight Single Person Camping Tent with Aluminum Poles for 3-Season Backpacking Waterproof DesignPrice range: $94.88 through $326.82 Select options This product has multiple variants. The options may be chosen on the product page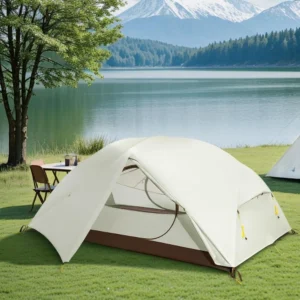
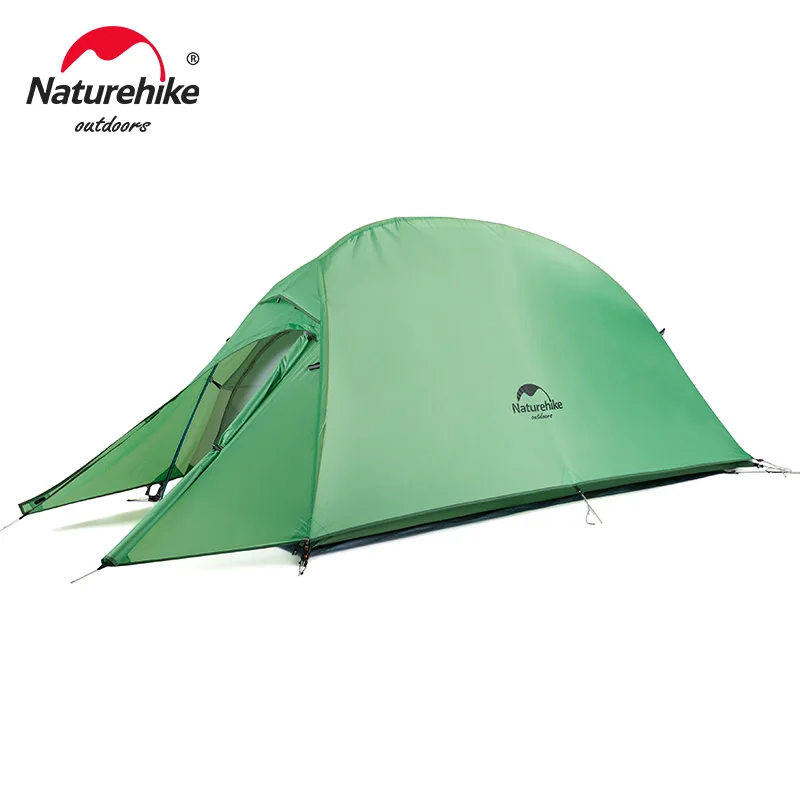
Lightweight Backpacking Tent, Ultralight Backpacking Tent, Waterproof Backpacking Tent
$391.05 Select options This product has multiple variants. The options may be chosen on the product page
Heavy Duty 4 Season Tent, Mountaineering Tent, Winter Camping Tent
$870.40 Select options This product has multiple variants. The options may be chosen on the product page
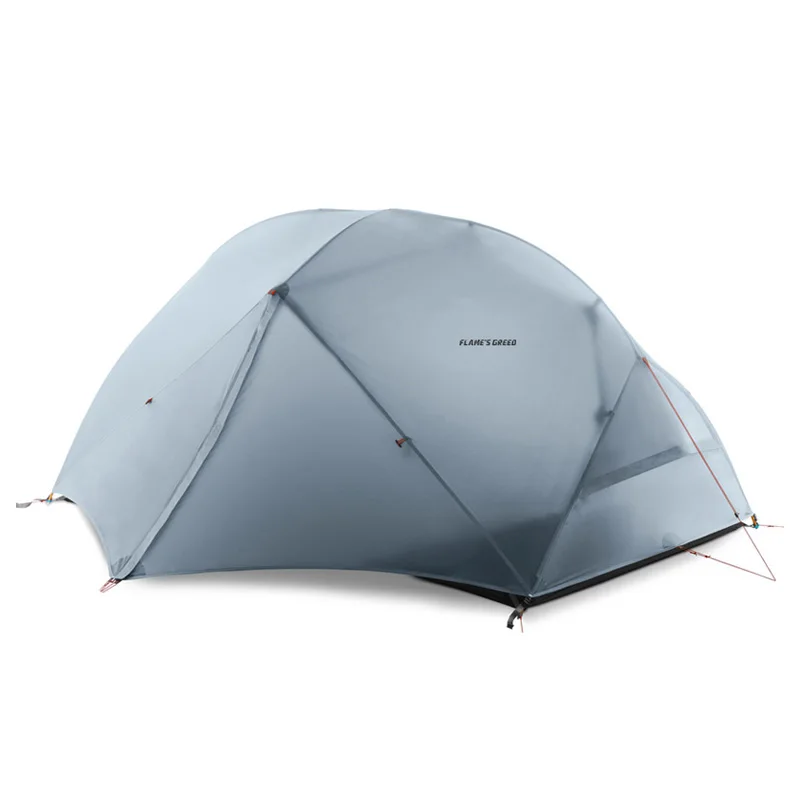
Compact Backpacking Tent, Lightweight Backpacking Tent, Waterproof Camping Tent
$335.52 Select options This product has multiple variants. The options may be chosen on the product page
Ultralight Backpacking Tent, Ultralight Dome Tent, Winter Camping Tent
Price range: $369.63 through $370.07 Select options This product has multiple variants. The options may be chosen on the product page
Heavy Duty 4 Season Tent, Ultralight Freestanding Tent, Winter Camping Tent
$3,722.66 Select options This product has multiple variants. The options may be chosen on the product page
Storage and Care for Tent Longevity
How you care for your tent between trips dramatically affects its lifespan:
- Cleaning: Use mild soap and water to remove dirt and grime; never machine wash
- Drying: Always store completely dry to prevent mildew and fabric degradation
- Storage: Keep loosely packed in a cool, dry place—not compressed in its stuff sack
- UV Protection: Minimize unnecessary sun exposure which weakens fabrics over time
- Reproofing: Reapply DWR (Durable Water Repellent) treatments when water stops beading
With proper care, a quality waterproof backpacking tent can last for hundreds of nights of use—turning an initially expensive purchase into a cost-effective investment over time.
How to Try Before You Buy: Testing Strategies
Making an informed tent purchase involves more than just reading specifications:
- In-Store Testing:
- Set up the tent completely if the store allows
- Get inside to assess actual usable space
- Check ease of entry/exit and interior height
Evaluate door and vestibule functionality
Rental Options:
- Many outdoor retailers offer rental programs
- Weekend rental tests real-world performance
Cost often applies to eventual purchase
Research Strategies:
- Read reviews from long-distance hikers, not weekend campers
- Focus on durability and performance reports after extensive use
- Check warranty terms and customer service reputation
- Study side-by-side comparisons from reputable outdoor publications
Look for retailers with generous return policies that allow field testing, especially for significant investments in premium trekking shelters.
FAQ: Common Questions About Multi-Day Trekking Tents
Can I use a regular camping tent for multi-day trekking?
While possible, standard camping tents are typically too heavy and bulky for comfortable multi-day carrying. They’re designed for car camping with different priorities than backpacking tents.
Is a footprint really necessary?
Not always. Footprints add protection but also weight. On established sites with minimal abrasion risks, you can often skip the footprint or use lightweight alternatives like Tyvek or window wrap.
How much should my tent weigh for a 5-day trek?
Aim for under 3 pounds (1.4 kg) per person for comfortable carrying. Experienced ultralight trekkers might go as low as 1-2 pounds (0.45-0.9 kg), while those prioritizing comfort might accept up to 4 pounds (1.8 kg).
Can I cook in my tent vestibule?
With extreme caution, some vestibules can accommodate careful cooking. Ensure excellent ventilation, keep flames away from all fabric, and never cook inside the sleeping area due to carbon monoxide and fire risks.
How do I choose between similar tents in my price range?
Focus on the features most relevant to your specific trips—weather protection for rainy regions, ventilation for humid environments, or freestanding design for rocky terrain. When specifications seem similar, warranty and customer service often become deciding factors.
Conclusion: Making Your Final Decision
Selecting the perfect tent for multi-day trekking comes down to honest assessment of your specific needs, conditions, and preferences. The ideal tent balances protection, weight, livability, and durability in proportions that match your unique trekking style.
Remember these guiding principles:
– No tent excels in every category—embrace the necessary compromises
– Protection always comes first—weight savings mean nothing if your shelter fails
– Consider your whole shelter system (tent, sleeping bag, pad) as an integrated unit
– Quality tents are investments that pay dividends in comfort, safety, and longevity
By carefully analyzing your requirements and understanding tent technology, you can find a shelter that enhances rather than hinders your wilderness experience. A well-chosen tent becomes more than equipment—it becomes your reliable partner in exploration, allowing you to push boundaries while maintaining essential comfort and safety.
At Explore Elements, we believe that the right gear enables deeper connections with the natural world. Your tent is not just protection from the elements—it’s the base camp from which you experience wilderness at its most profound.