
What Are the Backpacking “Big 3” Items?
For backpackers looking to optimize their outdoor experience, understanding the foundation of any gear system starts with the “Big 3” – the three heaviest and most influential items in your pack:
- Shelter: Your home away from home (tent, tarp, hammock, or bivy)
- Backpack: The carrying system for all your equipment
- Sleep System: Both your sleeping bag/quilt and sleeping pad combined
These items earn their “Big 3” status for good reason – together they typically account for 50-70% of a backpacker’s base weight (the total weight of your gear excluding consumables like food, water, and fuel). Beyond just their weight impact, these components represent your largest gear investments and most significantly influence your comfort and safety on the trail.
The foundation of successful backpacking starts with making informed choices about these critical items. Through thoughtful selection of the Big 3, backpackers can dramatically improve their experience by reducing physical strain, increasing comfort, and enhancing overall enjoyment of the wilderness. Proper waterproof gear for backpackers and an understanding of the principles behind lightweight backpacking directly impact how you’ll approach selecting these essential components.
Why the “Big 3” Matter: Weight, Budget, and Comfort Impact
The significance of the Big 3 extends far beyond simply being large items in your pack – they fundamentally shape your entire backpacking experience in several crucial ways:
Weight Impact
– Traditional Big 3 setup: 10-15 pounds (4.5-6.8 kg)
– Optimized lightweight setup: 5-7 pounds (2.3-3.2 kg)
– Ultralight setup: Under 5 pounds (2.3 kg)
This difference of 5-10 pounds might seem small until you’re carrying it for miles over challenging terrain. The 20 percent rule in backpacking suggests your pack weight shouldn’t exceed 20% of your body weight for comfortable hiking, making Big 3 optimization essential.
Budget Considerations
The Big 3 typically represent your largest gear investments:
– Entry-level complete Big 3: $300-600
– Mid-range Big 3: $600-1,000
– Premium lightweight Big 3: $1,000-1,500+
Comfort and Performance Impact
Your Big 3 directly affect:
– Sleep quality and recovery between hiking days
– Physical comfort while hiking (reduced strain and fatigue)
– Shelter security in varying weather conditions
– Overall enjoyment of your backpacking experience
Safety Factors
The Big 3 serve as your primary protection against environmental hazards:
– Thermal regulation during sleep
– Protection from elements (rain, wind, snow)
– Load stability on technical terrain
By understanding the outsized impact these three gear categories have on your experience, you can make strategic decisions that align with your backpacking style, comfort needs, and budget constraints.
Shelters: Your Backcountry Protection System
Your shelter choice forms the cornerstone of your Big 3 setup, providing essential protection while significantly impacting pack weight. Backpackers typically choose from these shelter categories:
Shelter Types
– Tents: Traditional, freestanding or semi-freestanding shelters with integrated floors
– Tarps: Minimalist, floorless shelters requiring skilled setup but offering significant weight savings
– Hammocks: Suspended shelters (with tarp coverage) ideal for forested areas
– Bivy Sacks: Minimalist, low-profile personal shelters with limited space but excellent weather resistance
Key Shelter Considerations
Weight vs. Protection:
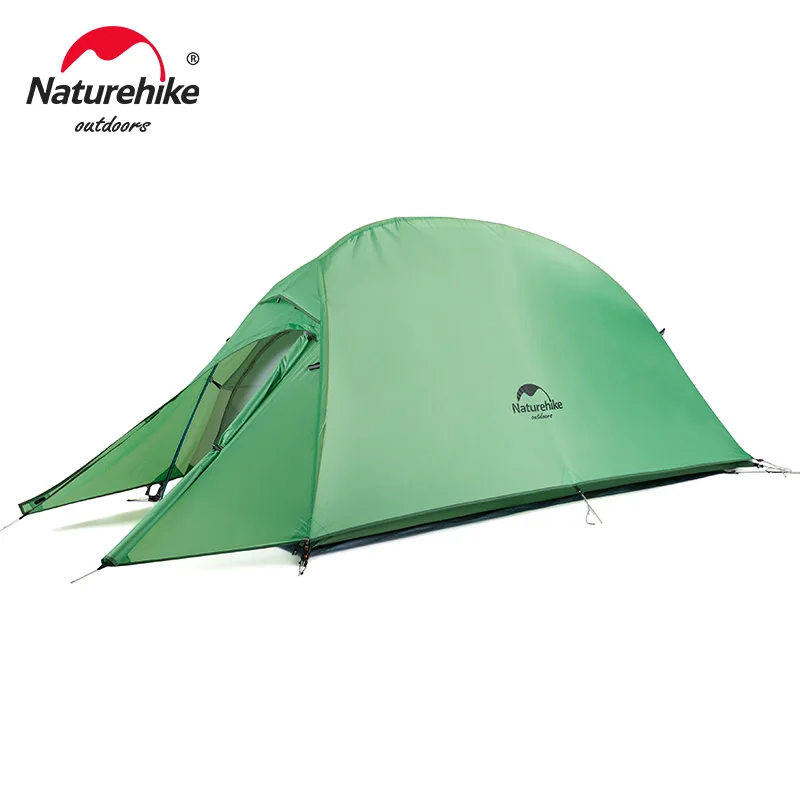
– Ultralight tent: 1-2 lbs (0.45-0.9 kg)
– Traditional tent: 3-5 lbs (1.4-2.3 kg)
– Tarp: 0.5-1.5 lbs (0.2-0.7 kg)
– Hammock + tarp: 1.5-3 lbs (0.7-1.4 kg)
– Bivy: 0.5-1.5 lbs (0.2-0.7 kg)Living Space:
– 1-Person shelters: 15-25 sq ft (1.4-2.3 sq m)
– 2-Person shelters: 25-35 sq ft (2.3-3.3 sq m)Design Factors:
– Freestanding vs. Non-Freestanding: Freestanding tents use pole structures for setup without staking, offering flexibility on challenging surfaces but weighing more. Non-freestanding designs rely on stakes and/or trekking poles, saving weight but requiring suitable ground.
Single-Wall vs. Double-Wall: Single-wall shelters combine rainfly and tent body, reducing weight but potentially increasing condensation issues. Double-wall designs separate these components, improving ventilation but adding weight.
Seasonal Rating: 3-season shelters balance weight and protection for spring through fall conditions. 4-season shelters offer more durability and weather protection for winter use but with weight penalties.
For backpackers seeking to optimize this crucial component, our guides on selecting ultralight backpacking tents can help you navigate these important tradeoffs. At Explore Elements, our collection of ultralight backpacking tents reflects the latest innovations in shelter technology that balance protection and weight reduction.
Backpacks: Carrying Your World Comfortably
Your backpack represents the second critical component of the Big 3, responsible for comfortably distributing weight across your body during miles of hiking. Understanding the key categories and considerations helps ensure you select the right carrying system for your needs.
Backpack Categories
Internal Frame Packs
– Support mechanism: Rigid frame elements inside the pack body
– Weight range: 2-5 pounds (0.9-2.3 kg)
– Best for: Traditional backpacking with moderate to heavy loads (25+ pounds/11+ kg)
– Advantages: Superior load transfer, excellent stability, good organization optionsFrameless Packs
– Support mechanism: Minimal to none; relies on proper packing technique
– Weight range: 0.5-2 pounds (0.2-0.9 kg)
– Best for: Ultralight backpacking with minimal loads (under 20-25 pounds/9-11 kg)
– Advantages: Significantly lighter weight, often simpler design, typically less expensiveExternal Frame Packs (less common today)
– Support mechanism: Visible frame outside pack body
– Weight range: 4-7 pounds (1.8-3.2 kg)
– Best for: Carrying awkward loads or very heavy gear
– Advantages: Superior ventilation, excellent load hauling, good organization
Capacity Guidelines
– Weekend trips (1-2 nights): 30-50 liters
– Weeklong trips: 50-75 liters
– Extended expeditions: 70+ liters
Critical Fit Considerations
The most important aspect of backpack selection is proper fit. A well-fitted but heavier pack will create a better experience than an ultralight pack that doesn’t match your body dimensions. Key measurements include:
- Torso length (not height): Measured from C7 vertebra to iliac crest
- Hip belt circumference: Should sit on hip bones, not waist
- Shoulder width: Straps should wrap shoulders without gaps or pinching
Understanding how tent materials affect pack weight can help you make better decisions about balancing your entire Big 3 system. The relationship between your shelter choice and backpack needs is often overlooked but critically important.
Sleep Systems: The Foundation for Trail Recovery
Your sleep system represents the final component of the Big 3 and consists of two essential elements that work together: your insulation (sleeping bag or quilt) and your sleeping surface (pad). Together, these items determine your comfort, warmth, and recovery quality during backcountry nights.
Sleeping Bags vs. Quilts
| Feature | Sleeping Bags | Quilts |
|---|---|---|
| Weight | Typically heavier (1.5-3 lbs/0.7-1.4 kg) | Lighter (1-2 lbs/0.45-0.9 kg) |
| Warmth Efficiency | Completely encloses body with hood | Open back design relies on sleeping pad |
| Versatility | Fixed temperature rating | Adjustable ventilation for temperature range |
| Entry/Exit | Zipper system | Open design with attachment system |
| Learning Curve | Intuitive use | Requires some technique adjustment |
Insulation Types
Down Insulation
– Weight-to-warmth ratio: Superior (lighter for same temperature rating)
– Compressibility: Excellent (packs smaller)
– Fill power ratings: 600-900 (higher number = higher quality)
– Wet performance: Poor unless treated with water-resistant coating
– Price: Generally more expensive
– Longevity: 10+ years with proper careSynthetic Insulation
– Weight-to-warmth ratio: Good but heavier than down
– Compressibility: Adequate but bulkier
– Wet performance: Maintains most insulation when wet
– Price: Generally more affordable
– Longevity: 3-7 years before significant compression loss
Temperature Ratings
Manufacturer ratings typically reflect lower survival temperatures rather than comfort. Most backpackers should add 10-15°F (5-8°C) to the listed rating for comfortable sleep. Women generally need bags/quilts rated 10°F (5°C) warmer than men due to physiological differences.
Sleeping Pad Components
Pad Types
– Air pads: Lightest and most packable, prone to punctures
– Self-inflating: Balance of comfort and durability
– Closed-cell foam: Indestructible but bulky and less comfortableR-Value Explained
– Measurement of thermal resistance (higher = warmer)
– Summer: R-value 1-2
– 3-season: R-value 2-4
– Winter: R-value 4+
– Multiple pads can be stacked to increase R-value
The integrated sleep system approach recognizes that these components work together – your sleeping pad is actually part of your insulation system when using a quilt or when compressed insulation loses effectiveness under your body. Our range of lightweight backpacking tents complement these sleep systems to create a complete shelter solution.
Choosing the Right “Big 3” for Your Backpacking Style
Selecting the optimal Big 3 components depends largely on your experience level, backpacking style, and environmental conditions. Rather than chasing the lightest or most expensive gear, focus on finding the right balance for your specific needs.
Experience-Based Approaches
Beginners:
– Prioritize user-friendly, forgiving gear over ultralight options
– Look for versatile equipment that works across various conditions
– Consider durability and ease of repair in the field
– Focus on adequate (not excessive) weather protection
Experienced Backpackers:
– May benefit from specialized gear matched to specific trips
– Can effectively use more technical, weight-optimized equipment
– Often develop preferences for specific shelter/sleep systems
– May have multiple systems for different seasons/trips
Backpacking Style Classifications
Traditional:
– Base weight: 15+ lbs (6.8+ kg)
– Emphasis on comfort, durability, and features
– Typically more affordable entry point
– Often includes freestanding tents, internal frame packs, sleeping bags
Lightweight:
– Base weight: 10-15 lbs (4.5-6.8 kg)
– Balance of weight savings and comfort/convenience
– Moderate price premium for weight reduction
– May include semi-freestanding tents, lighter packs, quality bags/quilts
Ultralight:
– Base weight: Under 10 lbs (4.5 kg)
– Maximum weight efficiency, often with comfort tradeoffs
– Typically highest price point
– Often includes tarp/minimalist shelters, frameless packs, quilts
Understanding how much a backpacking tent should weigh for your specific style can help guide your shelter selection as part of your overall Big 3 strategy.
Common Big 3 Selection Mistakes to Avoid
Even experienced backpackers sometimes fall into these common traps when selecting their Big 3 components:
Prioritizing weight above all else: Ultralight gear that causes discomfort, poor sleep, or fails in weather isn’t worth the weight savings
Ignoring proper pack fit: A poorly fitting lightweight pack will feel heavier and cause more discomfort than a heavier, well-fitting pack
Temperature rating miscalculations: Underestimating your sleeping bag/quilt needs can lead to dangerous situations and miserable nights
Shelter-environment mismatch: Selecting a minimalist shelter for high-exposure, severe weather environments creates unnecessary risk
Budget misallocation: Spending too much on one component while neglecting others disrupts the balance of your system
Overlooking component interactions: Failing to recognize how Big 3 components work together (e.g., quilt performance depends on sleeping pad R-value)
Gear acquisition before experience: Purchasing expensive specialty gear before developing personal preferences and understanding needs
Ignoring seasonal adaptability: Selecting gear that works only in ideal conditions without considering shoulder seasons or weather changes
The materials used in waterproof hiking gear significantly impact both performance and durability of your Big 3 items, making material selection an important consideration beyond just the weight specifications.
Is Upgrading Your Big 3 Worth the Investment?
Many backpackers face the question of whether expensive upgrades to their Big 3 justify the financial investment. Consider these factors when making your decision:
Pros of Upgrading
– Significant weight reduction improves hiking comfort and reduces fatigue
– Higher quality materials typically offer better durability per ounce
– Enhanced comfort features can dramatically improve sleep quality
– Better weather protection increases safety margins
– Higher resale value for premium brands if you later change systems
Cons of Upgrading
– Diminishing returns (e.g., spending $300 more to save 4 ounces)
– Specialized gear may limit versatility across conditions
– Ultralight materials often require more careful handling
– Premium price often reflects brand positioning, not just performance
Alternative Approaches
– Consider renting high-end gear for occasional trips
– Look for lightly used gear from reputable sellers
– Focus upgrades on the component causing the most discomfort
– Upgrade gradually as you develop clear preferences
For those ready to make the investment, our collection of waterproof backpacking tents offers options that balance premium performance with reasonable weight and price considerations.
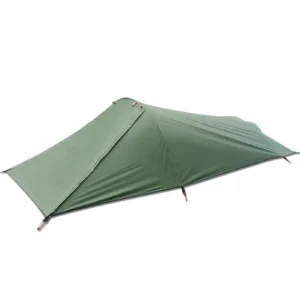

Lightweight Backpacking Tent, Ultralight Backpacking Tent, Ultralight Bivy Tent
Ultralight Single Person Camping Tent with Aluminum Poles for 3-Season Backpacking Waterproof DesignPrice range: $94.88 through $326.82 Select options This product has multiple variants. The options may be chosen on the product page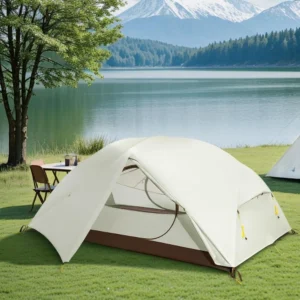
Lightweight Backpacking Tent, Ultralight Backpacking Tent, Waterproof Backpacking Tent
$391.05 Select options This product has multiple variants. The options may be chosen on the product page
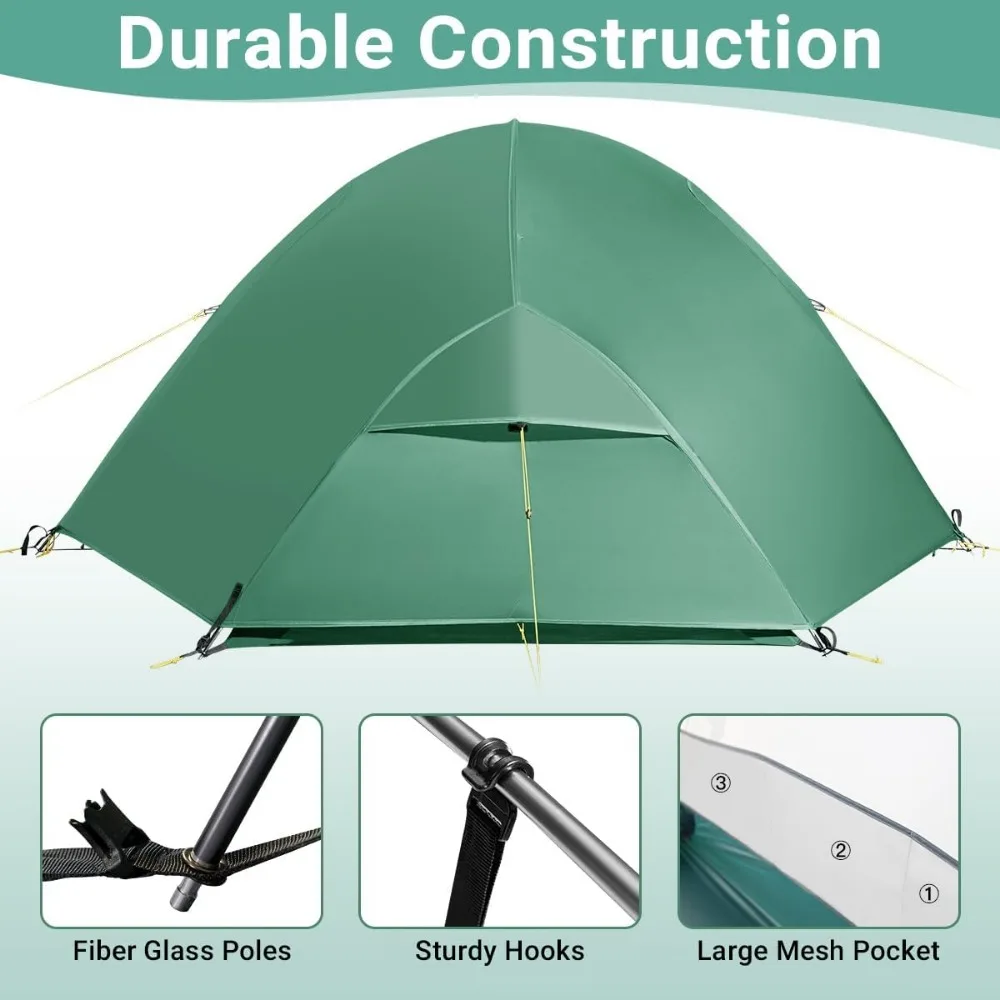
Compact Backpacking Tent, Lightweight Backpacking Tent, Waterproof Camping Tent
$335.52 Select options This product has multiple variants. The options may be chosen on the product page
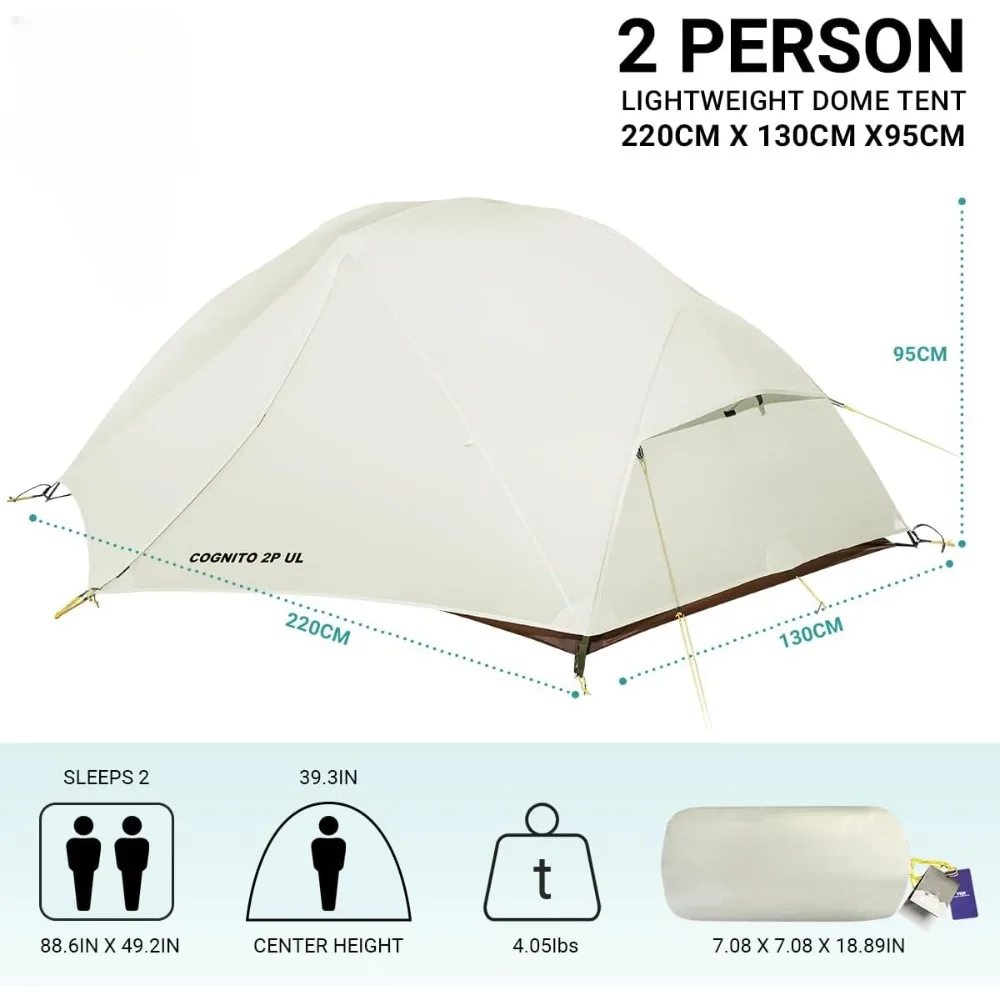
Ultralight Backpacking Tent, Ultralight Dome Tent, Winter Camping Tent
Price range: $369.63 through $370.07 Select options This product has multiple variants. The options may be chosen on the product page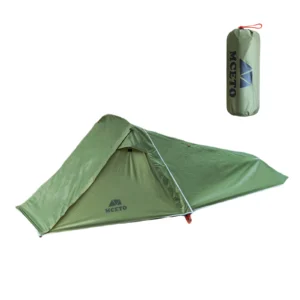
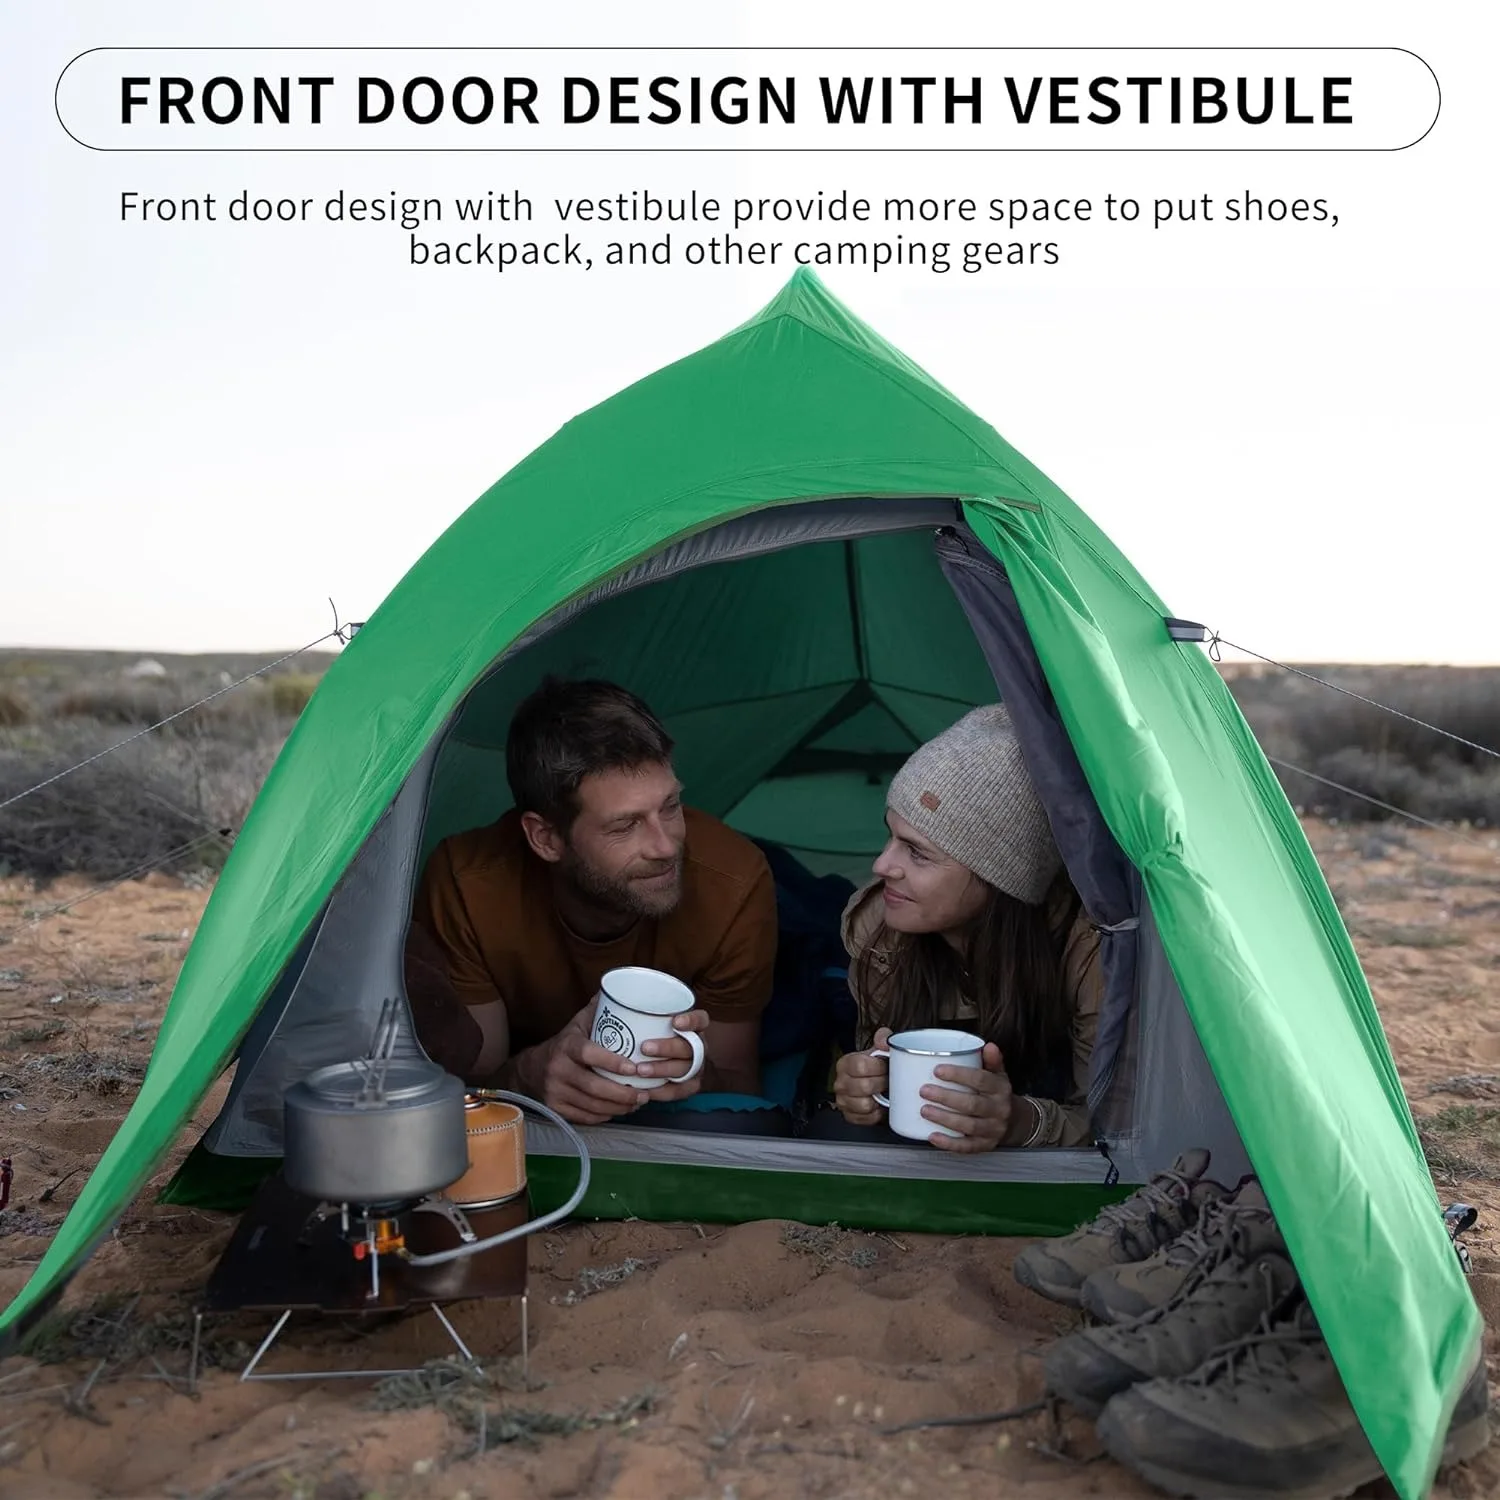
Backpacking Tent with Vestibule, Freestanding Backpacking Tent, Lightweight Backpacking Tent
Price range: $446.89 through $447.22 Select options This product has multiple variants. The options may be chosen on the product page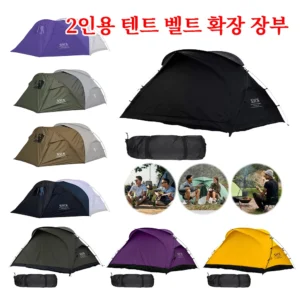
Backpacking Tent with Vestibule, Trekking Pole Backpacking Tent, Waterproof Camping Tent
Price range: $271.99 through $519.52 Select options This product has multiple variants. The options may be chosen on the product page
Should Beginners Focus on the Big 3 First?
New backpackers often wonder whether to invest immediately in optimized Big 3 components or start with more affordable options. Consider these approaches:
For Beginners – The Strategic Approach
Start with a middle ground: Begin with moderately priced, versatile gear rather than either the heaviest budget options or expensive ultralight gear
Prioritize sleep comfort first: If budget constraints exist, invest more in your sleep system initially, as good rest impacts overall experience most directly
Borrow before buying: Test different shelter types and backpack styles before committing to purchases
Focus on fit over features: A perfectly fitting moderate backpack outperforms an ill-fitting “ultralight” option
Consider future growth: Select items that accommodate developing skills (e.g., a lightweight but forgiving shelter system)
For those just starting their backpacking journey, our selection of 2-person backpacking tents offers versatile options that provide a solid foundation for building your gear knowledge.
How Do Environmental Conditions Affect Big 3 Selection?
Your typical backpacking environment should significantly influence your Big 3 selections. Different ecosystems and conditions demand specific features:
Desert/Hot Environments
– Shelters with superior ventilation and sun protection
– Packs with better ventilation systems against back sweat
– Sleep systems with wider temperature regulation range
– Emphasis on UV-resistant materials
Mountain/Alpine Zones
– Shelters with robust wind resistance and precipitation handling
– Warmer sleep systems with lower temperature ratings
– Packs with load-stabilizing features for technical terrain
– Materials that resist abrasion from rocky surfaces
Forest/Woodland Areas
– Shelters adaptable to limited flat ground (hammocks or small footprint)
– Sleep systems with better compression resistance (for uneven ground)
– Packs with external attachment points for bulkier gear
Wet/Humid Regions
– Shelters with excellent condensation management
– Synthetic or treated-down sleep systems
– Highly water-resistant pack materials
– Quick-drying fabrics throughout
Understanding waterproof ratings for backpacking gear becomes especially important when selecting equipment for consistently wet environments, as inadequate waterproofing can compromise your entire system.
Beyond the Big 3: Steps to Complete Your Lightweight Backpacking System
With your Big 3 foundation established, you can thoughtfully build the rest of your backpacking system. The most successful approach views all gear as an integrated system rather than isolated components:
Next Priority Items
– Water filtration/treatment system
– Cooking equipment (if warm meals desired)
– Insulating and rain layers
– Lighting system (headlamp)
– Navigation tools
The Iterative Process
Remember that backpacking gear selection is a continuous learning process. Each trip provides valuable feedback about what works for your specific needs, body, and preferences. Keep trip logs noting gear performance in different conditions to inform future upgrades.
Continuing Education
Take advantage of resources like gear demos, backpacking clinics, and online communities to expand your knowledge. Consider renting different gear configurations before major purchases to compare options directly on the trail.
Most importantly, don’t let the pursuit of perfect gear prevent you from getting outside. Even a less-than-optimal kit used regularly provides more value than the “perfect” setup that rarely leaves the closet. Our selection of freestanding backpacking tents provides reliable options to complete your system with confidence.
By focusing first on optimizing your Big 3, you create a solid foundation for all your backpacking adventures, allowing incremental improvements to the rest of your kit over time as experience reveals your true preferences and needs.