
Camping should be about enjoying nature, not struggling with complicated tent setups. Instant tents have revolutionized the camping experience by dramatically reducing setup time and complexity. This comprehensive guide will walk you through everything you need to know about pitching an instant tent quickly and easily, whether you’re a camping novice or a seasoned outdoor enthusiast.
Understanding Instant Tents: What They Are and How They Work
Instant tents represent a significant innovation in camping gear, featuring pre-attached poles and spring-loaded or hydraulic frame systems that allow for rapid deployment. Unlike traditional tents that require separate pole assembly, instant tents have integrated frame systems permanently attached to the tent fabric.
These convenient shelters generally fall into three main categories:
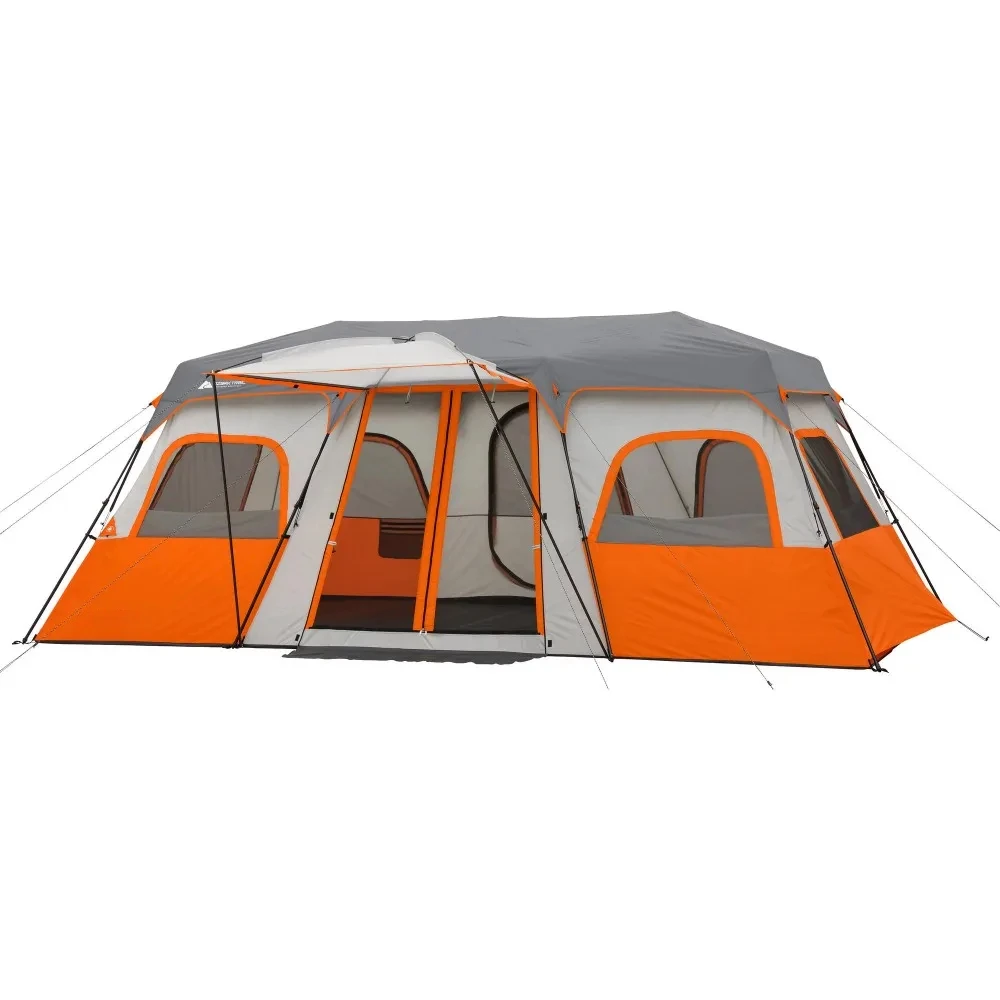
– Cabin-style instant tents: Featuring vertical walls for maximum interior space
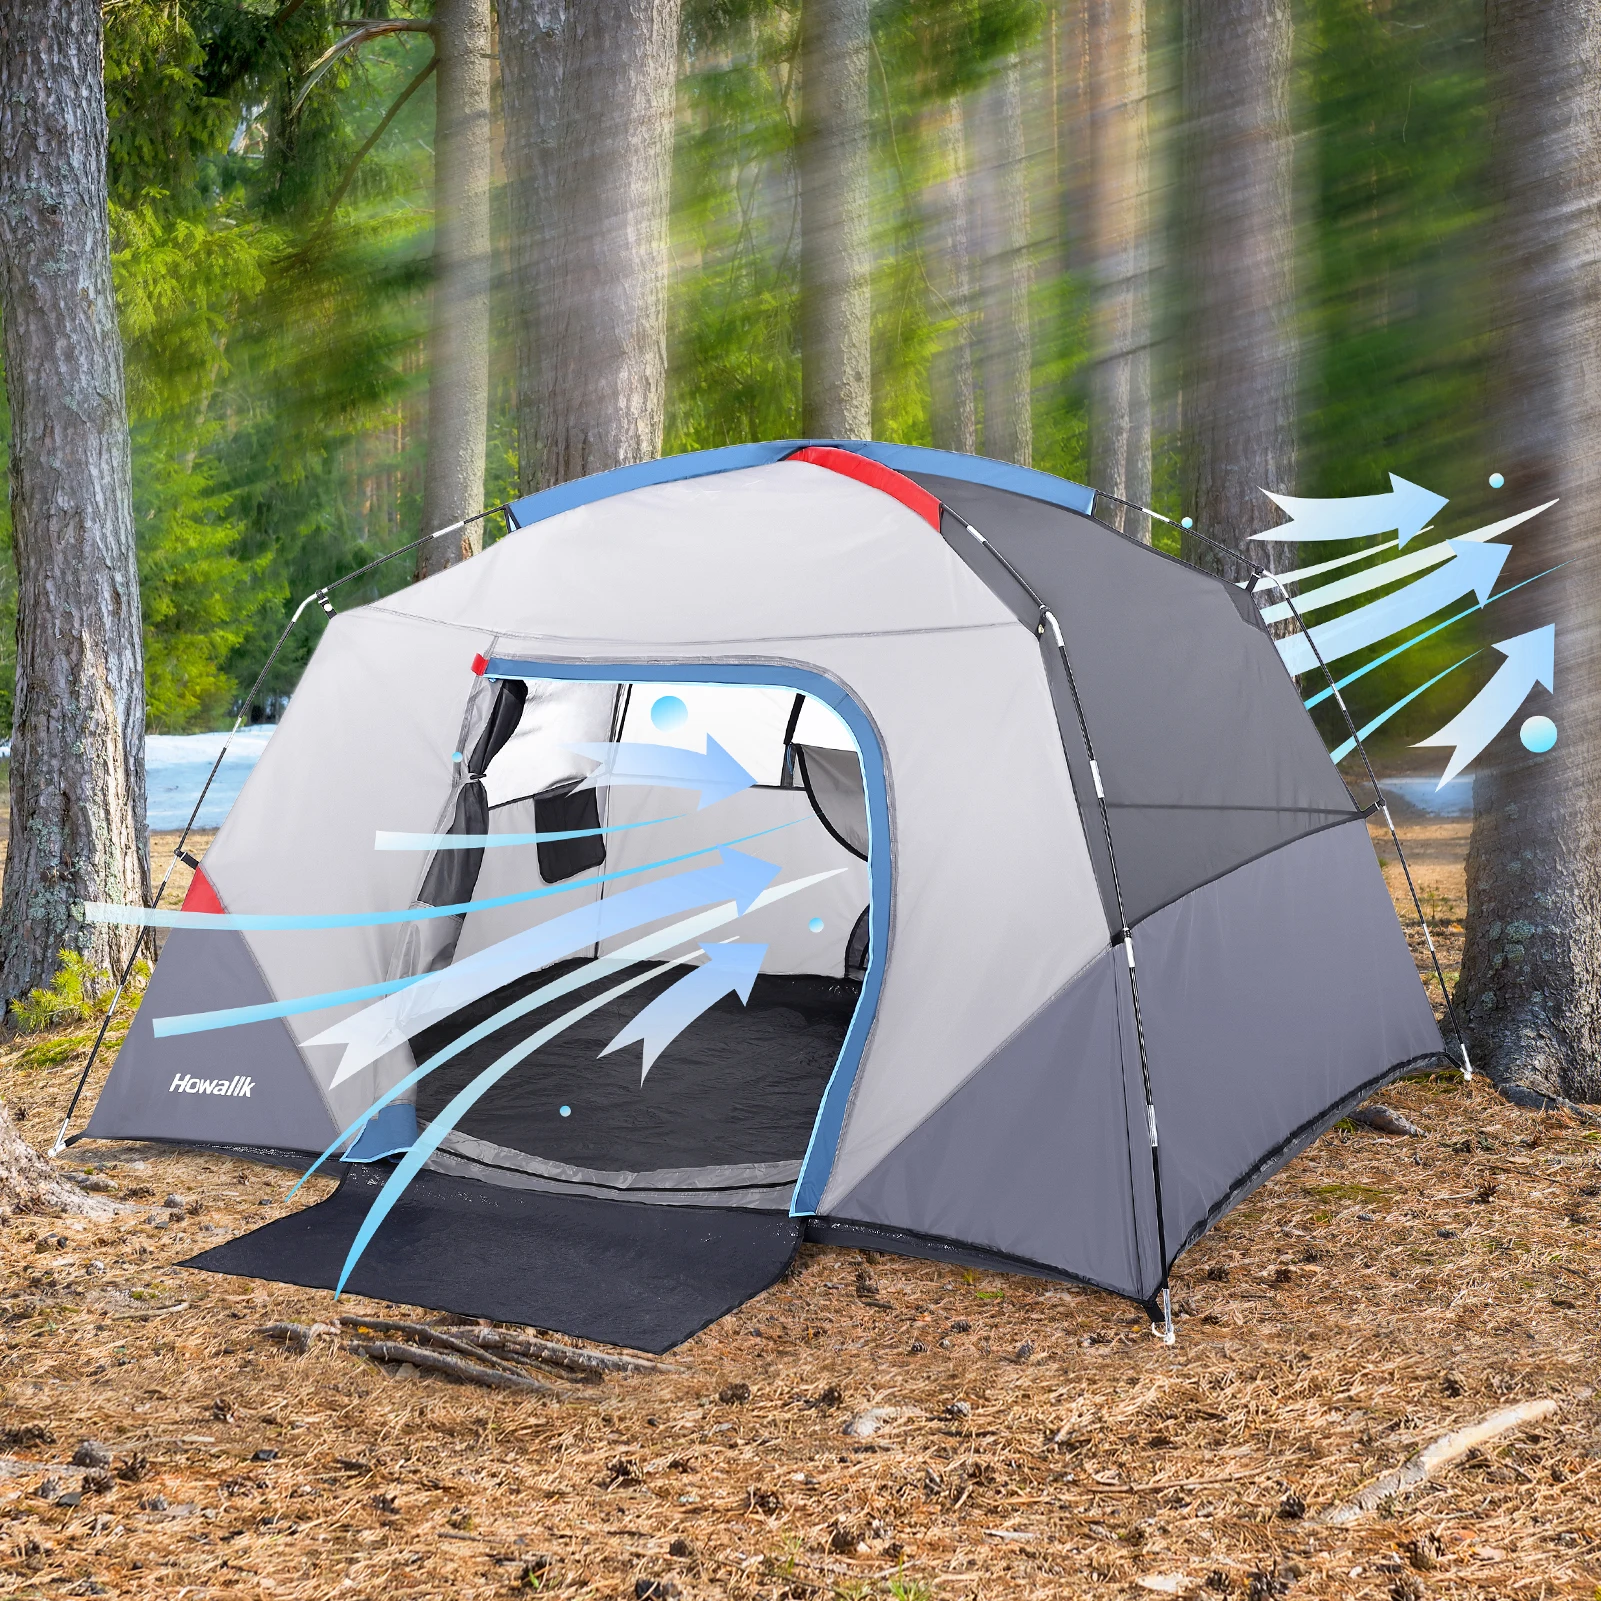
– Dome instant tents: Offering better wind resistance with curved structures
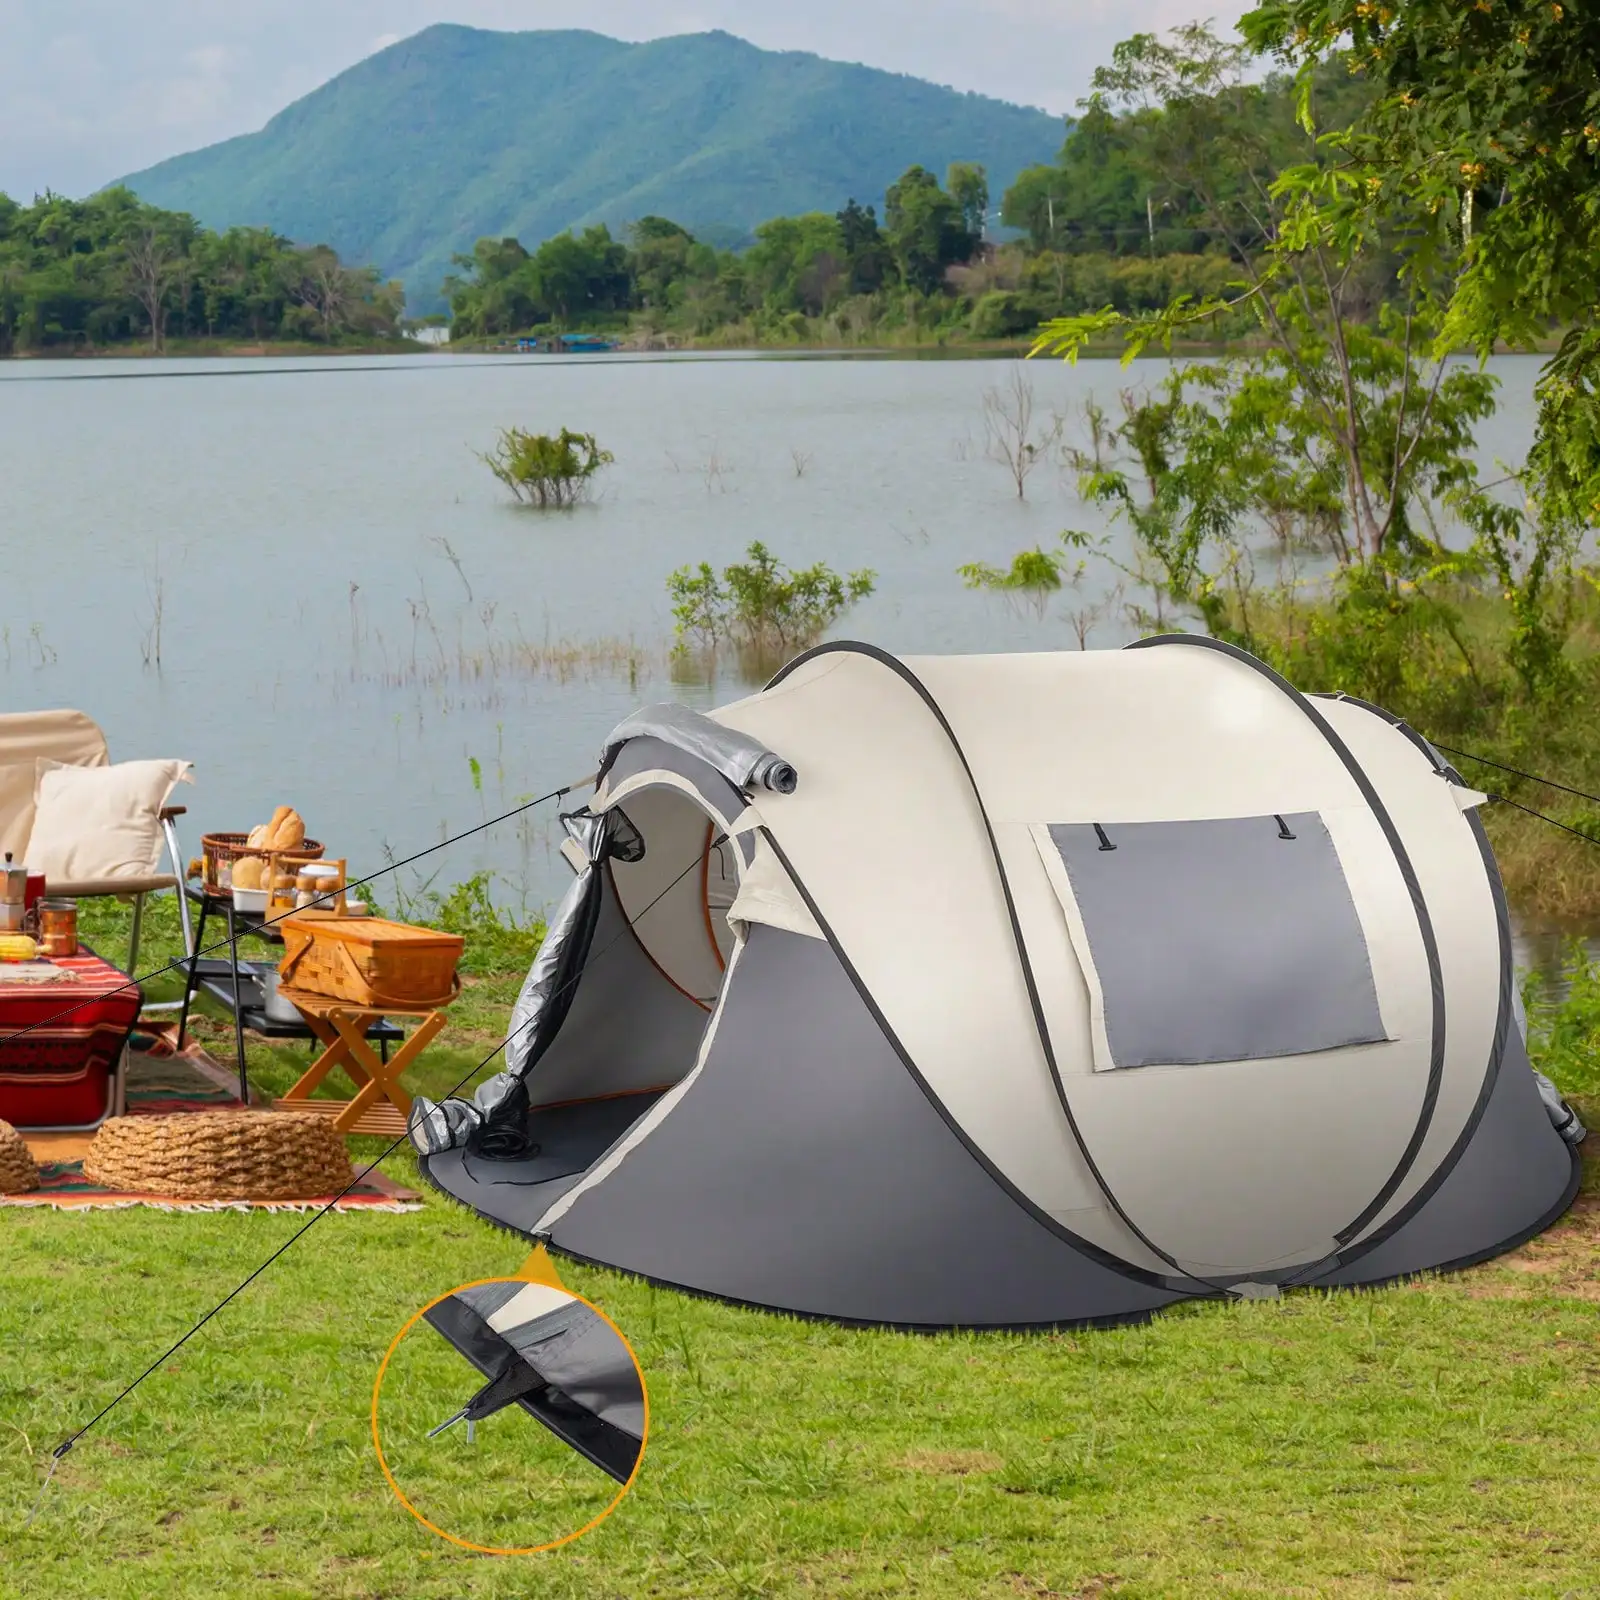
– Pop-up tents: The fastest setup option that literally springs into shape
While manufacturers often advertise “60-second setup” or similar claims, the reality is that most instant tents take about 1-3 minutes to establish the basic structure, compared to 30+ minutes for conventional tents. Complete setup including staking and rainfly attachment typically adds a few more minutes.
Understanding the technology behind these quick-setup tent options helps set reasonable expectations and ensures you’ll get the most from your camping investment. The mechanics of a quick pitch tent may seem magical at first, but they operate on simple principles of tension and pre-assembled components.
Benefits of Choosing an Instant Tent for Your Outdoor Adventures
Instant tents offer numerous advantages that make them increasingly popular among various types of campers:
- Time efficiency: Save precious daylight hours for activities rather than struggling with complicated setup
- Reduced frustration: Virtually eliminate the tension that often accompanies traditional tent assembly
- Accessibility: Perfect for solo campers or those with limited mobility who can’t manage complex setups
- Arrival flexibility: Set up camp quickly even when arriving after dark or when unexpected weather threatens
- Family-friendly: Keep impatient children from waiting while parents struggle with complicated tent poles
The benefits of pop-up camping tents extend beyond mere convenience—they can fundamentally change how spontaneous you can be with your outdoor adventures, allowing for quick overnight trips without the usual setup headaches.
Essential Preparation Before You Pitch
Before heading out to your camping destination, proper preparation ensures a smoother experience with your instant tent:
- Practice at home first: Always set up a new tent at least once in familiar surroundings to understand its mechanisms
- Check your inventory: Verify all components are present and functional:
– Main tent body with attached frame
– Rainfly (if separate)
– Stakes (count them!)
– Guy lines
– Repair kit (if included)
– Footprint (if applicable) - Study your specific model’s instructions: While instant tents share similarities, each design has unique features
- Consider weather forecasts: Different conditions might require additional preparation or gear
- Pack necessary tools: Typically a mallet for staking, and potentially extra stakes for windy conditions
Getting familiar with your tent before your trip not only speeds up the actual campsite setup but prevents unwelcome surprises when you’re far from home. The ultimate guide to fast setup tents provides comprehensive information about different models and their specific requirements.
Step 1: Selecting the Ideal Campsite for Your Instant Tent
The perfect tent setup begins with choosing the right location. Even with an instant tent, site selection remains crucial for comfort and safety:
Look for ground that is:
– Flat and level: Prevents uncomfortable sleeping angles and stress on the tent structure
– Clear of sharp objects: Remove pinecones, sticks, and rocks that could puncture the tent floor
– Above potential water paths: Avoid depressions where rainwater might collect
– Protected from extreme wind: When possible, use natural windbreaks like hills or tree lines
Safety considerations include:
– Check for hazardous overhead branches (“widow makers”)
– Maintain safe distance from fire pits and cooking areas
– Consider proximity to facilities if camping at an established campground
– Allow sufficient space for guy lines and stakes beyond the tent footprint
When selecting your camping spot, consider how the sun will hit your tent in the morning—eastern exposure means earlier warming, which may or may not be desirable depending on your preferences. Before finalizing your site selection, browse various instant camping tent options to ensure you’ve chosen one appropriate for your camping environment.
Step 2: Unpacking and Initial Tent Placement
Proper unpacking sets the stage for successful setup:
- Clear the selected area of any remaining debris and small rocks
- If using a footprint (recommended to protect your tent floor), lay it down first, ensuring it’s slightly smaller than your tent’s dimensions to prevent water collection
- Remove the tent from its storage bag carefully, avoiding forceful pulling that might damage the integrated frame
- Orient the folded tent so the door will face your desired direction (typically away from prevailing winds or toward the best view)
- Keep all components organized and easily accessible—place stakes, guy lines, and the rainfly nearby
Position your tent with consideration for morning sun, wind direction, and camp layout. For optimal comfort, align the door with your cooking area while maintaining safe distance. The easy setup camping tent category offers various options with different door configurations and dimensions to suit your preferences.
Step 3: Deploying the Instant Frame System
This is where instant tents truly shine—the deployment process:
For cabin-style instant tents:
1. Unfold and spread the tent out completely flat with the floor down
2. Find the central hub or main extension points (typically on the roof)
3. Extend this central mechanism first, which often initiates the frame expansion
4. Push outward on the corners until you hear distinct clicking sounds as joints lock into place
5. Work systematically—either center-to-corners or top-to-bottom depending on design
6. Confirm each pole section is fully extended and locked before proceeding to the next
For pop-up style tents:
1. Remove any restraining straps or bands
2. Hold the tent away from your body in an open area
3. Allow the spring-loaded system to deploy (with caution, as some models deploy forcefully)
4. Guide the shape as it forms, ensuring no fabric gets caught in the mechanisms
Common troubleshooting tips:
– If poles stick, never force them—identify the obstruction instead
– Listen for locking sounds to confirm proper extension
– When poles don’t lock, check for dirt in the joints or bent sections
For camping enthusiasts seeking compact options, pop-up dome tent models offer excellent stability with particularly intuitive deployment systems.
Step 4: Securing Your Tent to the Ground
Proper staking is crucial even for instant tents, providing stability against wind and proper tension for optimal performance:
- Always stake the tent before attaching the rainfly for proper alignment
- Start with the main corners, inserting stakes at approximately 45-degree angles away from the tent
- Drive stakes until about 1/4 of their length remains above ground
- Once corners are secured, stake the midpoints of each side if your tent has these attachment points
- Pull the tent fabric taut but not overstretched as you secure each point
For different ground conditions:
– Hard ground: Use a mallet and consider specialized hard-ground stakes
– Sandy soil: Use broader stakes or sand anchors buried horizontally
– Rocky terrain: Use large rocks to secure guy lines if staking isn’t possible
Test stake security by gently pulling on each one before proceeding. Proper staking ensures your stress-free tent maintains its shape and stability throughout your camping trip.
Step 5: Attaching and Adjusting the Rainfly
The rainfly provides essential weather protection for your instant tent:
- Identify the front/back orientation of the rainfly (often indicated by labels or by matching door positions)
- Position the rainfly over the tent with assistance if available, especially for larger models
- Secure the rainfly corners to corresponding attachment points on the tent body or ground
- Connect any clips, Velcro tabs, or hooks that secure the fly to the tent frame
- Create a small gap between the fly and tent body for proper ventilation (typically 1-2 inches)
- Adjust the rainfly tensions evenly to prevent sagging areas that could collect water
Check that:
– All doors and windows align properly
– The rainfly extends fully over all mesh areas
– There’s enough clearance between the tent body and rainfly to prevent condensation transfer
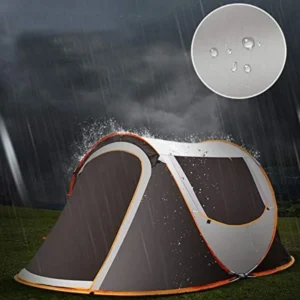
For comprehensive protection from the elements, consider waterproof pop-up tent options that feature enhanced seam sealing and water-resistant materials.
Step 6: Guy Line Setup for Maximum Stability
Guy lines significantly enhance tent stability, especially in windy conditions:
- Locate the guy line attachment points around the tent (typically at seams or reinforced points)
- Attach and extend guy lines outward at 45-degree angles from the tent
- Secure each line with stakes positioned 3-5 feet from the tent
- Adjust tensions using the plastic tensioners or by tying adjustable knots
- Ensure tension is even around the entire tent
For optimal wind resistance:
– Add more guy lines on the windward side
– Keep lines taut but not overly tight, which could stress seams
– Consider additional guy points during extreme weather conditions
Testing your setup by gently pushing against the tent walls can reveal areas needing adjustment. Understanding weather resistance in fast-pitch tents helps you make informed decisions about how extensively to deploy guy lines based on forecasted conditions.
Step 7: Final Adjustments and Interior Organization
Before considering your tent fully pitched, perform these final checks and adjustments:
- Walk around the entire perimeter, checking for proper tension at all points
- Test all doors and windows for smooth operation
- Adjust ventilation openings based on current weather and forecast
- Level the sleeping area within the tent, removing any remaining lumps
- Position the gear loft or storage pockets for convenient access
For interior organization:
– Place sleeping pads and bags away from doors
– Establish a designated area for footwear
– Hang a small light from ceiling attachment points
– Position essential items in storage pockets for nighttime access
These final touches transform your shelter into a comfortable living space. For couples or solo adventurers, 2-person pop-up tents offer excellent space efficiency while maintaining quick setup benefits.

Easy Setup Camping Tent, Instant Camping Tent
Instant Cabin Tent Double Layer Canvas 1-Minute Setup Spacious Family Camping Shelter with Air Vents$308.10 Select options This product has multiple variants. The options may be chosen on the product page
Pop Up Dome Tent, Waterproof Pop Up Tent
$218.89 Select options This product has multiple variants. The options may be chosen on the product page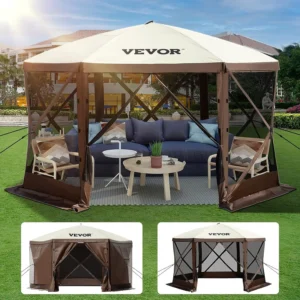 $633.01 Select options This product has multiple variants. The options may be chosen on the product page
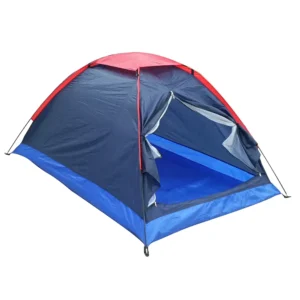
Easy Setup Camping Tent, Trekking Pole Backpacking Tent
$142.40 Select options This product has multiple variants. The options may be chosen on the product page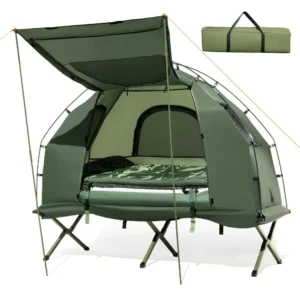
Easy Setup Camping Tent, Waterproof Camping Tent
All-in-One Elevated 1-Person Camping Tent Cot with Integrated Sleeping System for Outdoor Adventures$535.16 Select options This product has multiple variants. The options may be chosen on the product page
How to Take Down and Pack Your Instant Tent
Breaking camp requires just as much attention as setup to ensure your tent remains in good condition:
- Remove all personal items and sweep out debris
- Remove stakes (pulling by the stake itself, not the attached cords)
- Detach and fold the rainfly separately, ensuring it’s dry if possible
- For telescoping pole designs:
– Locate the release buttons or mechanisms (typically colored differently)
– Press these while gently collapsing sections inward
– Work systematically—reverse of the setup process - Fold the tent body:
– Flatten into a rectangle shape
– Fold to match the width of the storage bag
– Roll tightly from the end opposite the door, pushing air out as you go
– Use the weight of your body to compress while rolling - Secure with attached straps before attempting to insert into the bag
If packing a wet tent is unavoidable, remember to unpack and dry completely within 24 hours to prevent mildew. The process of taking down a two-person instant tent typically takes 3-5 minutes with practice.
Troubleshooting Common Instant Tent Problems
Even the best instant tents can present challenges. Here are solutions to common issues:
Q: My telescoping poles won’t extend or lock in place
A: Check for debris in the joints and ensure you’re pressing from the center hub outward. Apply even pressure and listen for the locking click.
Q: The tent won’t fit back into the storage bag
A: Roll more tightly, ensure all air is expelled, and check that telescoping poles are fully collapsed. Some manufacturers intentionally provide snug bags.
Q: My rainfly doesn’t align with doors/windows
A: Check orientation markers and ensure the fly isn’t installed backward. Most have tags indicating the front side.
Q: The tent floor isn’t sitting flat
A: Reposition stakes to create more even tension, and ensure the site is truly flat before setup begins.
Q: Water is leaking through seams
A: Apply seam sealer to stitched areas, focusing on the rainfly seams and corners where water tends to pool.
For weekend adventurers, easy setup tents for weekend camping offer reliable solutions with minimal troubleshooting requirements.
Maintaining Your Instant Tent for Longevity
Proper maintenance extends the life of your instant tent considerably:
- Clean with mild soap and water only, never machine wash or dry clean
- Always store completely dry to prevent mildew and material deterioration
- Lubricate zippers occasionally with silicone-based lubricant
- Inspect telescoping poles for damage before each trip
- Reapply waterproofing spray annually or after heavy use
- Store loosely in a cool, dry place rather than tightly compressed for long periods
- Check and replace worn guy lines and elastics as needed
Following these maintenance guidelines ensures your Explore Elements tent will provide years of reliable service through countless adventures.
Advanced Tips for Experienced Instant Tent Users
Once you’ve mastered the basics, these advanced techniques can enhance your experience:
- Time your setup process and challenge yourself to improve efficiency
- Practice setup in adverse conditions (wind, light rain) to prepare for real-world scenarios
- Use reflective guy lines for improved visibility at night
- Create custom stake positions marked on your footprint for consistent setup
- For desert camping, bring sand anchors as traditional stakes won’t hold
- In extremely windy conditions, position the lowest profile side toward the wind
- Add supplemental waterproofing to high-stress areas before extended trips
- Consider a portable battery fan for improved ventilation in humid environments
With experience, many users can reduce setup time to under a minute for smaller models—a significant advantage when weather threatens.
Instant Tents vs. Traditional Tents: When to Choose Each
| Feature | Instant Tents | Traditional Tents |
|---|---|---|
| Setup Time | 1-3 minutes | 15-30+ minutes |
| Weight | Heavier (8-15+ lbs) | Can be ultralight (2-5 lbs) |
| Packability | Bulkier, less compressible | More compact, especially backpacking models |
| Durability | More mechanical parts that can fail | Simpler design with fewer failure points |
| Price | Generally more expensive | Wider price range available |
| Wind Resistance | Moderate to good | Often superior when properly guyed out |
| Best Uses | Car camping, festival camping, family camping | Backpacking, extreme weather, ultralight adventures |
Instant tents excel in situations where setup speed and convenience matter most, like family car camping or short weekend trips. Traditional tents generally perform better for backpacking, extreme weather conditions, or when weight and pack size are critical concerns.
FAQs About Pitching Instant Tents
How long does setup really take?
With practice, most instant tents can be structurally erected in 60-90 seconds, with complete setup including staking and rainfly attachment taking 3-5 minutes.
Can one person set up larger instant tents?
Yes, most instant tents up to 8-person size can be set up by a single person, though larger models are easier with two people, especially in windy conditions.
Are instant tents waterproof?
Most quality instant tents are water-resistant, but not all are fully waterproof. Look for models with sealed seams, quality rainflies, and proper waterproofing treatments for best results.
How do instant tents perform in high winds?
Mid-range performance—better than basic pop-ups but typically not as stable as geodesic traditional tents. Proper staking and guy line deployment significantly improves wind performance.
Can I replace broken parts of an instant tent frame?
Some manufacturers offer replacement parts, but integrated frame designs often make repairs more challenging than with traditional tents. Contact the manufacturer directly for availability.
At Explore Elements, we’re committed to helping you find the perfect instant tent for your specific outdoor needs, ensuring every camping trip starts with an easy setup and ends with great memories rather than frustration.