
Understanding Canvas Tent Materials and Construction
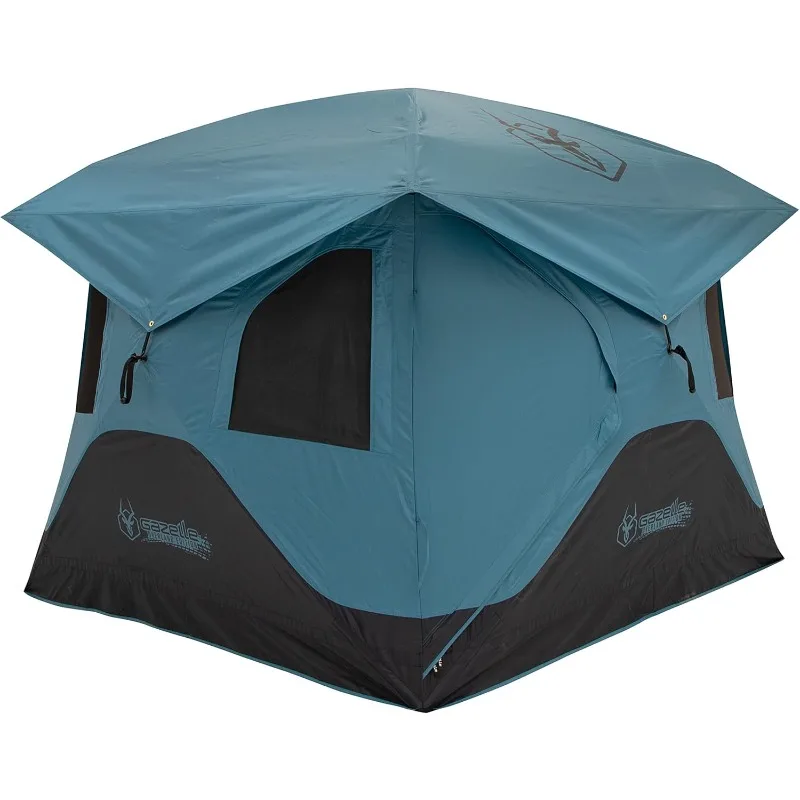
Canvas tents represent a premium investment in outdoor shelter, offering unmatched breathability, durability, and a classic aesthetic that synthetic alternatives can’t replicate. These sturdy shelters are constructed from either 100% cotton canvas or poly-cotton blends that combine natural fibers with synthetic strength.
The quality and performance of a canvas tent largely depends on its fabric weight, typically measured in ounces per square yard (oz) or grams per square meter (gsm). Premium canvas shelters for rugged camping typically range from 10-15 oz (340-500 gsm) – the heavier the fabric, the more durable and weather-resistant the tent, though with added weight and bulk.
Key components requiring regular maintenance include:
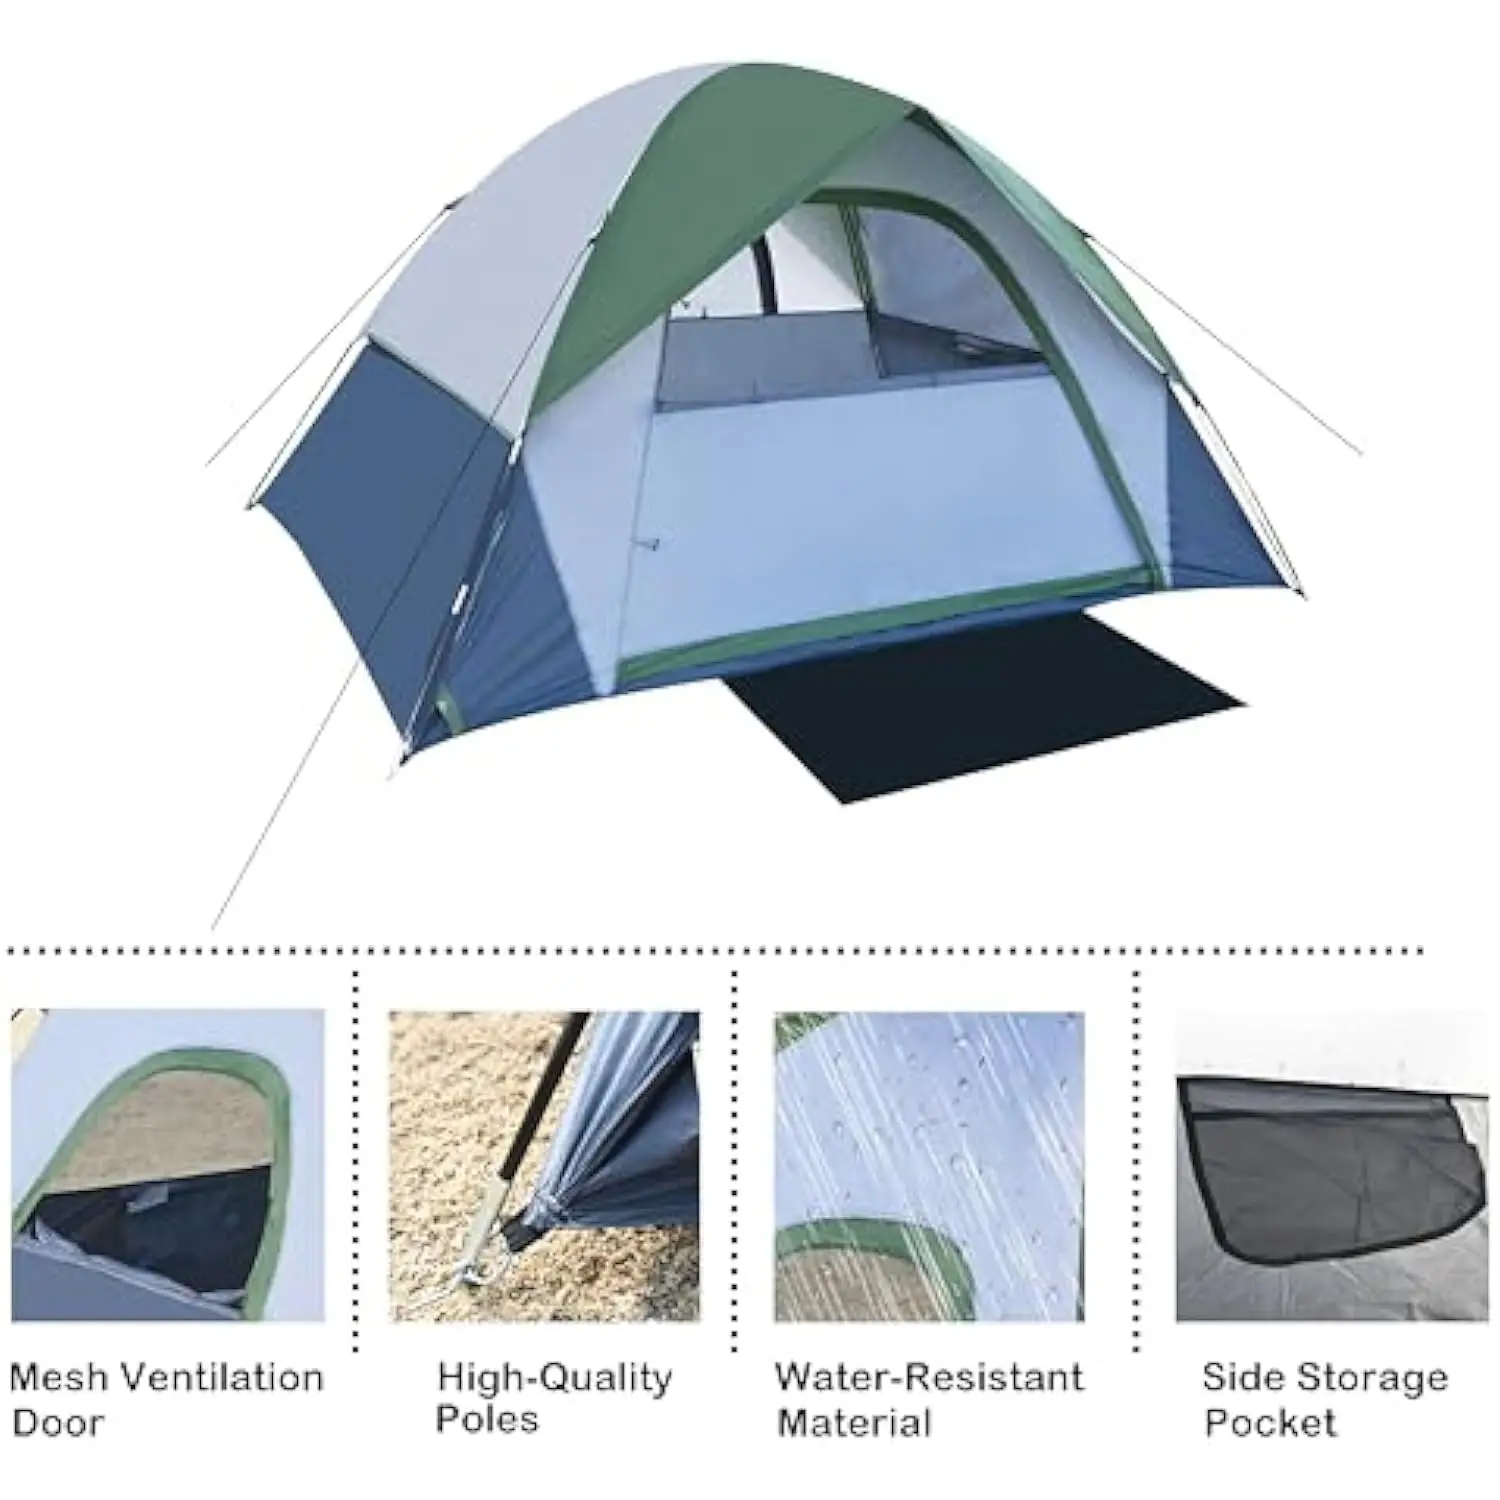
- Seams: Critical junctions where water can penetrate if not properly sealed
- Zippers: Moving parts that collect dirt and can corrode over time
- Poles: Supporting structures that may bend or break under stress
- Guy lines: Tension elements that maintain the tent’s shape
Understanding these fundamentals matters because canvas vs. nylon tents in wilderness settings require dramatically different care approaches. While synthetic tents can often be machine-washed and quickly dried, canvas demands specialized attention to preserve its natural properties and extend its lifespan.
The Essential Seasoning Process: Preparing Your New Canvas Tent
Seasoning your canvas tent isn’t an optional step—it’s a crucial process that activates the fabric’s natural waterproofing capabilities. This initial preparation might seem tedious, but it prevents frustrating leaks during your first camping adventure.
During seasoning, cotton fibers absorb water and swell, effectively closing the tiny needle holes created during manufacturing. This natural process tightens the weave and enhances water resistance without chemical treatments.
Follow these steps to properly season your new canvas tent:
- Set up the tent completely in fair weather with no rain forecast
- Thoroughly hose down the entire tent until the fabric is completely saturated
- Allow the tent to dry completely (typically 24-48 hours in good conditions)
- Repeat this wetting/drying cycle 2-3 times for optimal results
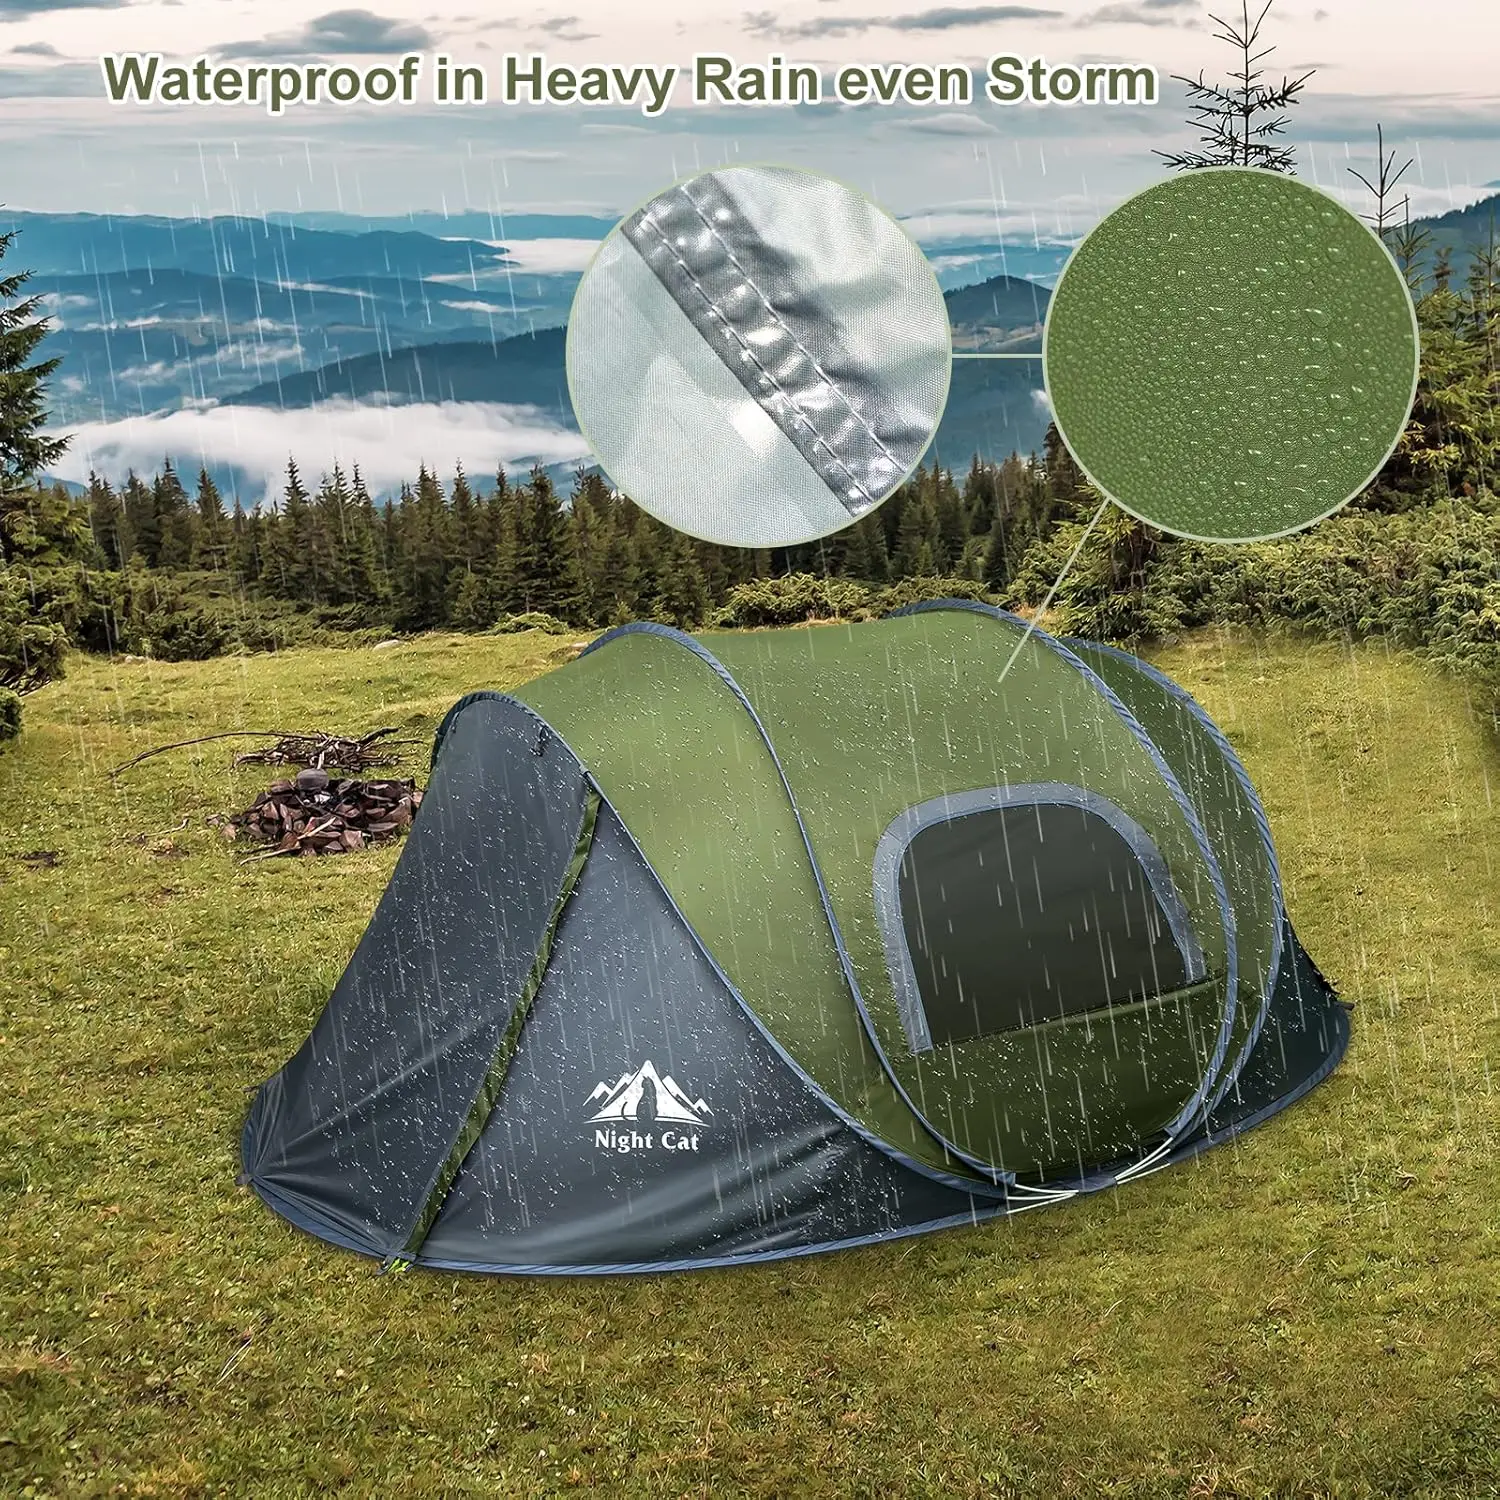
Many campers mistakenly believe they can skip this process or that factory treatments make seasoning unnecessary. However, unseasoned canvas can leak significantly during the first rain, while properly seasoned fabric creates a remarkably effective water barrier, as detailed in our definitive guide to heavy duty canvas shelters.
Strategic Setup: Choosing the Right Location to Prevent Damage
The longevity of your canvas tent begins with thoughtful site selection and proper setup. A well-chosen location prevents unnecessary wear, reduces cleaning requirements, and minimizes potential damage.
When selecting your campsite, consider these protective factors:
- Choose ground with a slight slope (1-2%) for natural drainage
- Stay at least 20 feet from trees to avoid sap, falling branches, and excessive pollen
- Consider sun exposure – while some is beneficial for drying, extended UV exposure can degrade canvas
- Avoid areas where water might pool during rainfall
Proper ground preparation is equally important:
– Remove all sharp objects, stones, and sticks that could puncture the floor
– Consider using a groundsheet for additional protection
– Create drainage channels around the perimeter if heavy rain is expected
The canvas tent setup guide with expert tips emphasizes that correct tensioning is critical—too loose and water will pool; too tight and fabric may tear at stress points. Adjust guy lines to create even tension throughout the structure, checking and readjusting as weather conditions change.
Daily maintenance while camping takes just minutes but prevents hours of intensive cleaning later:
– Sweep out debris regularly
– Keep zippers clean and free of dirt
– Brush off accumulated pollen, leaves, or tree debris from the roof
Cleaning Your Canvas Tent: Effective Methods for Different Situations
Regular cleaning not only keeps your canvas tent looking good but also extends its functional lifespan by preventing fabric degradation from contaminants. Different cleaning approaches are required depending on the situation.
Spot Cleaning (During Camping)
- Address fresh stains immediately with plain water and a soft brush
- For stubborn spots, use diluted mild soap (1 tablespoon per gallon of water)
- Always rinse thoroughly to prevent soap residue
Routine Cleaning (Post-Trip)
- Set up tent completely to access all surfaces
- Use a soft brush to remove loose dirt and debris
- Clean with mild soap solution (1:4 vinegar:water works well)
- Work in small sections from top to bottom
- Rinse thoroughly with clean water
Deep Cleaning (Seasonal or As Needed)
- Address specific stain types appropriately:
- Mud: Allow to dry completely, then brush off and treat residue
- Tree sap: Freeze with ice cube then gently scrape, followed by citrus-based cleaner
- Grease: Apply absorbent material (cornstarch/talc) before gentle cleaning
Safe cleaning agents include specialized canvas cleaners, mild dish soap, or diluted vinegar. Never use bleach, strong detergents, or spot removers designed for home fabrics, as these can damage waterproofing treatments and canvas fibers.
After cleaning, allow 6-24 hours of drying time depending on humidity and temperature. For detailed approaches that maintain waterproofing effectiveness, consult our guide on maintaining waterproof gear care.
Conquering Mold and Mildew: Prevention and Treatment
Canvas’s natural cotton fibers make it particularly vulnerable to mold and mildew—microscopic fungi that thrive in damp, dark environments. These organisms not only create unsightly stains but can permanently damage fabric and create health hazards for campers.
Early Warning Signs
Watch for:
– Musty, earthy odors even when the tent appears clean
– Discoloration in small spots (black, green, or white patches)
– Fabric that feels damp even after seemingly adequate drying time
Prevention Protocol
The best approach is prevention through moisture control:
– Never pack your tent when damp or wet
– Use ventilation options (windows, doors, vents) during use, especially in humid conditions
– Quick-dry after rainstorms by opening the tent fully when weather permits
– Store with moisture-absorbing products like silica gel packets
Effective Mold Removal
If you discover mold or mildew:
- Set up the tent in direct sunlight, which naturally kills many mold spores
- Brush away surface mold with a soft brush (outdoors to prevent spreading spores)
- Clean affected areas with a specialized canvas cleaner or diluted vinegar solution (1:3 vinegar:water)
- Rinse thoroughly and dry completely
- Apply a mold inhibitor designed for canvas once dry
When mold has penetrated deeply into fibers or covers extensive areas, professional cleaning may be necessary to fully restore the tent.
Waterproofing and Re-treating Canvas: Maintaining Weather Resistance
While properly seasoned canvas naturally resists water, this protection diminishes over time due to UV exposure, cleaning, and regular use. Recognizing when to re-waterproof is crucial for maintaining your tent’s performance in challenging weather.
Signs your tent needs re-waterproofing include:
– Water droplets no longer bead on the surface
– Fabric darkens and absorbs water rather than repelling it
– Increased interior dampness during rain
– Visible leaks, particularly at seams
Canvas waterproofing products fall into several categories, each with distinct advantages:
| Treatment Type | Pros | Cons | Best For |
|---|---|---|---|
| Wax-based | Excellent water resistance, traditional finish | Can darken fabric, requires heat application | Traditional canvas, longer-term protection |
| Silicone | Clear application, highly effective | May reduce breathability somewhat | Most canvas types, especially newer tents |
| Acrylic | Maintains breathability, UV resistant | May require more frequent reapplication | Lighter-weight canvas, hot climates |
Application technique matters as much as product choice:
1. Clean the tent thoroughly and allow to dry completely
2. Apply waterproofing in thin, even coats (typically 1 gallon/400 sq ft)
3. Pay special attention to seams and high-wear areas
4. Allow to dry completely between coats if multiple applications are needed
For tents used in challenging environments, the relationship between proper waterproofing and performance becomes even more critical, as explored in our guide on canvas shelter durability in rough weather.
Our selection of premium canvas camping tents includes models specifically designed for different weather conditions, but all require proper maintenance to perform as intended.
The Critical Drying Process: Preventing Long-term Damage
Of all maintenance procedures, proper drying is perhaps the single most important factor determining your canvas tent’s lifespan. Even premium waterproof camping tents require thorough drying to prevent damage.
Optimal Drying Protocol
- Set up tent completely with all doors and windows open
- Position to maximize airflow and sunlight exposure
- Turn periodically to ensure even drying
- Check hidden areas like corner seams and reinforced patches
- Feel the canvas with your bare hand to detect any remaining dampness
- Allow at least 24 hours for complete drying in good conditions
Drying times vary dramatically based on conditions:
– Sunny, breezy days: 4-8 hours
– Overcast but dry: 12-24 hours
– High humidity: Up to 48 hours
Challenging Conditions
When ideal drying isn’t possible:
– Use fans to increase air circulation
– Set up indoors in a garage or basement if outdoor drying isn’t possible
– Consider portable dehumidifiers for extremely damp conditions
– Extend guy lines to maximize air space between rainfly and tent body
WARNING: Never store your canvas tent while damp. If emergency packing of a wet tent is absolutely unavoidable, it must be unpacked and dried within 24-48 hours maximum to prevent mold growth and fabric degradation.
Strategic Storage: Protecting Your Investment Between Adventures
Proper storage is the final crucial step in canvas tent maintenance. Even the most thorough cleaning and drying can be undermined by poor storage conditions that promote mold, pest damage, or fabric deterioration.
Ideal Storage Environment
- Temperature: 40-70°F (4-21°C)
- Humidity: 30-50%
- Ventilation: Some air circulation
- Light: Minimal direct sunlight
- Position: Off concrete floors, away from chemicals
Storage Methods Compared
| Method | Advantages | Disadvantages | Best For |
|---|---|---|---|
| Folding | Takes less space, traditional | Creates hard creases that can weaken fabric over time | Short-term storage |
| Rolling | Prevents hard creases, better for canvas | Requires more storage space | Long-term storage |
| Loosely packed | Minimal strain on fabric and waterproofing | Takes most space | Extended storage periods |
The best storage containers are breathable cotton or canvas bags that protect from dust while allowing moisture to escape. Avoid plastic bins or vacuum bags that trap humidity and promote mold growth.
For seasonal storage, implement these additional measures:
– Clean all metal components and apply a light coat of protective oil
– Check for and repair any small damages before storing
– Add natural pest deterrents like cedar blocks
– Schedule mid-storage checks every 2-3 months
Special considerations apply when living in canvas tents long-term, where regular maintenance becomes even more crucial due to constant use.
DIY Repairs: Addressing Common Canvas Tent Issues
Even with meticulous care, canvas tents will occasionally require repairs. Having the skills and supplies to address common issues can save your camping trip and extend your tent’s useful life.
Essential Repair Kit Items
- Canvas repair patches (matching weight and color)
- Heavy-duty waxed thread and canvas needles
- Seam sealer for canvas
- Replacement grommets and installation tools
- Zipper lubricant and replacement pulls
- Multi-tool with pliers and scissors
Common Repair Techniques
Small Holes (under 1 inch)
1. Clean area surrounding hole
2. Apply patch extending 1 inch beyond damage on all sides
3. Use canvas adhesive or hand-stitch with waxed thread
4. Seal edges with waterproofing treatment
Larger Tears
1. Align torn edges precisely
2. Stitch with matching thread using backstitch
3. Apply patch over the repair on both inside and outside
4. Seal completely with canvas-specific waterproofing
Zipper Issues
– Clean with soft brush and warm water
– Apply zipper lubricant (never regular household oil)
– Replace damaged pulls or sliders when necessary
– Re-stitch separated zipper sections with zigzag stitch
Heavy-duty 4-season tents often include repair materials, but building your own comprehensive kit ensures you’re prepared for any situation.
Long-Term Care for Extended Setup or Seasonal Use
Canvas tents used for extended periods—whether for seasonal camping, hunting cabins, or semi-permanent shelters—require additional maintenance considerations to withstand constant exposure to the elements.
For tents left standing for weeks or months:
- Inspect guy lines and stakes weekly, adjusting tension as needed
- Clear roof of debris after storms or high winds
- Maintain clearance around the tent to prevent vegetation contact
- Consider additional UV protection for extended sun exposure
- In forested areas, check regularly for sap, bird droppings, and acidic leaf debris
The maintenance schedule intensifies with length of setup:
| Duration | Inspection Frequency | Special Considerations |
|---|---|---|
| Weekend trip | Before packing | Basic cleaning |
| 1-2 weeks | Every 2-3 days | Check guy lines, clear debris |
| 1+ months | Weekly thorough check | UV protection, mold inspection, tension adjustments |
| Seasonal | Bi-weekly deep inspection | Reinforcement of high-wear areas, seasonal treatment renewal |
Climate-specific maintenance is essential for four-season tent features and benefits. In humid environments, increase ventilation and inspect more frequently for mold. In sunny locations, consider additional UV protection treatments and check for fabric degradation more often.


Heavy Duty 4 Season Tent, Mountaineering Tent, Winter Camping Tent
$870.40 Select options This product has multiple variants. The options may be chosen on the product page
Compact Backpacking Tent, Lightweight Backpacking Tent, Waterproof Camping Tent
$335.52 Select options This product has multiple variants. The options may be chosen on the product page
Ultralight Backpacking Tent, Ultralight Dome Tent, Winter Camping Tent
Price range: $369.63 through $370.07 Select options This product has multiple variants. The options may be chosen on the product page
Camping Tent with Vestibule, Waterproof Camping Tent
Price range: $407.89 through $479.48 Select options This product has multiple variants. The options may be chosen on the product page
Heavy Duty 4 Season Tent, Ultralight Freestanding Tent, Winter Camping Tent
$3,722.66 Select options This product has multiple variants. The options may be chosen on the product page $1,221.93 Select options This product has multiple variants. The options may be chosen on the product page
Canvas Tent Troubleshooting: Solving Persistent Problems
Even with diligent maintenance, some issues may persist. Here are solutions to the most common canvas tent challenges:
Q: My tent still leaks despite seasoning and waterproofing. What’s happening?
A: Focus on seams and stress points, which often need additional sealing beyond general waterproofing. Apply specialized canvas seam sealer to all stitching lines, particularly at corners and around doors and windows.
Q: The canvas has become stiff and difficult to fold. How can I restore flexibility?
A: Canvas naturally stiffens over time. Set up the tent on a warm, sunny day and lightly spray with clean water. As it dries, the fibers will soften. For extreme cases, commercial canvas softeners designed for outdoor fabrics can help restore pliability.
Q: My tent developed significant sagging after a rainstorm. Is this normal?
A: Canvas naturally tightens when dry and loosens when wet. In cold weather, canvas tightens (3-5% shrinkage), while heat and humidity cause stretching. Adjust guy lines during weather changes, and ensure your winter camping tent is properly tensioned for changing conditions.
Q: There’s a persistent moldy smell despite cleaning. How do I eliminate it?
A: Deodorize with a solution of 1 cup white vinegar to 1 gallon water, spray lightly over all surfaces, and allow to dry completely in direct sunlight. Repeat as necessary. For persistent odors, enzyme-based cleaners designed for outdoor gear can break down remaining organic material.
Environmental Considerations and Eco-Friendly Canvas Care
Traditional tent care often involves chemicals that can impact both the environment and the campers using the tent. Eco-conscious alternatives can be equally effective while reducing environmental footprint.
| Maintenance Need | Traditional Approach | Eco-Friendly Alternative | Effectiveness Comparison |
|---|---|---|---|
| Cleaning | Chemical detergents | White vinegar solution, castile soap | Equal effectiveness for routine cleaning |
| Mold removal | Bleach solutions | Vinegar, tea tree oil solution | Good for light/moderate mold (severe cases may need stronger treatment) |
| Waterproofing | Silicone/chemical sprays | Beeswax-based treatments | More frequent application needed but more natural |
| Stain removal | Chemical spot removers | Lemon juice, baking soda paste | Works well on organic stains; may require more effort |
When camping in sensitive ecosystems, consider:
– Cleaning your tent away from water sources to prevent detergent runoff
– Using biodegradable soap products when cleaning in backcountry areas
– Applying treatments at home before trips rather than in natural settings
– Choosing products with minimal packaging and recyclable containers
These considerations help preserve the natural environments we enjoy through camping while maintaining equipment performance.
Essential Maintenance Toolkit and Product Recommendations
Assembling a comprehensive maintenance kit ensures you’re prepared for routine care and emergency repairs. Here’s what experienced canvas tent owners keep on hand:
Cleaning Supplies
- Soft-bristled brush
- Microfiber cloths
- Natural sponges
- Canvas-safe cleaner
- Mold/mildew remover formulated for tents
Waterproofing Materials
- Canvas-specific waterproofing treatment
- Seam sealer for canvas
- Application brushes and sponges
- Spray bottle for diluted solutions
Repair Essentials
- Canvas patches in matching weight/color
- Heavy-duty waxed thread
- Canvas needles
- Grommet repair kit
- Zipper repair components
- Tent pole splints
Storage Supplies
- Cotton storage bags
- Moisture absorbers
- Natural pest deterrents
For specialized tents like 4-season winter 2-person tents, include additional cold-weather specific items such as zipper lubricant that won’t freeze and repair tape that adheres in cold conditions.
When to Seek Professional Help: Beyond DIY Canvas Care
While most canvas tent maintenance can be handled by owners, some situations call for professional intervention. Knowing when to seek expert help can save money and extend your tent’s life.
Consider professional services when:
- Extensive mold has penetrated deep into fibers
- Tears exceed 6-8 inches or occur at critical structural points
- Multiple leak points persist despite proper treatment
- Canvas has significant UV damage or fabric thinning
- Major structural components have failed
- Fire or heat damage has occurred
When choosing a canvas specialist:
– Look for those with specific experience with outdoor canvas (not just awning or marine canvas)
– Ask about their familiarity with your specific tent brand and model
– Request examples of similar repairs they’ve completed
– Compare repair costs against replacement value (repairs exceeding 40-50% of replacement cost may not be economical)
Most repairs range from $50-200 depending on complexity, while comprehensive re-waterproofing services for large tents may cost $100-300. Turnaround times typically range from 3 days to 2 weeks depending on the service.
For specialized structures like our waterproof pop-up tents, always consult with technicians familiar with the specific mechanisms and materials.
By following this comprehensive maintenance guide, your canvas tent can provide decades of reliable service across countless adventures. While canvas requires more care than synthetic alternatives, the superior comfort, breathability, and durability make it worth the effort for serious outdoor enthusiasts.