
Understanding Canvas Tents: Why Setup Matters
Canvas tents represent a traditional camping shelter option that continues to be popular for good reason. Made from natural cotton fibers, these tents offer exceptional durability, breathability, and a unique camping experience that synthetic alternatives simply can’t match. However, the benefits of canvas shelters for rugged camping only fully materialize when they’re properly set up.
Unlike lightweight synthetic tents, canvas shelters require more thoughtful installation due to their heavier materials and specialized design. The consequences of improper setup can be severe:
- Water pooling that leads to leaks and damaged fabric
- Improper tension causing premature wear and tear
- Inadequate staking resulting in collapse during wind
- Poor ventilation creating mildew and mold issues
When comparing properly maintained canvas tents to synthetic options, the difference is striking. A well-maintained canvas tent can last 10-15 years or more, while many synthetic tents may need replacement after just 3-5 seasons of regular use. This longevity makes learning proper setup techniques particularly valuable for those who have invested in canvas tents for rugged camping.
Essential Pre-Trip Preparation
Before heading out on your canvas tent adventure, thorough preparation will save you significant time and frustration at the campsite.
Pre-Trip Inspection Checklist:
* Examine tent body for holes, tears, or mildew
* Check all seams for integrity and waterproofing
* Inspect poles for cracks or splitting
* Verify all guy lines are intact and untangled
* Count stakes and ensure they’re straight and undamaged
* Test zippers to confirm smooth operation
A standard canvas tent inventory typically includes:
* Main tent body (1)
* Center pole(s) (1-2, depending on tent style)
* Supporting poles (4-12)
* Stakes (12-24)
* Guy lines (8-16)
* Groundsheet/footprint (1)
* Mallet or hammer (1)
* Tensioners (8-16)
For new canvas tents, the “seasoning” process is essential. This involves setting up the tent before your trip and lightly spraying it with water to allow the cotton fibers to swell and close the tiny gaps in the weave. This improves the tent’s natural water resistance and should be done before your first camping trip.
Always review your specific manufacturer’s instructions, as they may contain details unique to your model that complement these general guidelines. Taking time to practice setup in your yard or a local park before your trip ensures you’ll be familiar with the process when you arrive at your destination. This practice is particularly valuable when camping in areas known for canvas shelter durability in rough weather.
Selecting the Ideal Campsite for Canvas Shelters
Finding the perfect spot for your canvas tent is crucial for both comfort and safety. Take time to assess potential campsites with these key criteria in mind:
Ground Surface Assessment:
* Look for level ground with minimal slope (less than 3 degrees if possible)
* Choose smooth terrain free from sharp rocks, roots, and debris
* Avoid deep grass or vegetation that can trap moisture beneath the tent
Water Management Considerations:
* Stay at least 15 feet away from water sources for environmental protection
* Select elevated ground that won’t collect rainwater
* Check for signs of previous water flow or pooling
* Look up and around for natural drainage paths during rainfall
Canvas tents are more affected by wind than their synthetic counterparts, so wind exposure deserves special attention. Position your tent to utilize natural windbreaks like boulders or tree lines (while staying safely away from potential falling hazards). Consider how the wind typically flows through your chosen area and orient your tent door away from the prevailing wind direction.
Before unpacking your tent, clear the ground of any sharp objects, create a relatively flat surface, and consider the sun’s path to avoid excessive heat buildup in the morning. Many of these considerations overlap with easy setup tents for weekend camping, but become even more important with heavier canvas structures.
For different camping environments, consider exploring our selection of canvas camping tents designed for various terrain and weather conditions.
Essential Tools & Equipment for Successful Setup
Having the right tools at hand makes canvas tent setup significantly easier and more efficient. Unlike lightweight backpacking tents, canvas shelters require specialized equipment due to their weight and setup requirements.
Essential Canvas Tent Setup Tools:
- Heavy-duty mallet or hammer: For driving stakes into hard or compact ground
- Strong stakes: Both standard and heavy-duty versions (10-12” minimum length)
- Aluminum stakes for normal soil
- Steel stakes for hard ground
- Screw-type stakes for sandy soil
- Ground protection: Canvas-compatible footprint or heavy-duty tarp
- Gloves: To protect hands during setup and when handling guy lines
- Multi-tool or knife: For adjustments and emergency repairs
- Extra guy lines: 25-50 feet of additional rope for custom rigging
- Tensioners: For easy adjustment of guy lines
- Canvas-specific repair kit: Including waxed thread, canvas patches, seam sealer
For larger or taller canvas structures, consider adding a small step ladder to your kit for safe access to the center pole or upper frame sections. This is particularly important when setting up heavy-duty 4-season tents with higher profiles.
Keep your tools organized in a dedicated bag to ensure you can find everything quickly. Remember that canvas tent setup typically requires more physical effort than synthetic tents, so having proper tools means less strain and frustration during the process.
Step-by-Step Canvas Tent Assembly: Basic Technique
Follow this systematic approach to properly erect your canvas tent with minimal frustration:
Unpacking: Carefully remove the tent from its storage bag and lay it flat on the ground without dragging the fabric. Check components against your inventory list.
Ground Preparation: Place your groundsheet or footprint on the prepared site, ensuring it’s centered and properly oriented according to your planned door position.
Tent Body Positioning: Unfold the canvas tent body carefully on top of the footprint, positioning it with the door facing your preferred direction (usually away from prevailing winds). Make sure the tent is centered on the groundsheet.
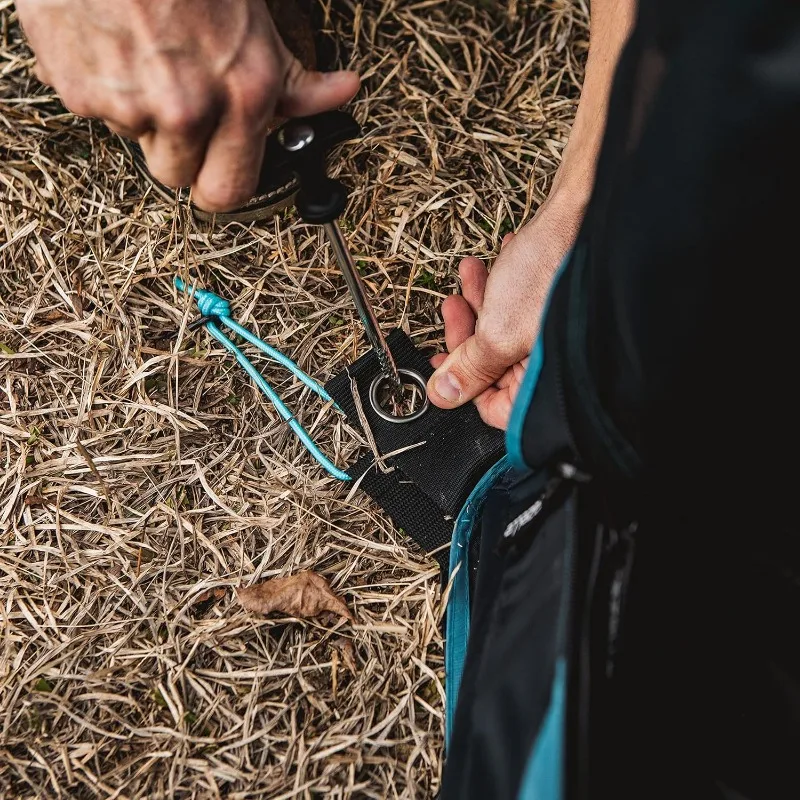
Initial Staking: Begin by staking the main corners of the tent to prevent shifting. For bell tents, work in a circular pattern; for wall or cabin tents, start with corners and work inward.
Main Support Assembly: For bell tents, insert the center pole through the designated opening and gradually raise it upright, ensuring the pole cap fits securely in the center roof fitting. For cabin or wall tents, assemble the frame structure according to the connection sequence in your manual.
Wall Extension: Once the main structure is standing, work your way around the tent securing wall sections. For wall tents, attach the wall fabric to the frame as you go.
Door Frame Setup: Pay special attention to the door frame, ensuring it’s properly tensioned and aligned. Test the door operation before proceeding to make necessary adjustments while the structure is still flexible.
Initial Tension Adjustment: Before final staking and guy lines, walk around the tent adjusting the position and making sure the canvas is evenly distributed with no obvious wrinkles or sagging areas.
Pole assembly techniques vary significantly between tent styles. For a-frame or wall tents, poles typically connect at joints to create a rigid structure. Bell tents commonly use a single center pole with supporting poles around the perimeter. Frame-based canvas tents use interconnecting poles that create a more complex but stable structure.
The assembly process for canvas tents is more involved than easy setup camping tents, but the extra effort results in a stronger, more comfortable, and more weather-resistant shelter.
Mastering Guy Lines: The Key to Canvas Tent Stability
Guy lines are critical to your canvas tent’s stability and functionality, making the difference between a taut, weather-resistant shelter and a saggy, vulnerable one.
Proper Guy Line Technique:
Identify All Attachment Points: Most canvas tents have multiple guy line attachment points – use all of them for maximum stability. Start with the main corner and central attachment points, then add additional lines.
The 45-Degree Rule: Set stakes at approximately 45 degrees from the tent’s edge. This angle provides the optimal balance of downward and outward force, keeping the tent taut without pulling it out of shape.
Sequential Tensioning Pattern: Rather than fully tightening one guy line before moving to the next, work in a systematic pattern—first setting all lines loosely, then gradually increasing tension across the tent. Work from opposing sides to maintain balance.
Tensioner Usage: Slide the tensioner up the guy line to create initial tension, then adjust as needed. Leave enough slack for adjustment as canvas can shrink slightly when wet.
Evening Out Tension: Walk around your tent, visually inspecting for even tension across all fabric panels. The canvas should be uniformly taut without severe wrinkles or overly tight sections.
Common guy line mistakes include staking too close to the tent (creating insufficient tension), staking too far away (causing excessive strain on attachment points), or creating uneven tension that distorts the tent shape. These errors significantly reduce your tent’s weather resistance and durability.
For optimal stability, use a systematic approach to tensioning: set all main guy lines first, then secondary lines, making minor adjustments after all lines are in place. This methodical process ensures balanced tension throughout the structure.
Weather-Specific Setup Adaptations
Your canvas tent can handle various weather conditions when properly configured with these specialized techniques:
Wind Protection Strategies
In windy conditions, reinforce your standard setup with additional measures:
- Add extra guy lines to the windward side of the tent
- Use heavy-duty stakes driven deeper into the ground at a lower angle (30-35 degrees)
- Position your tent with the lowest profile facing the wind when possible
- Create a windbreak with your vehicle or natural barriers like large rocks or dense bushes
- Check and retighten guy lines regularly as canvas stretches slightly in sustained wind
Rain-Ready Configuration
Preparing for rain requires special attention to tension and drainage:
- Ensure the canvas is tightly tensioned with no sagging areas where water could pool
- Create a small trench around the tent perimeter (where permitted) to direct water away
- Position the door away from water flow patterns
- Adjust guy lines for increased roof tension to improve water runoff
- Ensure ventilation panels remain partially open to reduce condensation despite the rain
Cold Weather Considerations
Canvas tents excel in cold weather with these adaptations:
- Add an insulating groundsheet or carpet over your standard groundsheet
- Consider using a tent-safe heater with proper safety precautions and ventilation
- Increase stake depth for stability in frozen ground
- Brush off snow accumulation regularly to prevent excessive weight on the structure
- Keep ventilation partially open to prevent condensation from freezing inside the tent
These weather adaptations make canvas tents remarkably versatile across seasons. For specialized cold-weather camping, explore our winter camping tent collection designed for extreme conditions.

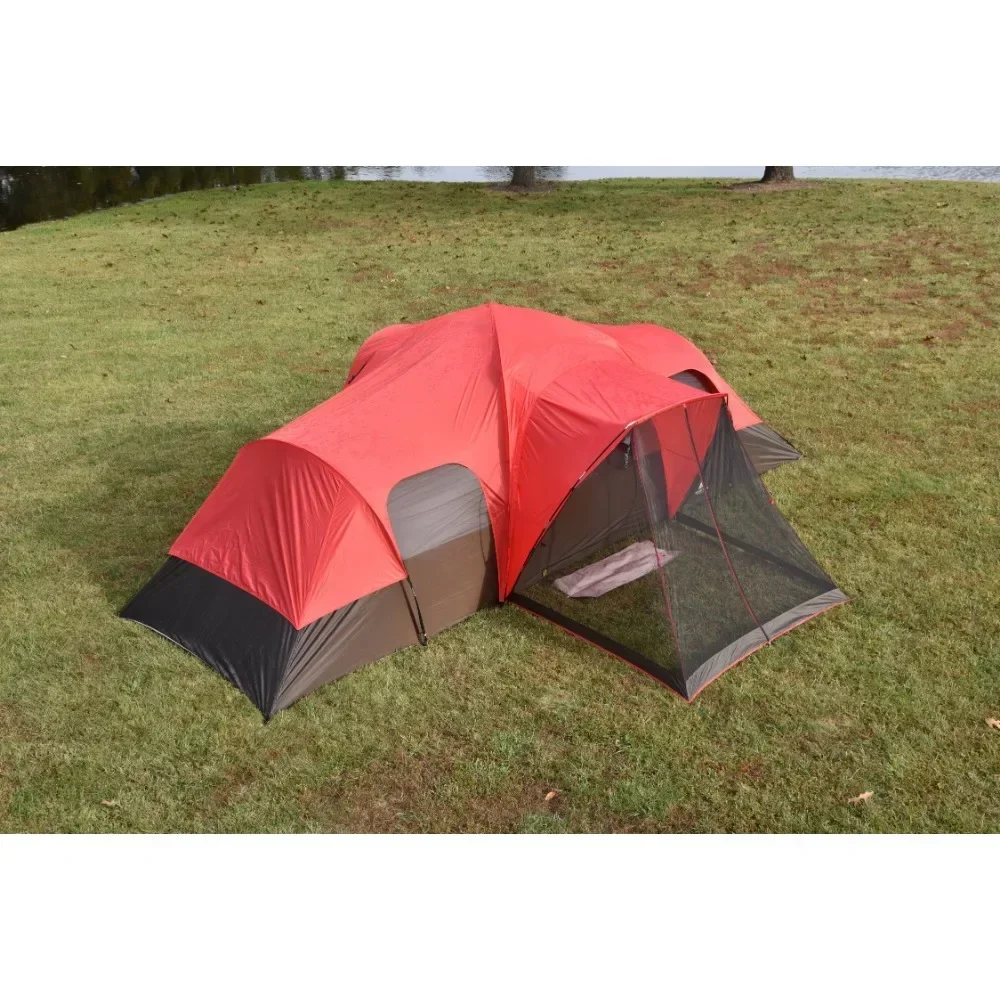
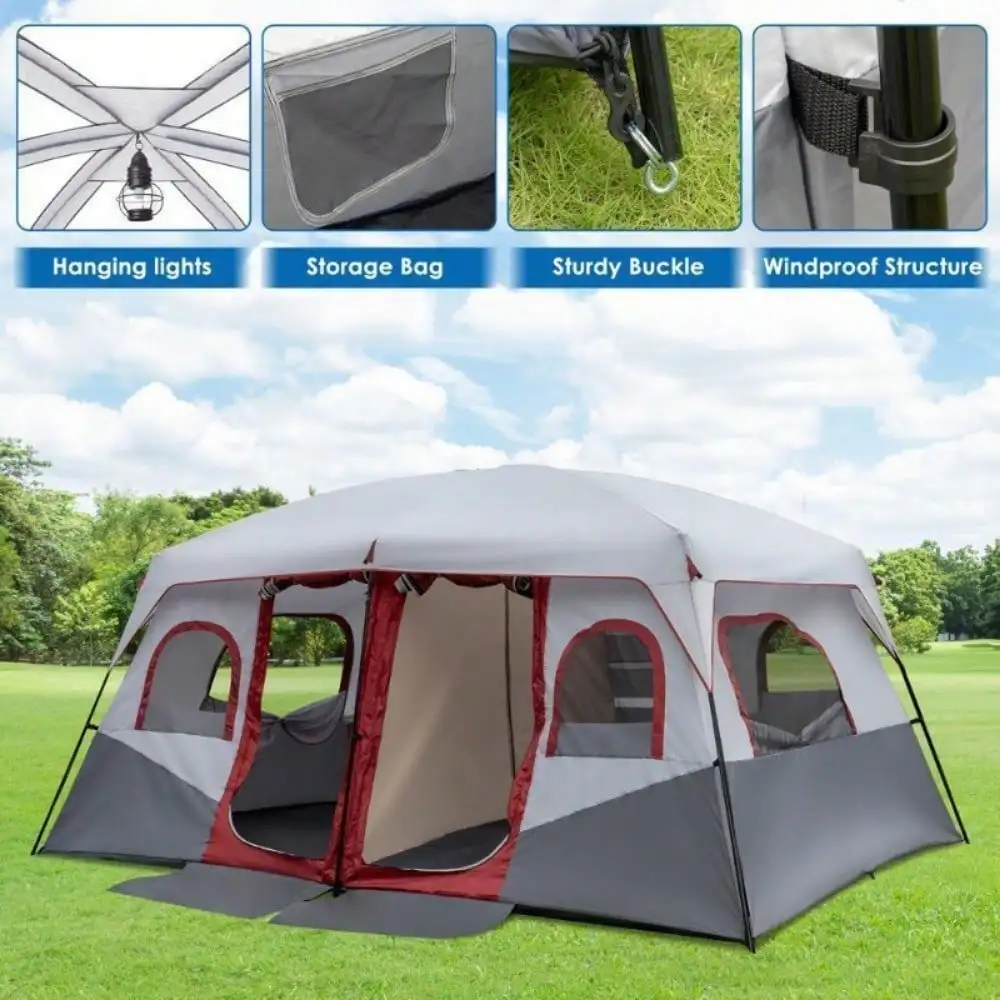
Tall / Stand Up Camping Tent, Two Room Camping Tent
$407.93 Select options This product has multiple variants. The options may be chosen on the product page
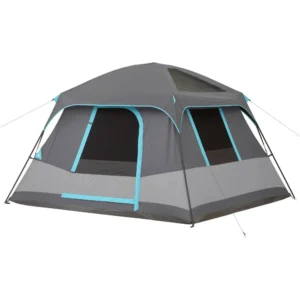
Heavy Duty 4 Season Tent, Mountaineering Tent, Winter Camping Tent
$870.40 Select options This product has multiple variants. The options may be chosen on the product page
Compact Backpacking Tent, Lightweight Backpacking Tent, Waterproof Camping Tent
$335.52 Select options This product has multiple variants. The options may be chosen on the product page
Ultralight Backpacking Tent, Ultralight Dome Tent, Winter Camping Tent
Price range: $369.63 through $370.07 Select options This product has multiple variants. The options may be chosen on the product page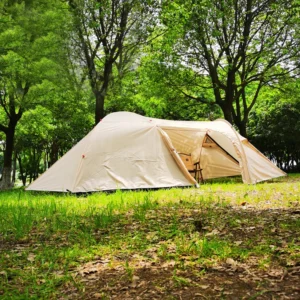
Camping Tent with Vestibule, Waterproof Camping Tent
Price range: $407.89 through $479.48 Select options This product has multiple variants. The options may be chosen on the product page
Heavy Duty 4 Season Tent, Ultralight Freestanding Tent, Winter Camping Tent
$3,722.66 Select options This product has multiple variants. The options may be chosen on the product page
Troubleshooting Common Canvas Tent Problems
Even with careful setup, issues can arise with canvas tents. Here’s how to diagnose and fix the most common problems:
Sagging Fabric Sections
* Problem Signs: Loose, drooping canvas, especially after rain
* Solution: Readjust guy lines to create even tension across the tent surface. For bell tents, check that the center pole is fully extended and properly positioned.
Water Pooling on Roof
* Problem Signs: Visible depressions where water collects
* Solution: Increase tension on guy lines near the affected area to create proper slope for water runoff. Consider adding temporary support under significant depressions during heavy rain.
Zipper Difficulties
* Problem Signs: Catching, misalignment, or difficult operation
* Solution: Check tent tension—over-tensioning can cause zipper problems. Clean zippers with a soft brush and apply zipper lubricant. Ensure the door frame has even tension on all sides.
Pole or Stake Issues
* Problem Signs: Bent poles, pulled-out stakes, listing structure
* Solution: Replace damaged components immediately. For pulled stakes, reposition at a different angle or use larger stakes. Add rocks to secure stake bases in loose soil.
Excessive Condensation
* Problem Signs: Moisture droplets on interior walls, damp feeling inside
* Solution: Improve ventilation by opening air vents or the door partially. Avoid cooking inside the tent and minimize wet items stored inside.
Uneven Tension
* Problem Signs: Wrinkles, billowing sections, asymmetrical appearance
* Solution: Loosen all guy lines and restart the tensioning process systematically from the main corners, working in a balanced pattern around the tent.
For more detailed guidance on maintaining your tent in optimal condition, our canvas tent care guide provides comprehensive information on addressing and preventing common issues.
Canvas Care During Setup and Use
Proper care of your canvas tent begins during the setup process and continues throughout your camping trip:
Handling Best Practices:
* Never drag canvas across rough surfaces
* Avoid pulling forcefully on fabric when tensioning
* Always lift and position carefully when adjusting components
* Keep sharp objects away from the tent material
* Remove shoes before entering or use a dedicated mat
If canvas becomes soiled during setup, spot clean with clear water and a soft brush, allowing it to dry completely before packing. For stubborn spots, use only cleaners specifically designed for canvas fabric.
Ventilation management is crucial for canvas longevity. Even during rainfall, maintain some airflow by keeping vents partially open and adjusting door positions to allow fresh air circulation. This prevents the moisture buildup that leads to mildew—the primary enemy of canvas.
Perform daily maintenance by:
* Checking and adjusting guy line tension
* Inspecting for any developing wear points where poles contact canvas
* Ensuring stakes remain securely planted
* Clearing debris from the roof and walls
* Verifying that ventilation remains adequate
When breaking camp, thoroughly dry your tent before storage, even if this means setting it up again at home. For enhanced performance in wet conditions, consider our waterproof camping tents with additional protective treatments.
Advanced Setup Techniques for Experienced Canvas Campers
Once you’ve mastered the basics, these advanced techniques can enhance your canvas tent experience:
Rapid Setup Sequence:
Experienced campers can reduce setup time by up to 50% using a coordinated approach where the main structure is raised first with minimal staking, followed by systematic tensioning. This method requires practice but significantly speeds up the process.
Enhanced Weather Protection:
Create custom storm protection by adding crossing guy lines for additional stability in high winds. For extreme conditions, consider using a “web” pattern of lines from the center pole to distribute force more evenly across the structure.
Interior Optimization During Setup:
Configure your tent with interior layout in mind from the beginning—position the door relative to where sleeping areas will be, create natural divisions using tension points, and establish dedicated areas for gear storage during the initial setup.
Add-On Integration:
Many canvas tents can be enhanced with awnings, vestibules, or annexes. When planning to use these additions:
* Set up the main tent completely before attaching add-ons
* Ensure the main structure has reached optimal tension first
* Create a slight slope on awnings for water runoff
* Use additional poles or supports for larger extensions
Seasonal Adaptations:
While maintaining the same basic structure, you can optimize your tent for different seasons by adjusting guy line tension seasonally (tighter for wind, slightly looser for hot weather to improve airflow) and repositioning your tent to maximize natural heating and cooling.
For more specialized information on larger or more complex structures, our definitive guide to heavy-duty canvas shelters provides detailed instructions. If you’re considering a larger setup, explore our two-room camping tent options that require these advanced techniques.
Canvas vs. Synthetic Tents: Setup Approach Differences
Understanding the key differences between canvas and synthetic tent setup helps you appreciate the unique requirements of canvas shelters:
Material Behavior:
* Canvas is significantly heavier (typically 2-3 times the weight of comparable synthetic tents)
* Canvas stretches when wet and may require readjustment after rainfall
* Synthetic materials maintain consistent tension regardless of moisture
* Canvas requires more careful handling to prevent tears and abrasion
Structural Support:
* Canvas demands stronger, heavier poles due to fabric weight
* Canvas typically uses fewer but sturdier poles compared to synthetic tents’ multiple lightweight poles
* Synthetic tents often use flexible pole systems that create tension automatically
* Canvas relies more heavily on guy lines and stakes for proper structure
Setup Time Comparison:
A comparable-sized canvas tent typically takes 1.5-2 times longer to properly set up than a synthetic alternative. However, this additional time investment results in a more durable and comfortable shelter with better insulation properties and natural breathability.
For a comprehensive comparison of different tent materials and their performance characteristics, explore our detailed guide on canvas vs. nylon tents for wilderness camping.
Final Setup Inspection Checklist
Before considering your canvas tent fully pitched and ready for use, perform this comprehensive final inspection:
Structure Assessment:
* Center pole is fully extended and properly seated (for bell tents)
* Frame components are securely connected with no bending or stress points (for wall/cabin tents)
* Roof tension is even with no visible sagging areas
* Walls hang properly with consistent distance from ground
Security Verification:
* All stakes are firmly anchored at proper angles
* Guy lines maintain appropriate tension without stretching fabric
* Door and window mechanisms operate smoothly
* No sharp objects contact tent fabric from inside or outside
Weather Readiness:
* Proper drainage paths exist around the tent perimeter
* Ventilation systems are functional and adjustable
* Rainfly (if applicable) is properly positioned and tensioned
* Wind-facing sides have additional reinforcement
Interior Organization:
* Sleeping areas are positioned away from walls to prevent moisture contact
* Gear storage is arranged to maintain clear pathways
* Any heating sources meet safe distance requirements from canvas walls
Keep these quick-fix items accessible during your trip:
* Extra stakes and guy lines
* Mallet or hammer
* Multi-tool or repair kit
* Waterproofing spray or wax for emergency seam treatment
Many campers find that dome camping tents require different inspection criteria, so adjust your checklist if you’re using multiple shelter types.
With proper setup and regular maintenance, your canvas tent will provide years of comfortable shelter and become a trusted companion on countless outdoor adventures. At Explore Elements, we believe that time invested in proper setup pays dividends in camping comfort and equipment longevity.