
Understanding Pop-Up Tent Waterproofing Basics
Pop-up tents have revolutionized camping with their convenience, but understanding their waterproofing capabilities is essential before heading outdoors. Unlike premium camping shelters, pop-up tents typically have more basic waterproofing systems that require proper knowledge to maintain.
Waterproofing in tents is measured using “hydrostatic head” ratings, expressed in millimeters. This rating indicates how much water pressure the fabric can withstand before leaking. Most budget pop-up tents offer 1500mm to 2000mm ratings, while higher-quality models might reach 3000mm (approximately 118 inches) of water resistance. For context, light rain exerts about 1000mm of pressure, while heavy downpours can exceed 2000mm.
Most manufacturers use three main waterproofing technologies in pop-up tents. Polyurethane (PU) coatings are the most common, applying a thin waterproof layer to the fabric’s interior. Durable Water Repellent (DWR) treatments cause water to bead and roll off the exterior. Silicone treatments, though less common in pop-ups, provide excellent durability but at a higher cost.
Complete tent waterproofing involves multiple components working together. The shelter options for two campers vary widely in how they implement these systems. Properly sealed seams prevent water from entering through stitching holes. Coated fabrics repel water from the main surfaces. Quality zippers with protective storm flaps prevent water ingress at closure points.
When purchasing a pop-up tent, it’s important to have realistic expectations. While convenient, they generally offer less weather protection than traditional camping tents. Understanding these limitations and tent waterproof ratings helps you prepare appropriately for various weather conditions.
Most Common Waterproofing Problems in Pop-Up Tents
Pop-up tents face several recurring waterproofing issues that can quickly turn a pleasant camping trip into a soggy disaster. Being able to identify these problems is the first step toward solving them.
Leaky seams top the list of common issues. The stitching that holds tent panels together creates tiny holes that water can penetrate. Over time, factory seam sealing breaks down, especially along the roof seams where water collects. You’ll notice these leaks as lines of water droplets forming along the seam paths.
Degraded fabric and coating breakdown occurs as the tent ages. The waterproof coating on the inside of the tent can flake, peel, or become sticky as it deteriorates. This degradation leaves the fabric vulnerable to water penetration, appearing as general dampness or multiple leak points across the tent surface.
Floor leakage happens when ground moisture seeps through the tent floor. This commonly results from thin floor materials, damage from sharp objects, or improper site selection. You’ll notice this as dampness spreading from the ground up, often most noticeable under sleeping areas.
Zipper leakage is particularly frustrating. Without adequate storm flaps or when the water-resistant coating on zippers fails, water streams through these openings. The problem appears as wet spots following zipper lines, especially during wind-driven rain.
Many campers mistake condensation for leaks. When warm, moist air from breathing and body heat meets the cool tent walls, water droplets form on interior surfaces. This issue is especially prevalent in poorly ventilated pop-up tents and is visible as widespread moisture on inside surfaces, even during clear weather.
Water pooling occurs when the tent design allows water to collect in specific areas rather than shedding it efficiently. The extra weight can deform the tent structure and eventually force water through the fabric. Many waterproof pop-up tent designs address this common issue with improved structural elements.
How to Identify the Source of Leaks in Your Pop-Up Tent
Finding the exact source of tent leaks requires a systematic approach. With the right techniques, you can pinpoint problems before they ruin your camping experience.
Start by setting up your tent in daylight on a clear day. Systematically inspect the entire structure section by section. Examine all seams, focusing on stress points where poles connect, and check floor edges where water commonly enters.
For a controlled test, use a garden hose with a fine spray nozzle or set up your tent in the shower (if size permits). Begin spraying from the bottom up, watching carefully for water entry points. This method allows you to isolate specific areas without overwhelming the tent all at once.
The flashlight method proves particularly effective for night testing. After dark, have a partner hold a bright flashlight inside the closed tent while you inspect the exterior. Any tiny holes or thin spots will glow, revealing potential leak sources. This works exceptionally well for finding pinhole leaks that are otherwise invisible.
Distinguishing between actual leaks and condensation requires careful observation. Condensation forms evenly across interior surfaces, while leaks create specific wet spots or dripping points. Touch suspicious areas—condensation feels cool, while leaking rainwater often matches the outside temperature.
When checking the tent floor, press firmly with dry paper towels in different areas. Moisture will transfer to the paper, revealing leak locations. Pay special attention to corners and areas where you typically place gear.
For tents with multiple issues, document each problem with notes or photos. This creates a comprehensive repair plan and helps determine if your tent is waterproof enough for your typical camping conditions.
Why Pop-Up Tents Develop Waterproofing Issues
Understanding why waterproofing fails helps prevent issues before they start. Several factors contribute to the deterioration of a pop-up tent’s water resistance.
Age-related deterioration affects all tents eventually. Waterproof coatings have a finite lifespan, typically 3-5 years with regular use. The more frequently you camp, the faster this breakdown occurs. The process accelerates each time the tent is packed and unpacked, as the folding creates microscopic cracks in the coating.
UV damage is particularly destructive to tent materials. Prolonged exposure to sunlight breaks down both the fabric fibers and waterproof treatments. This degradation appears as fading, brittleness, and eventually, water absorption rather than repellence. Even high-quality tents suffer from UV exposure over time.
Hydrolysis occurs when polyurethane coatings react with moisture over time. This chemical breakdown causes the coating to degrade into a sticky substance or flake away completely. The process accelerates in humid storage conditions, even when the tent isn’t in use.
Physical damage often results from improper handling. The quick setup and takedown nature of pop-up tents can lead to fabric stress, particularly when forcing the tent into its compact form. This creates microscopic tears that compromise waterproofing. Sharp objects at campsites further threaten fabric integrity.
Manufacturing quality varies significantly among pop-up tents. Budget models often use thinner waterproof coatings, lower-quality seam tape, and less durable fabrics. Understanding the materials used in rainproof pop-up shelters helps consumers make informed choices about quality and durability expectations.
Improper storage accelerates deterioration. Storing a tent while damp promotes mold growth and fabric rot. Similarly, extreme temperatures in attics or garages can break down waterproof coatings prematurely. Even compressed storage for extended periods weakens the fabric’s water resistance.
Environmental factors like extreme temperature fluctuations, acidic rain, tree sap, and bird droppings can all damage waterproof treatments through chemical interaction with the protective coatings.
Fixing Leaky Seams: Step-by-Step Guide
Repairing leaky seams is often the most impactful waterproofing fix for pop-up tents. With proper techniques, you can restore protection against even heavy rainfall.
Required Materials:
– Seam sealer appropriate for your tent fabric (silicone-based for silicone-treated fabrics, urethane-based for PU-coated tents)
– Rubbing alcohol or specialized tent cleaner
– Clean cloths
– Painter’s tape (optional)
– Small brush or applicator
Start by thoroughly cleaning the seams. Wipe down the area with rubbing alcohol on a clean cloth to remove dirt, oils, and residual waterproofing. Allow the seam to dry completely, as moisture will prevent proper adhesion of the sealer.
For most pop-up tents, apply seam sealer to the interior seams where the stitching is visible. However, for silnylon tents (silicone-treated nylon), you’ll typically seal from the outside. Always check manufacturer recommendations or test on a small, inconspicuous area first.
Apply the sealer using the applicator bottle tip or a small brush for precise control. Create a thin, even layer covering the entire seam and extending about ¼ inch (0.6 cm) on either side. For vertical seams, work from bottom to top to prevent drips. Use painter’s tape alongside seams for cleaner lines if desired.
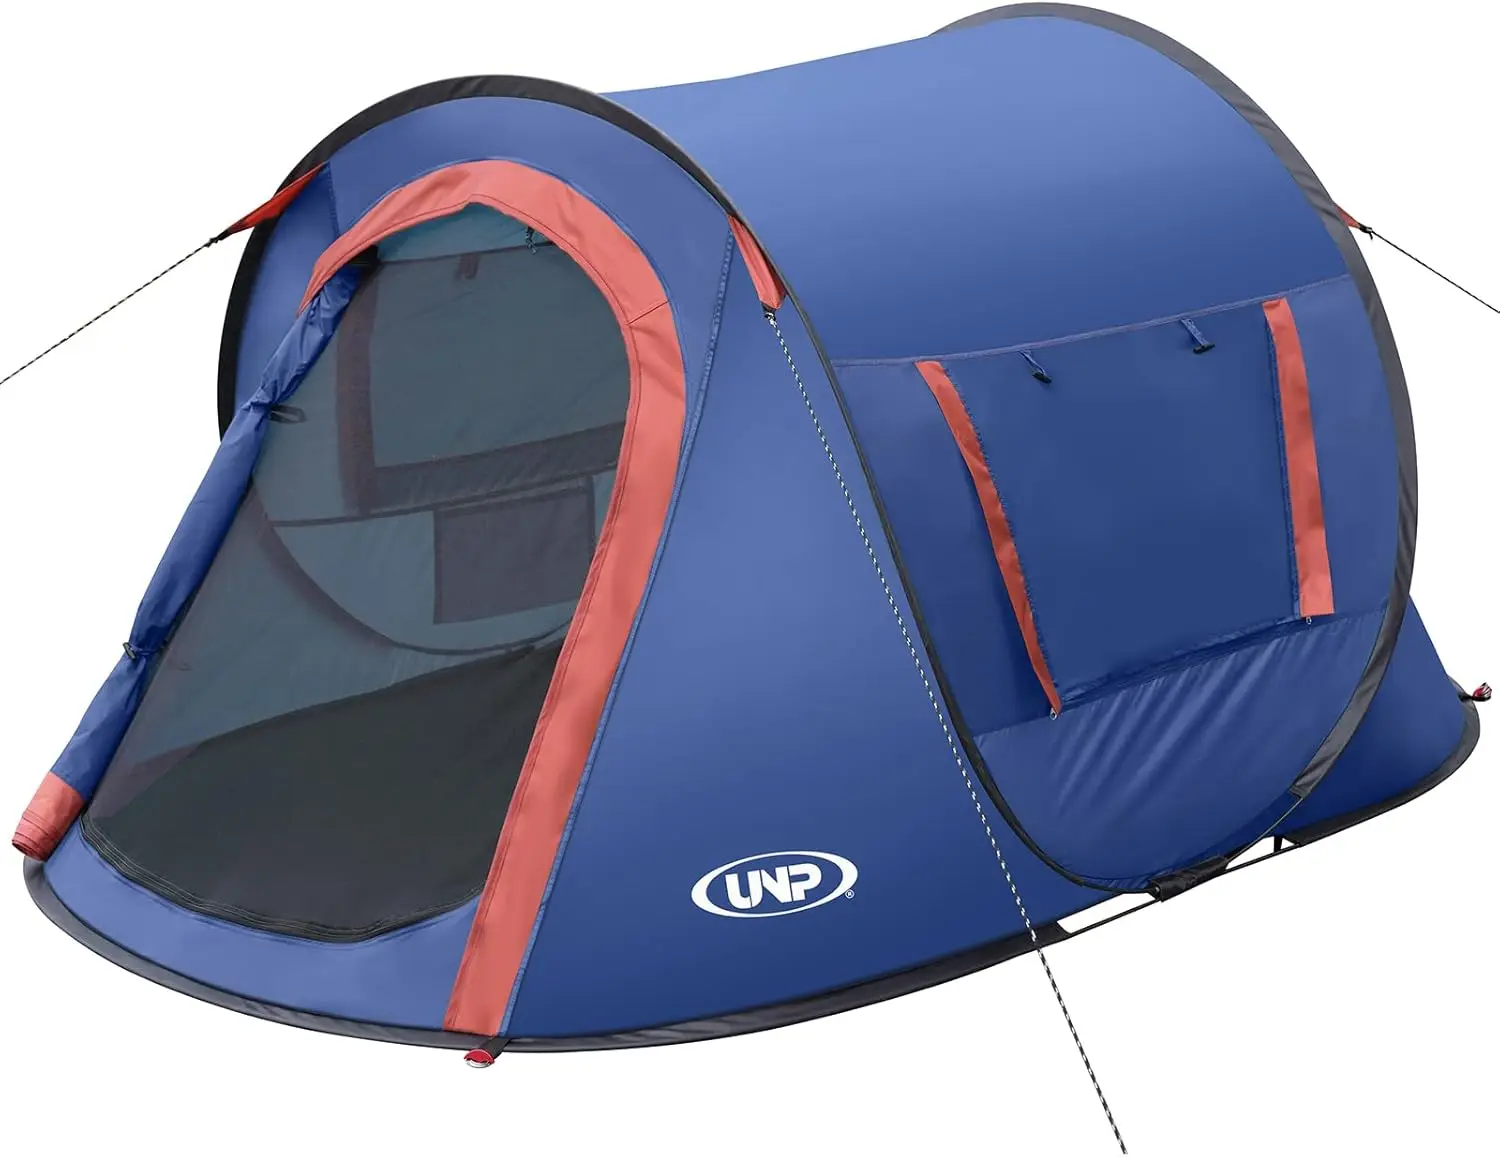
Allow the sealer to dry completely according to package directions, typically 8-24 hours. Many 2-person pop-up tents can be fully seam-sealed in under an hour of active work, but proper curing time is essential for effectiveness.
For tents with pop-up mechanisms, take special care around spring-loaded sections. Apply sealer carefully around these areas without interfering with moving parts. Sometimes spot-sealing small sections at a time works better than trying to complete large seams at once.
Test your repair by spraying the outside of the dried seams with water or conducting the flashlight test described earlier. If leaks persist, apply a second thin coat rather than one thick layer for better durability.
Re-Waterproofing Your Pop-Up Tent Fabric
When the main fabric of your pop-up tent starts absorbing water instead of repelling it, it’s time to renew the waterproof coating. This process restores your tent’s ability to shed water effectively.
First, identify your tent’s fabric type and existing coating. Most pop-up tents use polyester with polyurethane (PU) coating, but some use nylon or have silicone treatments. The packaging or tent tag usually specifies this information. Choosing the ultimate compact shelter for two often involves understanding these material differences and how they affect long-term maintenance.
Before applying any new treatment, clean the tent thoroughly. Set up the tent and wash it using mild soap and water, gently scrubbing away dirt, tree sap, and other residues. Rinse completely and allow it to dry fully—ideally in a shaded area to prevent UV damage during the cleaning process.
Select a waterproofing product specifically designed for your tent’s material:
- For PU-coated tents: Use a urethane-based waterproofing spray or wash-in treatment
- For silicone-treated fabrics: Use a silicone-based waterproofing product
- For hybrid treatments: Some newer products work on both types
Spray products offer more controlled application and are ideal for spot treatments, while wash-in treatments provide more even coverage for entire tents. Most pop-up tents benefit from spray applications due to their integrated design.
Apply the waterproofing in a well-ventilated area following product directions. Typically, you’ll spray evenly from about 6 inches (15 cm) away, covering the fabric with a light, consistent coat. Most tents require approximately 1 ounce per 10 square feet (30 ml per square meter) of fabric.
Allow the treatment to dry completely—usually 24-48 hours—before packing the tent. After drying, test the effectiveness by sprinkling water on the surface; it should bead and roll off rather than soak in.
Repairing Punctures and Tears in Your Pop-Up Tent
Even small tears can compromise your tent’s waterproofing, but most damage can be effectively repaired with the right approach.
For emergency field repairs, adhesive repair patches or tape designed specifically for tent fabrics provide a quick fix. Clean and dry the damaged area, then apply the patch, extending at least 1 inch (2.5 cm) beyond the tear in all directions. Press firmly and remove any air bubbles for best adhesion.
For permanent repairs at home, use a more comprehensive approach:
- Clean the damaged area with alcohol and allow it to dry completely
- For small holes (under ½ inch/1.3 cm), apply seam sealer directly over the hole and extend it slightly beyond the damage
- For larger tears, cut a patch from similar material or use a commercial patch kit, making it round or oval (sharp corners can peel up)
- Apply tent-specific repair adhesive to both the patch and tent surface
- Press the patch firmly, removing air bubbles
- Allow to cure for 24 hours
- Apply seam sealer around the edges of the patch for complete waterproofing
For rips in high-stress areas like pole attachment points, reinforce the repair with additional stitching before sealing. This prevents the tear from extending under tension.
Many lightweight pop-up tent owners carry compact repair kits specifically designed for their tent material. These typically include adhesive patches, seam sealer, and sometimes small fabric pieces matching the tent material.
Test all repairs before your next camping trip by setting up the tent and inspecting the repaired areas for light penetration, which indicates potential water entry points.
Preventing and Managing Condensation in Pop-Up Tents
Condensation is frequently mistaken for leaking in pop-up tents. Understanding how to prevent and manage it significantly improves comfort and protects gear from moisture damage.
Condensation forms when warm, moisture-laden air meets the cooler surface of your tent walls. Each person sleeping in a tent releases about 1 pint (0.5 liters) of moisture through breathing and perspiration overnight. Pop-up tents are particularly susceptible to condensation due to their typically smaller size and limited ventilation options.
To distinguish condensation from leaks, note that condensation:
– Forms primarily on interior surfaces
– Is worse in the morning
– Appears even during clear weather
– Feels equally distributed rather than concentrated in specific areas
Effective ventilation is your primary defense against condensation. Even on cold nights, keep at least small vents open to allow moist air to escape. Position these openings to create cross-ventilation when possible, allowing air to flow through the tent rather than stagnate.
Minimize internal moisture sources by:
– Cooking and boiling water outside the tent
– Avoiding bringing wet clothing or gear inside
– Shaking off morning dew from the tent exterior before the sun warms it
– Using a small portable fan to improve air circulation in still conditions
Site selection significantly impacts condensation levels. Choose slightly elevated ground when possible, and avoid camping in damp areas like depressions or near water sources. Valley bottoms often experience higher condensation due to cooler, more humid air settling overnight.
For severe conditions, moisture-absorbing products like silica gel packets or camp-specific dehumidifiers can help reduce interior humidity. Packing a small microfiber cloth allows you to wipe down interior surfaces in the morning before condensation drips onto gear.
Protecting Your Pop-Up Tent Floor from Ground Moisture
The tent floor often represents the largest potential entry point for moisture. Addressing this vulnerable area requires specific strategies beyond standard waterproofing.
Ground moisture penetrates tent floors through three primary mechanisms: direct pressure from body weight pushing the fabric against wet ground, capillary action through tiny fabric openings, and vapor transfer through the material itself. Pop-up tents typically have thinner floor materials than premium camping tents, making them more vulnerable.
Using a footprint or groundsheet creates a crucial barrier between your tent and the ground. The correctly sized footprint should be slightly smaller than your tent floor to prevent water collection between layers. This protective layer prevents abrasion damage from rough surfaces while adding water resistance.
Site selection plays a critical role in floor protection. Before setting up:
– Avoid natural depressions where water might pool
– Clear away sharp objects, sticks, and stones that could puncture the floor
– Look for slightly elevated areas with good drainage
– Consider soil type (sandy soils drain better than clay)
Additional floor waterproofing provides extra protection. Specialized tent floor sealants create a thicker, more durable barrier. Apply these products in a thin, even coat to the exterior of the floor, extending slightly up the sidewalls where the floor and walls meet.
For repairs specific to floor materials, use heavy-duty patch kits designed for high-abrasion areas. Unlike wall repairs, floor patches must withstand constant pressure and movement. The essential features of waterproof automatic tents often include reinforced flooring materials that require specific repair products.
A tarp placed under your tent footprint adds further protection in extremely wet conditions, though be sure it doesn’t extend beyond the tent edges where it could collect rainwater.
Preventative Maintenance: Extending Your Tent’s Waterproof Life
Regular maintenance significantly extends the waterproofing effectiveness of any pop-up tent. A consistent care routine prevents many common issues before they develop.
Cleaning Routine:
– Shake out loose dirt and debris after each use
– Spot clean with mild soap and water as needed (avoid detergents)
– Deep clean once annually or after heavy soiling
– Never machine wash or dry clean your tent
– Always rinse thoroughly to remove all soap residue
Drying and Storage Practices:
– Never pack your tent away wet or damp
– Set up tent completely for drying if possible
– Store loosely in a cool, dry place between 40-70°F (4-21°C)
– Use a breathable storage bag rather than the compressed carry case
– Keep away from direct sunlight and heat sources
Regular Inspection Schedule:
– Check seams and high-stress points before each trip
– Inspect for developing mold or mildew quarterly
– Examine waterproof coating for signs of flaking or peeling
– Look for UV damage indicated by fabric fading or brittleness
Handling Techniques:
– Follow manufacturer’s folding instructions precisely
– Avoid dragging the tent across rough surfaces
– Don’t force poles or spring mechanisms
– Use caution with zippers, pulling them smoothly
Pop-up dome tent designs often require special attention to their automatic mechanisms. Keep spring-loaded components clean and free from sand or dirt that could wear against fabric during deployment.
UV Protection Strategies:
– Set up in partial shade when possible
– Consider a UV protection spray designed for tent fabrics
– Take down tent during extended midday sun exposure when not in use
– Reapply UV protectants annually based on usage frequency


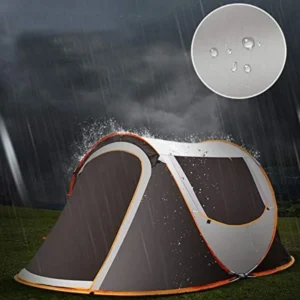
Pop Up Dome Tent, Waterproof Pop Up Tent
$218.89 Select options This product has multiple variants. The options may be chosen on the product page $633.01 Select options This product has multiple variants. The options may be chosen on the product page
Easy Setup Camping Tent, Instant Camping Tent, Lightweight Pop Up Tent, Pop Up Dome Tent
$252.30 Select options This product has multiple variants. The options may be chosen on the product page
Dome Camping Tent, Easy Setup Camping Tent, Pop Up Dome Tent, Waterproof Pop Up Tent
$162.68 Select options This product has multiple variants. The options may be chosen on the product page

Lightweight Pop Up Tent, Pop Up Dome Tent, Ultralight Backpacking Tent, Waterproof Pop Up Tent
$210.64 Select options This product has multiple variants. The options may be chosen on the product page
Apply a fresh DWR (Durable Water Repellent) treatment annually or when you notice water no longer beads on the fabric surface. This simple maintenance task substantially extends your tent’s water resistance.
When to Repair vs. Replace Your Pop-Up Tent
Even with excellent maintenance, every pop-up tent eventually reaches a point where you must decide whether to repair or replace it. Making this decision effectively saves both money and camping disappointment.
Evaluate damage extent by setting up the tent completely and systematically assessing:
– Structural integrity of poles and pop-up mechanisms
– Percentage of fabric showing waterproof coating failure
– Number and size of tears or holes
– Condition of floor material
– Zipper functionality
– Overall mold or mildew contamination
As a general guideline, when repair costs approach 50% of replacement cost, replacement becomes more economical. Consider that professional repairs to major components often exceed DIY material costs significantly.
Multiple concurrent issues typically signal replacement time. When facing combinations of coating failure, significant tears, and mechanical problems, repairs often provide only temporary solutions. Mastering two-person lightweight tent setup techniques can help prevent premature damage, but all tents have finite lifespans.
Modern tent waterproofing and materials have improved substantially. If your tent is over 5 years old with significant issues, newer models likely offer better weather resistance, easier setup, and improved ventilation worth considering.
For environmental consciousness, explore repair options first, but recognize when a tent has reached its usable end. Many manufacturers now offer recycling programs for old tent materials, reducing landfill impact.
FAQ: Common Questions About Pop-Up Tent Waterproofing
Can pop-up tents be completely waterproof?
No tent is 100% waterproof in all conditions, but quality pop-up tents can provide reliable protection in moderate rainfall. The instant setup design of pop-ups typically means fewer seams than traditional tents, which can be advantageous for waterproofing, but their lightweight materials and simplified construction generally offer less protection than premium camping tents.
How often should I re-waterproof my pop-up tent?
For typical recreational use (weekend camping a few times per year), re-waterproof your tent annually. Heavy usage, extended exposure to sunlight, or camping in particularly wet environments may require treatment every 3-6 months. Watch for signs like water absorption rather than beading, which indicates it’s time to reapply waterproofing.
Is it worth waterproofing a budget pop-up tent?
Yes, even budget tents benefit significantly from proper waterproofing maintenance. While the base materials may be thinner or less durable, appropriate seam sealing and fabric treatment can dramatically improve performance for a fraction of replacement cost. Budget models generally require more frequent maintenance than premium tents.
Can I use regular tent waterproofing products on pop-up tents?
Most standard tent waterproofing products work well on pop-up tents, but always check your tent’s specific fabric type. Polyurethane-coated tents need urethane-based treatments, while silicone-treated fabrics require silicone-specific products. Using the wrong type can actually damage waterproofing or prevent proper adhesion.
What’s the difference between water-resistant and waterproof in pop-up tents?
Water-resistant tents can handle light moisture and brief, gentle rain but will eventually allow water penetration under sustained exposure. Waterproof tents provide protection during extended rainfall and have specific hydrostatic head ratings (typically 1500mm or higher). The benefits of pop-up camping tents often include adequate water resistance for fair weather camping, but full waterproofing requires additional features and treatments.
Are factory waterproof treatments better than aftermarket ones?
Factory treatments are applied under controlled conditions and often penetrate the fabric more thoroughly during manufacturing. However, quality aftermarket treatments can provide excellent protection when properly applied. The advantage of aftermarket products is that they can be precisely targeted to address specific issues as they develop.