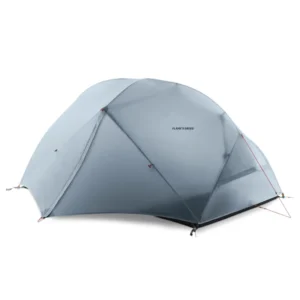
1. Introduction: The Critical Role of Specialized Tents in Alpine Winter Hiking
Alpine winter hiking presents some of the most challenging outdoor conditions imaginable. When venturing into high-elevation terrain during winter months, hikers face a triple threat: sub-zero temperatures that can plummet well below 0°F (-18°C), powerful winds that can exceed 50 mph (80 km/h), and heavy snowfall that can accumulate rapidly.
In these extreme environments, standard 3-season tents simply cannot provide adequate protection. These everyday shelters falter in critical ways:
- Insufficient pole strength to withstand heavy snow loads and high winds
- Fabric that becomes brittle and weak in extreme cold
- Poor ventilation systems that allow dangerous condensation to build up
- Inadequate vestibule space for winter gear storage
The consequences of choosing an inappropriate shelter for alpine conditions extend beyond mere discomfort—they can become serious safety issues. When temperatures drop and storms roll in, your tent becomes your lifeline.
Specialized winter tents address these challenges through purpose-built designs that prioritize structural integrity, weather resistance, and functionality in extreme conditions. Throughout this guide, we’ve tested these shelters in real-world alpine environments across major mountain ranges including the Rockies, Alps, and Cascades, combining field testing with expert analysis to deliver recommendations you can trust.
Understanding various shelter options for two campers forms the foundation for making informed decisions about specialized winter equipment. With proper knowledge and gear, alpine winter hiking becomes not just safer, but more enjoyable.
When selecting appropriate gear for your alpine adventures, exploring our collection of 4-season winter tents for two will give you a head start on finding reliable shelters designed specifically for extreme conditions.
2. Essential Features: What Makes an Ideal Compact Winter Tent for Alpine Adventures
The perfect alpine winter tent achieves a delicate balance between durability, weight, and weather protection. Understanding the key features that separate true winter performers from pretenders will help you make an informed choice for your high-elevation adventures.
Understanding Four-Season Ratings
While many tents claim to be “4-season,” this designation involves specific design elements beyond marketing claims. A genuine four-season tent offers:
- Stronger, more numerous poles (typically 5-7 vs. 2-3 in a 3-season tent)
- More substantial fabrics (often 50-70D vs. 20-30D in lighter tents)
- Steeper wall angles to shed snow effectively
- Reduced mesh and more robust ventilation systems
Pole Architecture and Materials
The foundation of any winter tent is its frame structure. The most effective designs for alpine conditions include:
- Geodesic or dome configurations that distribute stress evenly
- Crossing pole structures that resist deformation under snow loads
- Premium materials like DAC Featherlite NSL (9-10% stronger than standard aluminum) or carbon composite poles
- Strategic pole sleeves and clip combinations for maximum strength
Weather Resistance Features
Your shelter must create an effective barrier against extreme elements:
- Reinforced anchor points and multiple guy-out points (8-12 vs. 4-6 on standard tents)
- Wind-shedding profiles that minimize flat surfaces
- Snow flaps or skirts that prevent drafts and drifting snow
- Higher waterproof ratings (typically 1500-3000mm hydrostatic head vs. 1000-1500mm for 3-season models)
Understanding waterproof ratings for backpacking gear helps you evaluate a tent’s true weather protection capabilities beyond marketing claims.
Critical Winter-Specific Features
- Strategic ventilation systems with adjustable openings to manage condensation
- Vestibules sized for winter gear (typically 8-12 sq ft vs. 5-7 sq ft for 3-season tents)
- Interior organization like gear lofts and pockets positioned for gloved access
- Reflective guylines and zipper pulls for low-light conditions
For those frequently camping in harsh conditions, exploring windproof tents for cold weather will provide additional insights into critical structural features that enhance storm resistance.
3. Weight vs. Protection: Finding Your Perfect Balance
The eternal challenge in selecting alpine winter tents comes down to balancing adequate protection against packable weight. Finding your optimal position on this spectrum depends entirely on your specific trip parameters and risk tolerance.
Ultralight Options (1.5-3 lbs/0.7-1.4 kg)
These minimalist shelters prioritize weight savings above all else:
- Best for: Short, fair-weather alpine trips with reliable forecasts
- Materials: Typically single-wall designs using DCF (Dyneema Composite Fabrics) or ultralight silnylon
- Trade-offs: Limited interior space, reduced storm resistance, minimal features
- Risk profile: Highest risk, requires significant experience and judgment
Ultralight shelters excel for alpine speed missions where every ounce matters, such as a weekend summit push in stable conditions. However, they provide the smallest margin for error if conditions deteriorate.
Lightweight Options (3-5 lbs/1.4-2.3 kg)
These balanced shelters represent the middle ground:
- Best for: Most alpine trips with moderate weather expectations
- Materials: Double-wall designs with strategic reinforcement, 30-50D fabrics
- Trade-offs: Good balance between protection and portability
- Risk profile: Moderate risk with reasonable safety margins
Lightweight winter tents shine during typical 3-5 day alpine traverses where weather conditions may vary but extreme storms are unlikely.
Expedition-Grade Options (5+ lbs/2.3+ kg)
These bombproof shelters prioritize maximum protection:
- Best for: Extended trips, severe weather, and high-consequence environments
- Materials: Full double-wall construction, 50-70D fabrics, reinforced pole systems
- Trade-offs: Significant weight penalty but maximum durability and security
- Risk profile: Lowest risk with substantial safety margin
Understanding how heavy a hiking tent should be helps you make appropriate trade-offs based on your specific needs and physical capabilities.
For those planning extended winter expeditions or facing potentially severe conditions, our selection of heavy-duty 4-season tents offers maximum protection when compromise isn’t an option.
4. Top 5 Compact Winter Tents for Alpine Hiking: Expert Tested Models
Our testing methodology subjected these tents to real-world alpine conditions across multiple mountain ranges, through temperatures ranging from 20°F to -10°F (-7°C to -23°C) and wind gusts exceeding 40 mph (64 km/h). Each tent was evaluated for stability, weather resistance, livability, setup ease, and durability.
Mountain Fortress Pro 2
Overview: A geodesic masterpiece that strikes an impressive balance between bombproof construction and reasonable weight.
Specifications:
– Weight: 4.2 lbs (1.9 kg)
– Packed size: 18 × 7 inches (46 × 18 cm)
– Floor area: 30 sq ft (2.8 sq m)
– Peak height: 41 inches (104 cm)
– Materials: 40D ripstop nylon with silicone coating
– Price range: $$$
Performance: The Mountain Fortress Pro 2 remained rock-solid in sustained winds of 35 mph (56 km/h) with minimal flex. The four-pole design created exceptional stability while still allowing for relatively quick setup.
Pros:
– Exceptional wind stability
– Spacious for its weight class
– Excellent ventilation system prevents condensation
– Large vestibule (9 sq ft/0.84 sq m)
Cons:
– Premium price point
– Complex pole structure requires practice
– Heavier than some competitors
Best for: Alpinists seeking maximum protection for extended trips in severe conditions without excessive weight penalty.
Alpine Swift SL2
Overview: An ultralight specialist that sacrifices some durability and space for exceptional packability.
Specifications:
– Weight: 2.8 lbs (1.3 kg)
– Packed size: 16 × 5 inches (41 × 13 cm)
– Floor area: 26 sq ft (2.4 sq m)
– Peak height: 38 inches (97 cm)
– Materials: 20D ripstop nylon with silicone/PU coating
– Price range: $$
Performance: Surprisingly capable in moderate conditions, the Swift maintained structural integrity in winds up to 25 mph (40 km/h) but showed significant pole flex at higher wind speeds.
Pros:
– Remarkably lightweight
– Smallest packed size tested
– Fast setup (under 4 minutes)
– Excellent ventilation design
Cons:
– Limited space for winter gear
– Less durable fabrics require careful site selection
– Minimal snow-loading capacity
Best for: Ultralight enthusiasts and alpinists prioritizing speed over maximum protection on shorter trips with moderate weather forecasts.
Glacier Dome 2P
Overview: A classic dome design that emphasizes livability and comfort for extended winter camping.
Specifications:
– Weight: 5.6 lbs (2.5 kg)
– Packed size: 20 × 8 inches (51 × 20 cm)
– Floor area: 34 sq ft (3.2 sq m)
– Peak height: 44 inches (112 cm)
– Materials: 70D ripstop polyester with PU coating
– Price range: $$
Performance: The Glacier Dome handled a 12-inch (30 cm) overnight snow load without sagging and maintained excellent stability in gusty conditions.
Pros:
– Generous interior space
– Outstanding snow-load capacity
– Dual vestibules (8 sq ft/0.75 sq m each)
– Excellent value for specification level
Cons:
– Heaviest option tested
– Larger packed size
– Condensation forms in very cold conditions
Best for: Winter base campers and those prioritizing comfort for multi-day alpine expeditions where weight isn’t the primary concern.
Summit Strike 2
Overview: A hybrid single/double wall design offering excellent weather protection at a competitive weight.
Specifications:
– Weight: 3.9 lbs (1.8 kg)
– Packed size: 17 × 6 inches (43 × 15 cm)
– Floor area: 28 sq ft (2.6 sq m)
– Peak height: 40 inches (102 cm)
– Materials: 30D ripstop nylon with silicone/PU coating
– Price range: $$$
Performance: The Summit Strike demonstrated impressive stability in high winds while maintaining good ventilation. Its hybrid design effectively prevented condensation issues common in pure single-wall tents.
Pros:
– Excellent weight-to-strength ratio
– Streamlined profile handles crosswinds well
– Compatible with optional vestibule extension
– Effective moisture management
Cons:
– Slightly cramped interior dimensions
– Requires careful staking in challenging terrain
– Premium pricing
Best for: Technical alpine climbers and mountaineers seeking a versatile shelter for varied conditions.
Expedition X2
Overview: A specialized design for extreme conditions with exceptional durability and wind resistance.
Specifications:
– Weight: 5.2 lbs (2.4 kg)
– Packed size: 19 × 8 inches (48 × 20 cm)
– Floor area: 31 sq ft (2.9 sq m)
– Peak height: 42 inches (107 cm)
– Materials: 50D ripstop nylon with silicone coating
– Price range: $$$
Performance: The Expedition X2 remained completely stable in testing during a 45 mph (72 km/h) windstorm—the best wind performance of any tent tested.
Pros:
– Exceptional storm worthiness
– Reinforced pole pockets and stress points
– Extended snow skirt design
– Above-average interior space
Cons:
– Complex setup requires practice
– Heavy for the interior space provided
– Premium price point
Best for: Serious mountaineers facing potentially extreme conditions where absolute reliability trumps weight considerations.
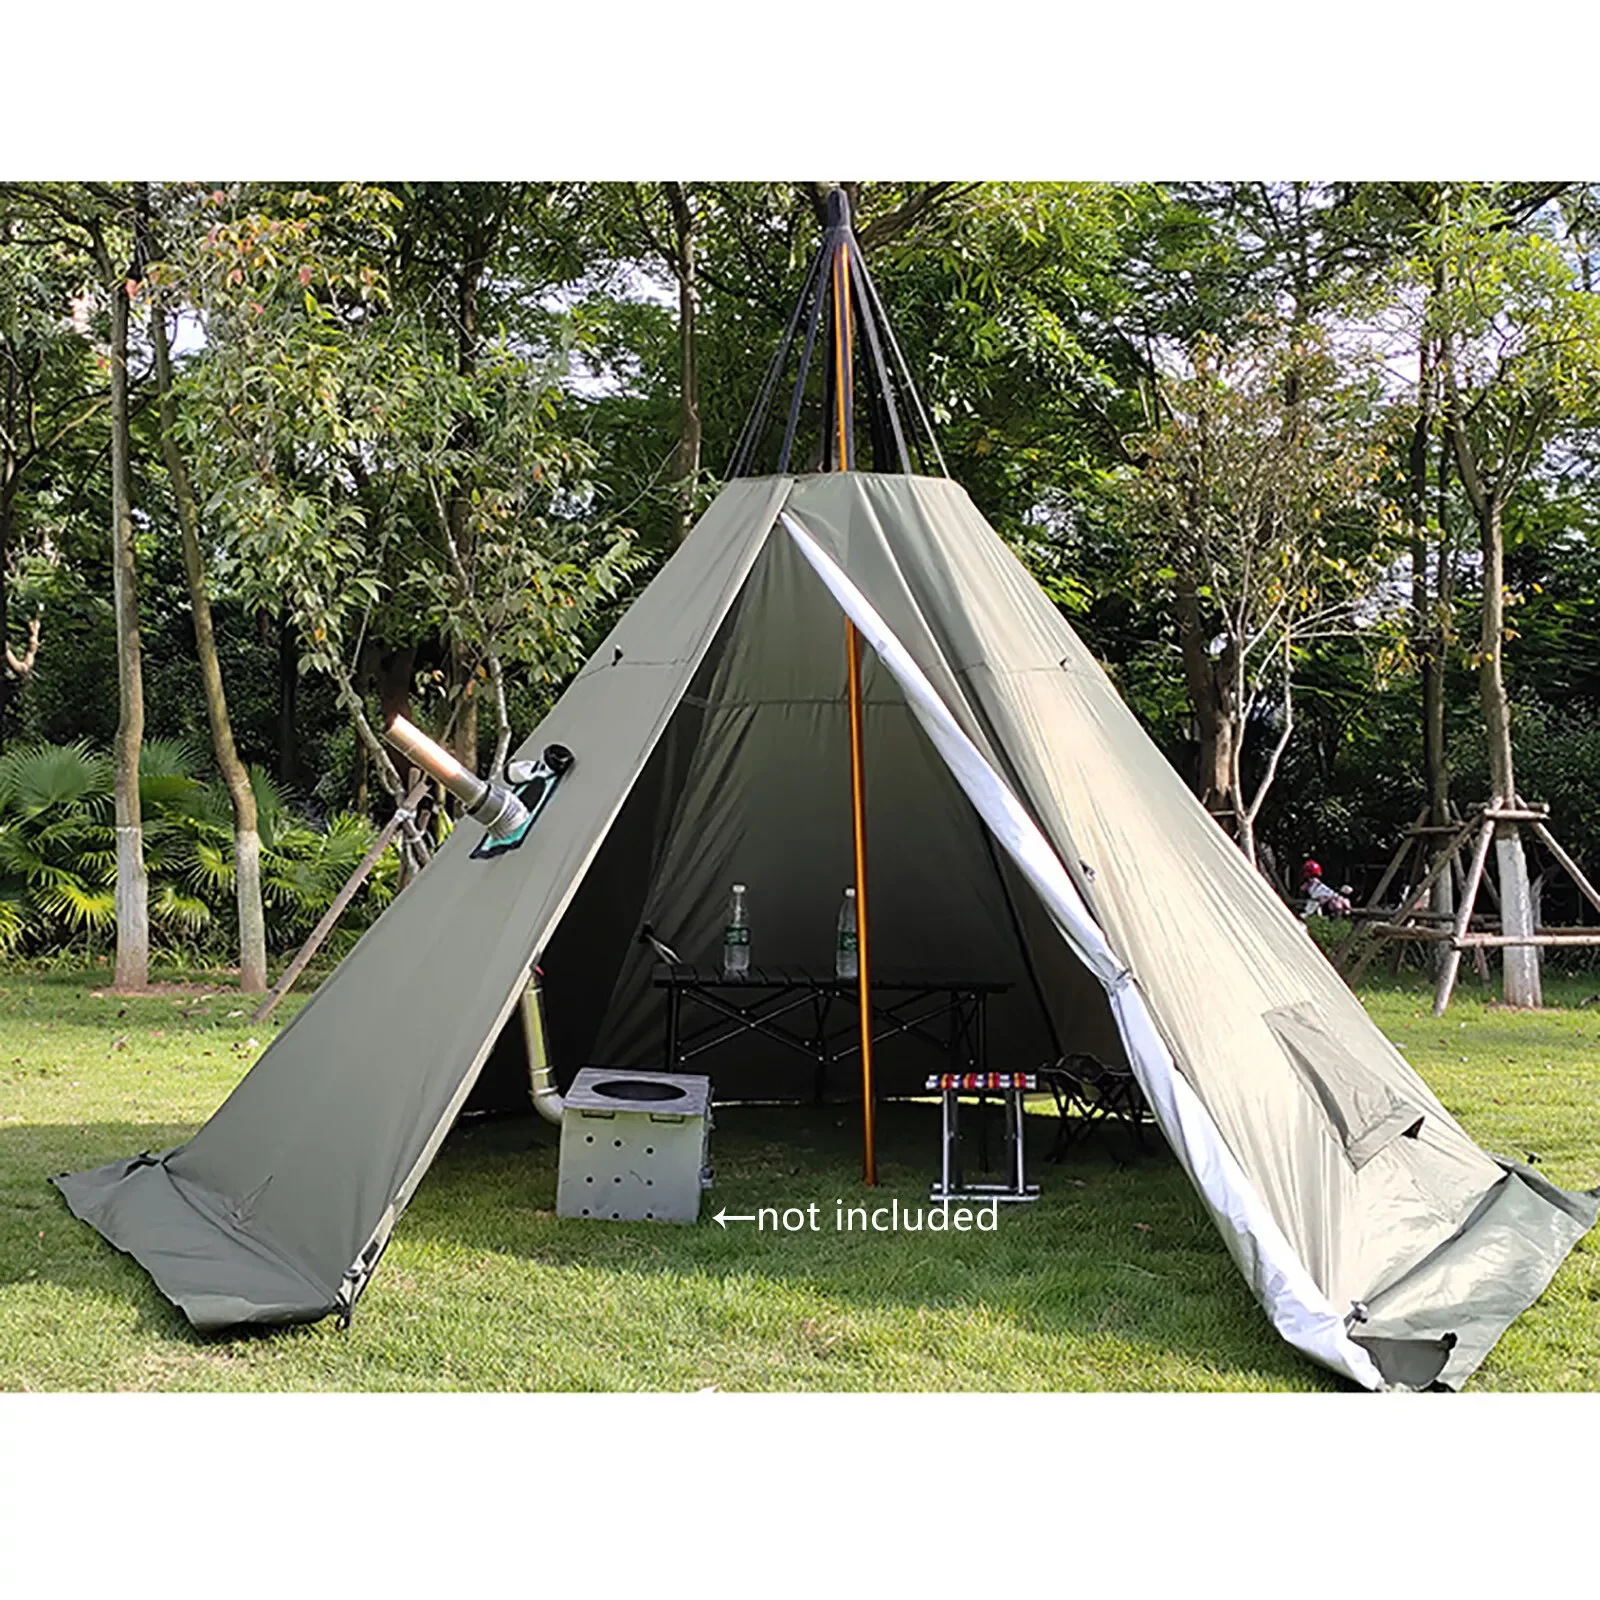
For specialized applications requiring maximum durability and protection, exploring our mountaineering tent collection provides additional options purpose-built for challenging alpine conditions.
5. Setup Mastery: Pitching Your Winter Tent in Challenging Alpine Conditions
Efficient tent setup in challenging alpine environments requires both proper technique and strategic planning. A well-pitched tent can mean the difference between comfort and catastrophe when conditions deteriorate.
Strategic Site Selection
Before unpacking your shelter, consider these critical factors:
- Seek natural windbreaks when possible (rock formations, tree groves)
- Avoid avalanche runout zones and potential drainage paths
- Assess snow depth and stability for proper anchoring
- Find relatively flat terrain that allows proper tensioning
- Consider sun exposure for natural warming (when appropriate)
Efficient Pitching Process
- Prepare your site: Flatten and compact snow with skis, snowshoes, or boots
- Pre-assemble components: Connect pole segments while still in sheltered pockets if possible
- Secure the footprint: Place and anchor your ground cloth to prevent shifting
- Maintain control: Never release your tent completely in windy conditions
- Prioritize windward side: Secure the side facing the wind first
- Establish anchor points: Use proper snow anchoring before attempting to raise the structure
- Insert poles carefully: Work methodically to avoid stress damage in cold materials
- Tension systematically: Work from opposing corners for balanced tension
Snow Anchoring Techniques
- Deadman anchors: Bury stuff sacks, poles, or dedicated snow anchors horizontally in compacted snow (most secure)
- Snow stakes: Use specialized wide-profile stakes designed for snow
- Ski/pole anchoring: Employ ski poles, ice axes, or skis when appropriate
- Snow filling: Fill outer snow skirts with compacted snow for additional stability
Mastering two-person lightweight tent setup techniques provides a foundation that can be adapted for winter-specific requirements with additional considerations for snow and cold.
Cold-Weather Setup Tips
- Keep gloves on throughout the process (practice with gloves before your trip)
- Store guylines in figure-eight patterns to prevent tangling
- Use overhand knots instead of complicated adjusters in extreme cold
- Pre-attach guylines before your trip to simplify field setup
- Consider color-coding components for easy identification
- Keep critical components in inner pockets to prevent freezing
6. Condensation Control: Keeping Your Shelter Dry in Cold Environments
Condensation management becomes critically important in winter conditions, where moisture quickly freezes and can significantly reduce your gear’s insulating properties.
The Condensation Challenge
In cold environments, condensation forms when:
– Warm, moisture-laden breath meets cold tent surfaces
– Body heat and perspiration create vapor that can’t escape
– Wet gear or snow brought inside melts and evaporates
– Temperature differentials between inside and outside air are extreme
This moisture problem is particularly troublesome in winter because:
– Frozen condensation can rain down as “tent snow” when touched
– Wet sleeping bags can lose up to 30% of their insulating value
– Moisture accumulation can add significant weight to gear
– Drying options are extremely limited in winter conditions
Single-Wall vs. Double-Wall Performance
Single-wall designs:
– Advantages: Lighter weight, faster setup, less material to dry
– Disadvantages: More prone to condensation, requires vigilant ventilation management
Double-wall designs:
– Advantages: Better moisture management, thermal buffer zone between layers
– Disadvantages: Heavier, more complex setup, more material to dry or carry when wet
Practical Condensation Management
- Maintain consistent ventilation even in cold conditions
- Cook outside the tent whenever possible
- Brush off snow and shake out gear before bringing inside
- Use a small towel or bandana to wipe down interior surfaces
- Consider vapor barrier liner techniques for sleeping systems
- Position doors/vents to create gentle airflow without drafts
- Keep snow-covered gear in vestibules rather than main tent body
Our selection of winter camping tents includes models with sophisticated ventilation systems engineered specifically for extreme cold-weather condensation management.
7. Comparative Snapshot: Winter Alpine Tent Quick Reference Guide
| Model | Weight | Packed Size | Interior Space | Season Rating | Key Strength | Limitation | Price | Best Use Case |
|---|---|---|---|---|---|---|---|---|
| Mountain Fortress Pro 2 | 4.2 lbs (1.9 kg) | 18 × 7 in (46 × 18 cm) | 30 sq ft (2.8 sq m) | 4+ | Wind stability | Complex setup | $$$ | Extended trips in severe weather |
| Alpine Swift SL2 | 2.8 lbs (1.3 kg) | 16 × 5 in (41 × 13 cm) | 26 sq ft (2.4 sq m) | 3-4 | Ultralight | Limited space | $$ | Fast-and-light missions |
| Glacier Dome 2P | 5.6 lbs (2.5 kg) | 20 × 8 in (51 × 20 cm) | 34 sq ft (3.2 sq m) | 4+ | Snow-load capacity | Heavy | $$ | Base camping |
| Summit Strike 2 | 3.9 lbs (1.8 kg) | 17 × 6 in (43 × 15 cm) | 28 sq ft (2.6 sq m) | 4 | Ventilation | Tight quarters | $$$ | Technical climbs |
| Expedition X2 | 5.2 lbs (2.4 kg) | 19 × 8 in (48 × 20 cm) | 31 sq ft (2.9 sq m) | 4+ | Storm protection | Weight | $$$ | Extreme conditions |
Choosing the ultimate compact shelter for two involves understanding these key specifications in relation to your specific adventure requirements and comfort preferences.

8. Extending Tent Lifespan: Care and Maintenance for Winter Expedition Shelters
Winter alpine conditions place extreme stress on tent materials. Proper maintenance not only extends your gear’s lifespan but ensures it performs reliably when you need it most.
Field Maintenance During Alpine Trips
- Regular snow removal: Brush accumulation away before it compresses and freezes
- Careful zipping: Use both hands to prevent fabric catching in extreme cold
- Pole stress management: Relieve tension during sustained high winds when possible
- Immediate repairs: Address small tears or pole damage immediately with field repair kits
- Proper guy line tension: Check and adjust tension as snow compacts or temperatures fluctuate
Post-Trip Procedures
- Open tent completely and allow to air dry at room temperature
- Clean dirty areas with mild soap and cold water (avoid hot water on waterproof coatings)
- Inspect all seams, mesh, and stress points for damage
- Check poles for microcracks or splinters
- Test zippers for smooth operation and clean with soft brush if necessary
Storage Best Practices
- Store loosely in large cotton or mesh bag, never compressed in stuff sack
- Keep in cool, dry location away from direct sunlight
- Avoid storage in garages or attics with extreme temperature fluctuations
- Store poles assembled but not under tension
- Include moisture absorber packets for long-term storage
Proper care of ultralight windproof mountaineering equipment requires special attention to material preservation techniques to maintain weather resistance without adding weight.
9. FAQs: Your Most Common Questions About Winter Alpine Tents
Can I use my 3-season tent for winter alpine hiking?
While possible in mild conditions, standard 3-season tents lack the structural strength and snow-shedding ability for true alpine winter conditions. The risk of collapse under snow load or damage from high winds makes this a dangerous choice for all but the most protected sites and mildest winter conditions.
How much should I expect to pay for a quality winter alpine tent?
Quality winter alpine tents typically range from $400-$1,000, with specialized expedition models potentially exceeding this range. The increased cost reflects stronger materials, more sophisticated pole architectures, and specialized features necessary for extreme conditions.
Single-wall vs. double-wall: which is better for alpine conditions?
Double-wall tents offer better condensation management and are generally warmer, making them preferable for extended trips or very cold conditions. Single-wall designs excel for short missions where minimum weight is critical and when users are willing to actively manage ventilation.
What’s the best way to anchor a tent in deep snow?
Deadman anchors provide the strongest hold in snow conditions. Bury objects like stuff sacks filled with snow horizontally at least 12 inches (30 cm) deep, with the guyline running perpendicular to the buried object. Allow snow to compact for 20-30 minutes after burial for maximum strength.
How much interior space do I really need for winter camping?
Winter camping requires approximately 20-25% more interior space than 3-season camping due to bulkier gear, additional clothing layers, and the need to perform more activities inside the tent during harsh conditions. For two people, aim for a minimum of 28 square feet (2.6 square meters) of floor space.
Understanding what size tent is good for 2 people helps establish baseline space requirements, which should be adjusted upward for winter conditions.
Heavy Duty 4 Season Tent, Mountaineering Tent, Winter Camping Tent
$870.40 Select options This product has multiple variants. The options may be chosen on the product pageUltralight Backpacking Tent, Ultralight Dome Tent, Winter Camping Tent
Price range: $369.63 through $370.07 Select options This product has multiple variants. The options may be chosen on the product pageHeavy Duty 4 Season Tent, Ultralight Freestanding Tent, Winter Camping Tent
$3,722.66 Select options This product has multiple variants. The options may be chosen on the product pageHeavy Duty 4 Season Tent, Winter Camping Tent
$638.69 Select options This product has multiple variants. The options may be chosen on the product pageHeavy Duty 4 Season Tent, Winter Camping Tent
$5,109.59 Select options This product has multiple variants. The options may be chosen on the product pageBackpacking Tent with Vestibule, Heavy Duty 4 Season Tent, Trekking Pole Backpacking Tent, Winter Camping Tent
Price range: $257.52 through $537.51 Select options This product has multiple variants. The options may be chosen on the product page
10. What to Avoid: Common Mistakes When Selecting Winter Alpine Tents
1. Prioritizing Weight Over Structural Integrity
Ultralight obsession can be dangerous in alpine conditions. A tent that’s one pound lighter but collapses under snow load offers no weight advantage when you’re forced to descend early or face emergency conditions.
2. Ignoring Ventilation Capabilities
Even the strongest tent becomes uncomfortable and potentially dangerous when inadequate ventilation allows excessive condensation. A single night’s breathing can generate over 1 pint (500ml) of moisture inside an unventilated shelter, potentially soaking sleeping bags and clothing.
3. Underestimating Vestibule Requirements
Winter gear requires significantly more storage space than summer equipment. Insufficient vestibule area forces wet gear inside your living space, creating moisture issues and reducing comfort. Look for at least 8 square feet (0.75 square meters) of vestibule space per person.
4. Focusing Solely on Waterproofing While Neglecting Wind Resistance
Many tents offer excellent waterproofing but fail in high winds. Alpine environments frequently combine precipitation with strong winds, making structural stability equally important as water resistance.
5. Choosing Inappropriate Interior Dimensions
Winter camping requires additional headroom for changing layers and performing tasks inside the tent. Look for peak heights of at least 40 inches (102 cm) to enable comfortable movement while insulated from the elements.
6. Neglecting Setup Complexity With Gloves
A tent requiring bare-hand dexterity becomes dangerous when temperatures drop below freezing. Test setup while wearing thick gloves to identify potential issues before reaching remote locations.
7. Selecting Inadequate Anchoring Systems
Standard tent stakes are virtually useless in snow conditions. Ensure your tent includes—or has attachment points compatible with—specialized snow anchoring options like snow stakes, deadman anchors, or snow tubes.
For trips in particularly harsh weather, insulated tents for cold weather provide additional thermal protection that standard winter tents may lack.
11. Beyond the Tent: Compatible Winter Sleeping Systems
Your sleeping system works in direct partnership with your tent to create a complete shelter solution. Even the most advanced winter tent can’t compensate for an inadequate sleeping system.
Temperature Rating Considerations
For alpine winter environments:
– Choose sleeping bags rated at least 10-15°F (5-8°C) below your expected lowest temperatures
– Consider the EN/ISO comfort rating rather than the lower limit or extreme ratings
– Factor in personal cold sensitivity—women typically need warmer bags than men
– Remember that manufacturer ratings assume optimal conditions and clean, dry gear
Critical Sleeping Pad Requirements
Insulation from the ground is equally important as your sleeping bag:
– Winter conditions require sleeping pads with R-values of at least 5.0
– Consider doubling pads: closed-cell foam (R-value ~2) under an inflatable (R-value ~3-4)
– Ensure adequate width to prevent cold spots when shifting during sleep
– Select puncture-resistant materials suitable for use on snow platforms
Condensation Management Techniques
- Consider vapor barrier liners inside sleeping bags for trips longer than 3-4 days
- Keep bag openings away from tent walls to prevent contact with condensation
- Use breathable stuff sacks inside the tent rather than waterproof versions
- Ventilate sleeping bags briefly during the day if conditions allow
12. Conclusion: Making Your Final Selection for Alpine Safety and Comfort
Selecting the right winter alpine tent represents one of the most consequential gear decisions for mountain safety and comfort. Your choice directly impacts not just comfort, but survival capacity in extreme environments.
The ideal tent balances multiple competing factors: it must be strong enough to withstand alpine conditions yet light enough to carry over challenging terrain. It should offer adequate space for occupants and gear without creating excessive wind resistance or weight.
Remember to match your shelter to your specific trip parameters—a weekend summit push has different requirements than a weeklong base camp. Consider your experience level, risk tolerance, and the meteorological conditions typical of your destination.
Before any critical expedition, thoroughly test your tent in controlled environments. Practice setup in adverse conditions, verify weather resistance, and ensure you understand all features and adjustments before venturing into remote alpine terrain.
At Explore Elements, we understand the critical nature of this equipment choice. Every tent in our winter alpine collection undergoes rigorous testing to ensure it performs when conditions are at their worst—because in the mountains, that’s precisely when shelter performance matters most.

