
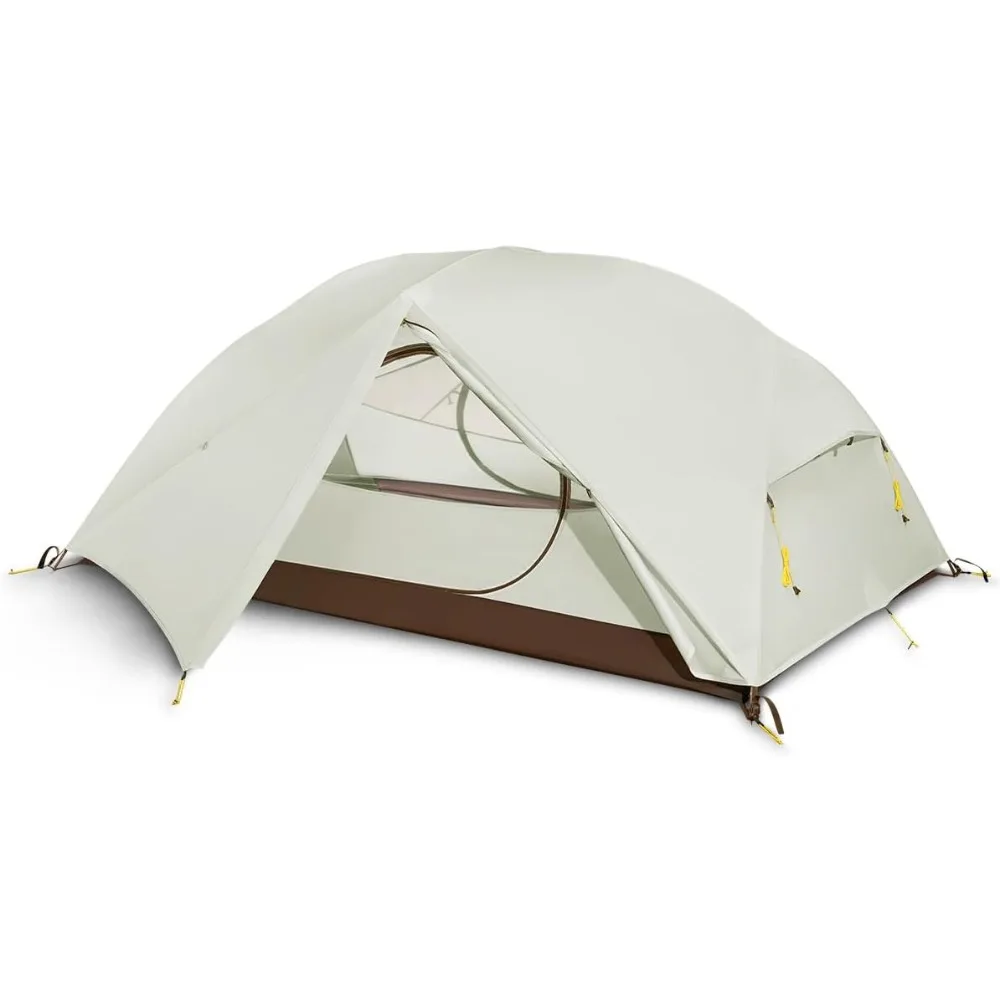
1. What Defines a Freestanding Tent?
A freestanding tent is a shelter that can stand completely on its own without the need for stakes, guylines, or any external support. The key to this self-supporting design lies in its integrated pole system, which creates enough tension throughout the structure to maintain its shape and stability independently.
These tents differ significantly from their counterparts:
- Freestanding tents: Stand completely on their own once assembled
- Semi-freestanding tents: Require minimal staking for full setup, usually for the vestibule areas
- Non-freestanding tents: Completely rely on stakes, guylines, and tension for structure
The magic behind freestanding designs comes from the tension created by bent poles that naturally want to straighten out. When these poles are connected to the tent’s corners and fabric, they create opposing forces that balance each other, resulting in a stable structure.
Historically, tent designs required extensive staking and support, but the development of flexible yet strong pole materials revolutionized camping with freestanding designs that offer remarkable convenience. These innovations made camping accessible on surfaces where traditional stake-dependent tents couldn’t be pitched, such as rocky ground, wooden platforms, or sandy beaches.
The fundamental principles behind freestanding shelters for hikers have remained consistent, though materials and designs continue to evolve for improved performance and versatility.
2. Core Components of Self-Supporting Structures
The Backbone: Pole System
The pole structure serves as the primary skeleton of any freestanding tent, providing the framework upon which everything else depends. Modern pole systems utilize several materials:
- Aluminum (7000 series): Lightweight, durable, and with excellent strength-to-weight ratios. Premium tents often use DAC aluminum poles, renowned for their reliability.
- Fiberglass: More affordable but heavier and less durable than aluminum. Common in entry-level tents.
- Carbon fiber: Ultra-lightweight and strong but expensive. Found in high-end ultralight models.
Typical pole diameters range from 8.5mm to 11mm, with thicker diameters providing more stability for larger tents or those designed for extreme weather.
Critical Connection Points
The effectiveness of a freestanding structure depends heavily on how the poles connect and interact:
- Pole hubs/intersections: Modern tents often employ Y-hubs or X-hubs that connect multiple pole segments, creating complex geometric structures for enhanced stability.
- Corner grommets and pole pockets: These secure the pole ends to the tent corners, creating tension throughout the structure.
- Tension systems: The way poles interact with the tent fabric creates the tension necessary for structural integrity.
Essential Components Beyond the Frame
A complete freestanding tent consists of several key elements working together:
- Inner tent canopy: Typically made of breathable mesh and nylon panels
- Rainfly/outer tent: Waterproof material that provides weather protection
- Floor: Usually made of more durable, waterproof material with taped seams
Understanding the freestanding hiking tents design features helps campers make more informed decisions when selecting equipment for specific outdoor activities.
3. The Science Behind Pole Structure Systems
The self-supporting nature of freestanding tents relies on fundamental physics principles working harmoniously. The core concept involves the balance between tension and compression forces:
When poles are bent and attached to the tent body, they naturally try to straighten, creating compression forces. Simultaneously, the tent fabric and connection points resist this straightening, generating opposing tension. This dynamic equilibrium creates a stable structure without external support.
Different pole configurations create various structural benefits:
- Classic dome (2-pole crossing): The simplest freestanding design where two poles cross at the center, creating a basic dome shape. This provides good headroom at the center with gradually sloping sides.
- Modified dome (3+ pole systems): Additional pole(s) increase interior volume and create more vertical walls for improved livable space.
- Geodesic and semi-geodesic designs: Multiple pole crossings create triangulated structures that excel in stability, making them ideal for extreme weather conditions.
The method of connecting poles to fabric also impacts overall performance:
- Clip systems: Faster to set up, promote better airflow, and create a slight gap between the poles and canopy that improves ventilation.
- Sleeve systems: More stable in high winds as they distribute tension more evenly along the entire pole length.
- Hybrid systems: Combine sleeves at high-stress points with clips elsewhere for balanced performance.
The specific geometry used in dome tent structure represents one of the most effective applications of these engineering principles, offering an excellent balance of stability, interior space, and weight.
4. Key Advantages of Freestanding Designs
1. Versatility Across Difficult Terrain
Freestanding tents excel where other shelters struggle. Their self-supporting nature means they can be pitched virtually anywhere:
- Rocky surfaces where stakes can’t penetrate
- Wooden platforms common at established campsites
- Sandy or loose soil environments where stakes pull out easily
- Frozen ground where staking is nearly impossible
This adaptability makes them particularly valuable for travelers who encounter varied landscapes during their journeys.
2. Enhanced Setup Convenience
The self-supporting nature of freestanding tents offers several practical benefits:
- One-person setup is typically easier since the structure maintains its shape during assembly
- The entire pitched tent can be moved to optimize positioning for views, sun exposure, or terrain features
- Initial setup doesn’t require perfect tension adjustments—the basic structure stands first, allowing refinements afterward
3. Structural Benefits
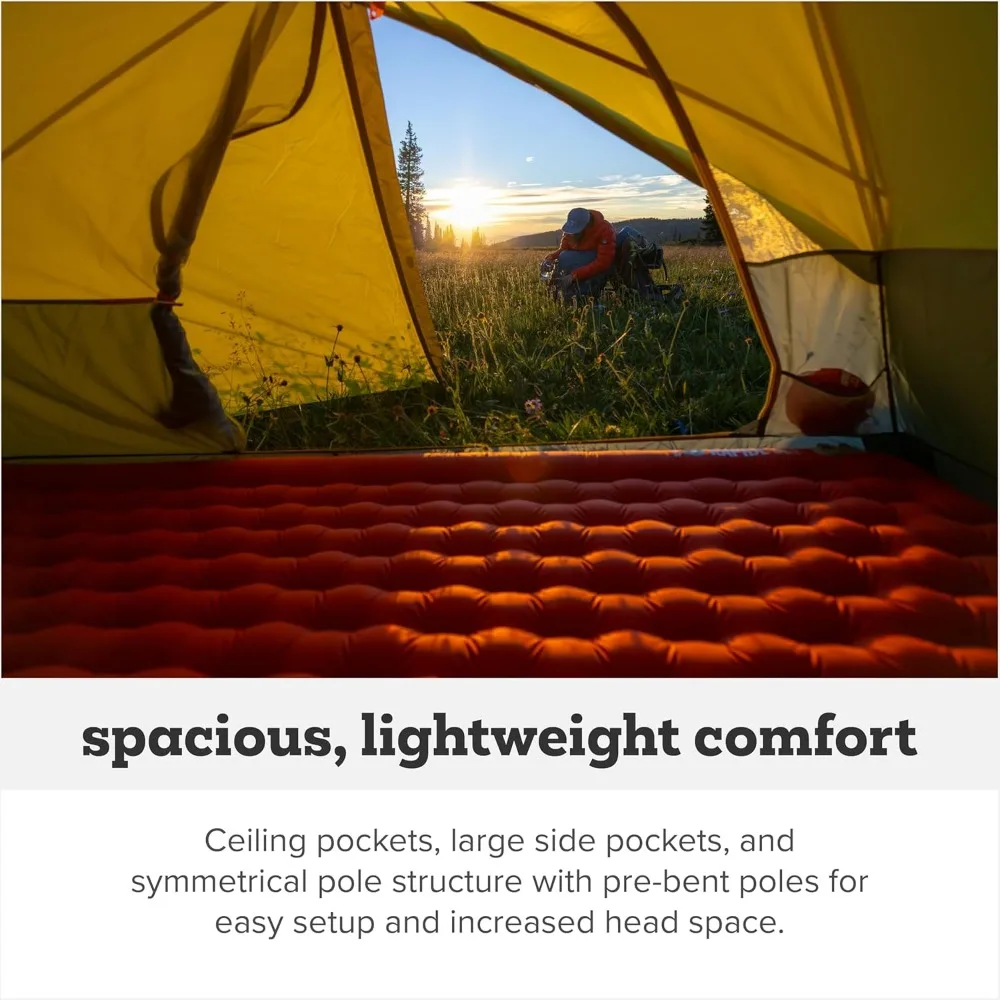
Freestanding designs often provide practical advantages in usability:
- Better interior volume-to-weight ratio than many non-freestanding designs
- More vertical walls create usable space near the tent edges
- Many models allow the use of just the inner tent in dry, bug-heavy conditions
The ongoing debate between freestanding vs. staked hiking shelters continues to highlight these advantages, particularly for users exploring areas with challenging terrain. Those venturing into mountainous areas particularly appreciate how freestanding tents perform on rocky terrain, offering stability where traditional stake-dependent options would fail.
5. Limitations and Considerations
Weight Implications
The self-supporting nature of freestanding tents comes with a trade-off—additional weight:
- The pole structure typically adds 8-16 ounces (227-454 grams) compared to similar non-freestanding designs
- More robust connection points and reinforcement add further weight
- Full double-wall construction, common in freestanding tents, adds weight but improves comfort
This weight difference becomes especially important for backpackers counting every ounce in their pack.
Weather Performance Nuances
Despite being “freestanding,” these tents perform best when properly secured:
- Unstaked freestanding tents can become airborne in moderate to strong winds
- Optimal rainfly tension often requires stakes, especially for vestibule areas
- Guy-out points significantly improve stability but require staking
Remember that “freestanding” refers to the ability to stand without stakes, not that stakes aren’t beneficial for optimal performance.
Packability Concerns
The rigid pole structure creates inherent limitations:
- Minimum packed size is dictated by pole length when folded
- Poles create a bulkier packed shape compared to trekking pole shelters
- Less adaptable packing configurations for fitting into tight spaces
Cost Factors
Manufacturing complexity often leads to higher prices:
- Specialized pole systems require precise engineering and materials
- More components mean more potential failure points requiring quality construction
- Higher material costs for quality poles and connection points
The comparison between freestanding and non-freestanding ultralight tents remains an important consideration for weight-conscious backpackers trying to balance convenience against carrying capacity.
6. Comparing Tent Support Systems: Freestanding vs. Alternatives
| Feature | Freestanding | Semi-Freestanding | Non-Freestanding |
|---|---|---|---|
| Setup Time | Fastest (3-5 minutes) | Moderate (5-8 minutes) | Longest (8-12+ minutes) |
| Weight | Heaviest | Moderate | Lightest |
| Stability in Wind | Good (unstaked) Excellent (staked) | Fair (unstaked) Very Good (staked) | Poor (unstaked) Excellent (staked) |
| Hard Surface Compatibility | Excellent | Good | Poor |
| Packed Size | Largest | Moderate | Smallest |
| Learning Curve | Easiest | Moderate | Steepest |
Performance Analysis
Freestanding tents excel in versatility and ease of use but typically weigh more than their counterparts. They set up quickly, can be moved after pitching, and adapt well to difficult surfaces where stakes might be impossible to use.
Semi-freestanding designs offer a middle-ground approach. They use fewer poles than full freestanding tents but require some minimal staking, usually for vestibules. This reduces weight while maintaining most of the convenience.
Non-freestanding tents (including tarp setups and trekking pole shelters) achieve the lightest weights but require precise staking, careful site selection, and more setup expertise. They excel for ultralight backpacking where weight savings is paramount.
User Suitability Assessment
- Beginners typically benefit from freestanding designs due to their intuitive setup and forgiveness in placement.
- Experienced backpackers often migrate toward semi-freestanding or non-freestanding options as they prioritize weight savings and develop setup skills.
- Wilderness backpackers facing unknown terrain often choose freestanding options for their adaptability.
- Established campground users might prefer freestanding tents for their ease of repositioning and setup on platforms.
Various types of freestanding shelters for hiking cater to different needs, from ultralight solo adventures to family camping trips with more generous space requirements.
7. Popular Freestanding Tent Designs and Configurations
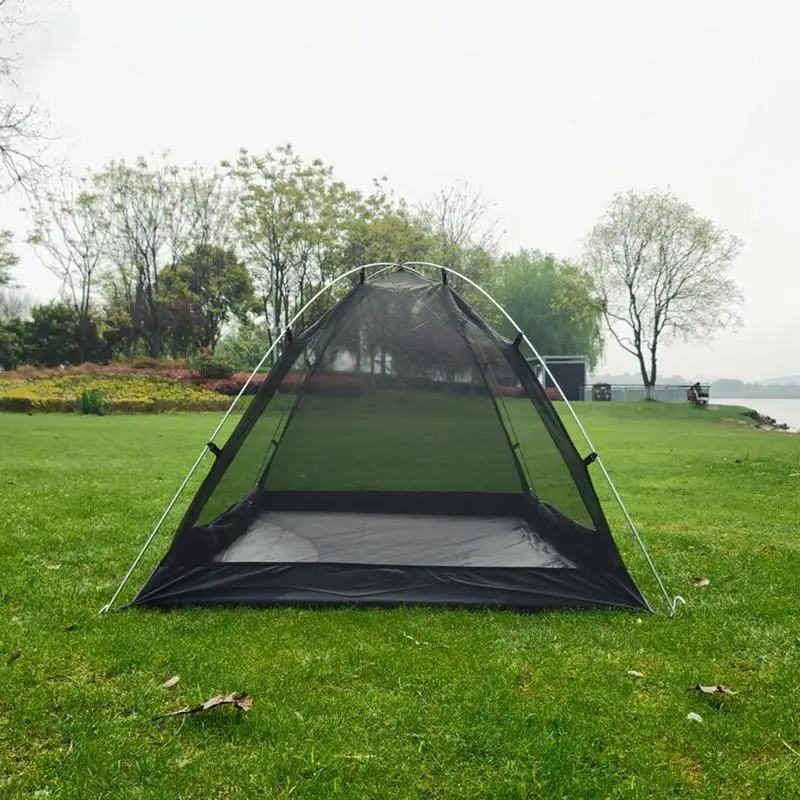
Classic Dome Tent Architecture
The dome tent represents the most recognizable freestanding design, featuring:
- Two poles that cross in the middle, creating a simple self-supporting structure
- Equal height and width dimensions in most models
- Excellent stability-to-weight ratio
- Typically one or two doors, positioned on the sides
- Good wind resistance from all directions due to the curved shape
This design works exceptionally well for 2-3 person tents, balancing interior space with structural efficiency.
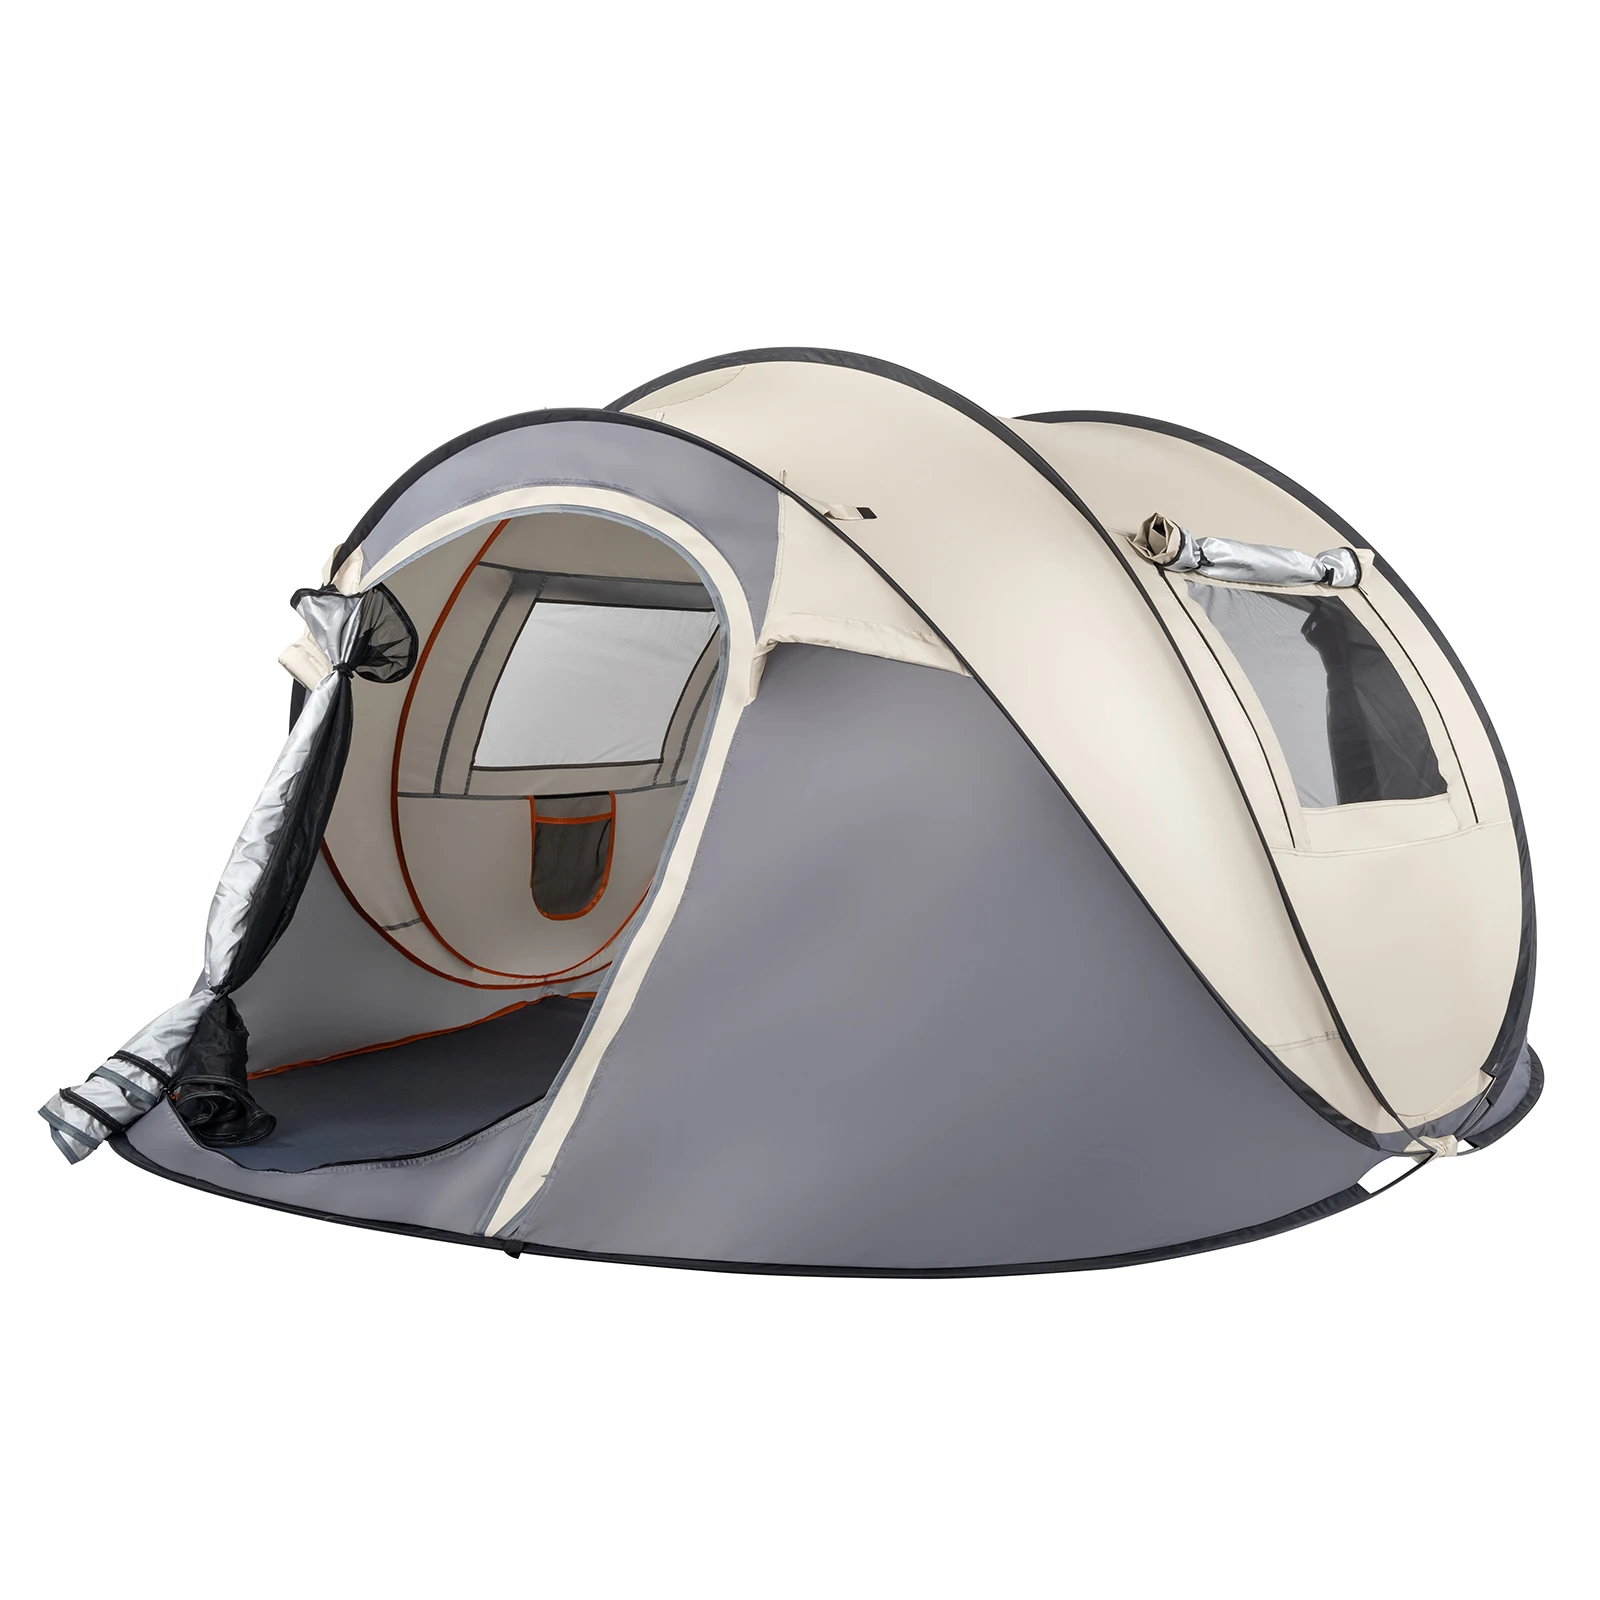
Extended Dome Modifications
Manufacturers have evolved the basic dome with these popular variations:
- Additional ridge poles that create more vertical walls and increased interior volume
- Extended vestibule poles that create protected storage/cooking areas
- Cross-pole systems that add stability and create nearly vertical walls
- Hub-based systems that allow complex pole arrangements for multi-room designs
These modifications maintain the freestanding advantage while addressing the sloping wall limitations of basic dome designs.
Specialized Designs
Several specialized freestanding structures serve specific purposes:
- Geodesic tents: Feature 4+ pole crossings creating triangulated structures for extreme weather resistance
- Cabin-style tents: Use nearly vertical walls with complex pole structures to maximize interior space
- Ultralight freestanding: Minimize pole material while maintaining self-supporting capability
Explore Elements offers various freestanding backpacking tent options, with specialized designs for those focused on minimizing pack weight through ultralight freestanding tent models that don’t sacrifice the convenience of self-supporting structures.
8. Expert Setup Techniques for Freestanding Tents
Preparation Fundamentals
Even before assembly begins, proper preparation ensures the best experience:
- Select a site that’s relatively flat and free from sharp objects
- Clear away debris that might damage the tent floor
- Position the tent with the door facing away from prevailing winds
- Lay out the footprint (if using one) to protect the tent floor
Efficient Assembly Sequence
Follow this optimized sequence for most freestanding tents:
- Lay the tent body flat with floor down
- Assemble all poles completely before insertion
- Insert poles into their designated grommets/pockets
- Attach the tent body to the pole structure using clips or sleeves
- Once the basic structure stands, reposition as needed before staking
- Attach the rainfly, ensuring proper orientation (usually aligning the vestibule with doors)
- Stake out the vestibule and additional guypoints
Optimization Strategies
For maximum performance, these techniques make a significant difference:
- Even though the tent is freestanding, always stake it properly when possible
- Adjust guylines to create proper tension, especially on the rainfly
- Use extra stakes in high-wind conditions, securing all available attachment points
- On uneven ground, position the tent with the head end slightly higher
- For rocky terrain, consider using rocks instead of stakes to secure guylines
Learning to master wind stability in freestanding tents can significantly enhance comfort and safety during challenging weather conditions. For examples of different structures requiring slightly different techniques, explore our collection of dome camping tents that showcase various freestanding designs.
9. Material Considerations for Structural Integrity
Pole Material Selection Criteria
The poles form the critical foundation of any freestanding tent, with material choices significantly impacting performance:
Aluminum Alloys (Typically 7000 series)
– Strength-to-weight ratio: Excellent, providing durability at reasonable weight
– Durability: Resistant to breaking, may bend under extreme pressure before failing
– Repair options: Can be splinted in the field with a repair sleeve
– Cost: Mid to high range, but justified by longevity
– Common in: Premium backpacking tents where weight and reliability matter
Fiberglass
– Strength-to-weight ratio: Fair, heavier than aluminum for similar strength
– Durability: More brittle, prone to splintering when broken
– Repair options: Limited field repair possibilities
– Cost: Lower initial investment, but shorter lifespan
– Common in: Entry-level and car camping tents where weight is less critical
Carbon Fiber
– Strength-to-weight ratio: Superior, the lightest option for given strength
– Durability: Very good though still brittle compared to aluminum
– Repair options: Challenging to repair in the field
– Cost: Highest price point
– Common in: Ultralight specialized tents where price is less important than weight
Fabric Interactions with the Frame
The tent fabric plays a crucial role in the structural integrity:
- Stress points where poles connect to fabric require reinforcement
- Clip systems create discrete points of tension while sleeve systems distribute stress
- The fabric tension itself contributes to overall stability
- Strategic reinforcement panels at high-stress zones prevent tears
Many campers wonder if tent poles are interchangeable when considering repairs or upgrades, an important consideration for maintaining structural integrity over time.
10. Maintenance and Care for Longevity
Framework Care Fundamentals
The pole system requires specific maintenance to ensure longevity:
- Always start unfolding from the center of folded pole segments, working outward
- Never force poles through sleeves; work them through gradually
- Clean dirt from poles before storage to prevent abrasion damage
- Store poles fully assembled when possible to reduce stress on shock cords
- For field repairs, carry a small pole repair sleeve and duct tape
Structural Maintenance Priorities
Regular inspection and maintenance prevent catastrophic failures:
- Check all connection points (grommets, clips, sleeves) for signs of wear
- Test shock cords for elasticity and replace when they become loose
- Reinforce high-stress seams at the first sign of weakness
- Store the tent completely dry to prevent mold and fabric deterioration
- Keep zippers clean and occasionally treat with zipper lubricant
Regular maintenance will significantly extend the life of lightweight backpacking tents, ensuring your investment provides years of reliable service in the backcountry.
11. When to Choose a Freestanding Structure
When are freestanding tents the ideal choice?
For challenging surfaces:
Freestanding tents excel when camping on rocky terrain, wooden platforms, sandy beaches, or frozen ground where stakes are difficult or impossible to use.
For frequent site changes:
If you’re planning to move your tent after initially setting it up (to adjust for sun exposure or find better ground), freestanding designs allow repositioning without complete disassembly.
For convenience priority:
When setup simplicity is more important than absolute minimum weight, the intuitive nature of freestanding tents makes them ideal, especially for newer campers.
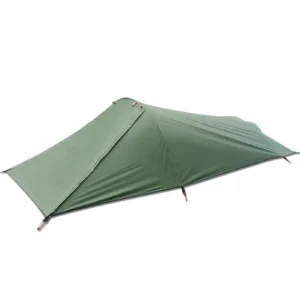

Lightweight Backpacking Tent, Ultralight Backpacking Tent, Ultralight Bivy Tent
Ultralight Single Person Camping Tent with Aluminum Poles for 3-Season Backpacking Waterproof DesignPrice range: $94.88 through $326.82 Select options This product has multiple variants. The options may be chosen on the product page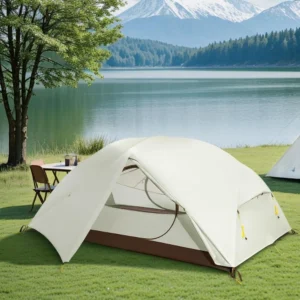
Lightweight Backpacking Tent, Ultralight Backpacking Tent, Waterproof Backpacking Tent
$391.05 Select options This product has multiple variants. The options may be chosen on the product page
Compact Backpacking Tent, Lightweight Backpacking Tent, Waterproof Camping Tent
$335.52 Select options This product has multiple variants. The options may be chosen on the product page
Heavy Duty 4 Season Tent, Ultralight Freestanding Tent, Winter Camping Tent
$3,722.66 Select options This product has multiple variants. The options may be chosen on the product page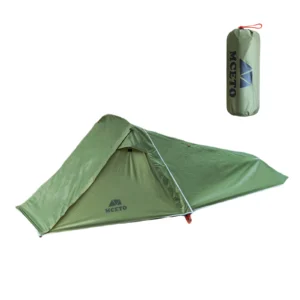
Backpacking Tent with Vestibule, Freestanding Backpacking Tent, Lightweight Backpacking Tent
Price range: $446.89 through $447.22 Select options This product has multiple variants. The options may be chosen on the product page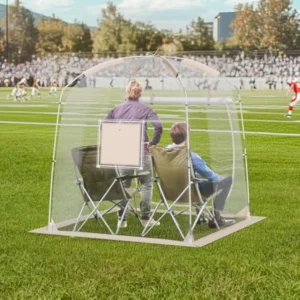
Activity-based considerations
Weekend camping vs. extended backpacking:
For weekend trips, the slight weight penalty of freestanding tents is often worth the convenience. For longer journeys where every ounce matters, semi-freestanding or non-freestanding options might be preferable unless facing challenging terrain.
Weather expectations:
In regions with unpredictable or severe weather, the superior stability of geodesic freestanding designs provides peace of mind. Their ability to withstand high winds and snow loading makes them invaluable for mountain expeditions.
Group size:
Larger freestanding tents often provide more usable interior space thanks to more vertical walls, making them excellent for family camping or those who prioritize comfort.
For comprehensive information about choosing the right shelter for your specific needs, the definitive guide to freestanding shelters provides detailed insights. Those heading into wet conditions should explore waterproof backpacking tent options that combine freestanding convenience with excellent weather protection.
Understanding the fundamental structure of freestanding tents helps campers make informed decisions, balancing factors like weight, setup convenience, and terrain adaptability for their specific outdoor adventures.