
Introduction: Understanding the Rain Protection Challenges of Pop-Up Tents
Pop-up tents have revolutionized camping convenience with their remarkable ease of setup—often taking just 30-60 seconds to deploy compared to the several minutes required for traditional tents. This quick assembly makes them a favorite among campers seeking efficiency. However, a common concern lingers in the minds of outdoor enthusiasts: can these convenient shelters truly keep you dry when rain clouds gather?
The reality is that pop-up tents can indeed provide effective protection from the rain, but their performance depends on several key factors. While they may not match the extreme weather resistance of high-end expedition tents, many quality pop-up models offer surprisingly good protection from wet weather when properly designed and maintained.
Understanding the fundamental elements that contribute to a pop-up tent’s ability to stay dry is essential for both current owners and prospective buyers. These five critical components—waterproof materials, sealed seams, proper design features, correct setup, and regular maintenance—work together to create an effective barrier between you and the elements.
For campers seeking compact options for smaller groups, understanding different shelter options for two campers provides valuable context for making the right choice. Similarly, those specifically looking for weather protection might consider specialized waterproof pop-up tents designed with enhanced rain resistance features.
The Science of Waterproof Tent Fabrics: Materials That Keep Rain Out
The first line of defense against rain is the tent fabric itself. Most modern pop-up tents use either polyester or nylon as their primary material, each with distinct advantages:
- Polyester: More resistant to UV damage, less prone to stretching when wet, and typically more affordable
- Nylon: Lighter weight, more flexible, and often stronger for its weight, but can sag when wet
However, neither material is naturally waterproof. Manufacturers apply various treatments and coatings to transform these fabrics into water-resistant barriers:
Polyurethane (PU) Coatings: This plastic-like layer applied to the inside of the tent fabric creates a waterproof barrier. The thickness of this coating directly affects its water resistance capabilities.
Silicone Coatings: Applied to nylon or polyester (creating SilNylon or SilPoly), silicone treatments generally provide superior waterproofing and longevity compared to PU coatings, but at a higher cost.
DWR (Durable Water Repellent) Treatments: These surface treatments cause water to bead up and roll off the fabric rather than saturating it. DWR works with other waterproofing methods but will wear off over time.
Understanding Hydrostatic Head Ratings
A tent’s waterproof capability is measured using Hydrostatic Head (HH) ratings, expressed in millimeters. This number represents how much water pressure the fabric can withstand before leaking:
- 1000-1500mm: Resistant to light rain
- 2000-3000mm: Handles moderate rain showers
- 3000-5000mm: Good for sustained rainy conditions
- 5000mm+: Excellent protection during heavy downpours
For context, a typical garden hose creates water pressure of about 1000mm. When shopping for a rain-ready pop-up tent, look for a rainfly rated at 3000mm or higher and a floor of at least 5000mm, as ground moisture creates more pressure than falling rain.
Many campers wonder specifically about the waterproof capabilities of these convenient shelters. For a deeper dive into this topic, our article on pop-up tent waterproof performance provides comprehensive information. If you’re specifically looking for a compact option, browsing our collection of two-person pop-up tents will give you an idea of the features available in smaller models.
Essential Design Features That Prevent Water Entry
While waterproof fabrics form the foundation of rain protection, several key design features work together to create a truly dry shelter.
The Rainfly: Your Tent’s Primary Shield
The rainfly is arguably the most important component for keeping your tent dry. It acts as the primary barrier against precipitation.
Full-coverage vs. Partial-coverage: Full-coverage rainflies extend nearly to the ground, offering maximum protection. Partial-coverage versions protect only the roof and perhaps part of the sides, making them lighter but less water-resistant in windy conditions.
For optimal performance, the rainfly should sit at least 1-2 inches (2.5-5cm) away from the inner tent to prevent contact during rain, which could transfer moisture inside.
Sealed and Taped Seams
Seams represent the most vulnerable points for water entry since needle holes from stitching create tiny pathways for water. Quality tents address this through:
Factory-taped seams: A waterproof tape applied over stitching during manufacturing.
Heat-sealed seams: Using heat to bond materials without puncturing with needles.
Even with factory treatments, seams may need occasional maintenance to maintain their waterproof integrity over time.
Bathtub Floor Construction
A “bathtub floor” features sides that curve upward 4-6 inches (10-15 cm) before meeting the tent walls. This design prevents ground water from flowing into the tent, even during heavy rain that causes pooling.
Higher-end pop-up tents use thicker material for the floor (often 5000-10000mm HH rated) since ground moisture applies more pressure than falling rain.
Vestibules and Awnings
These extended areas protect tent entrances, allowing you to:
– Remove wet gear before entering the sleeping area
– Create a dry transition space
– Improve ventilation while still blocking rain
Single-Wall vs. Double-Wall Designs
Most quality pop-up tents use a double-wall design, consisting of an inner breathable tent body and an outer waterproof rainfly. This arrangement creates an air gap that significantly improves condensation management.
Single-wall designs combine these layers, making them lighter and quicker to set up but more prone to condensation issues.
For campers who want to ensure they’re setting up their shelter correctly for maximum weather protection, our guide on mastering two-person lightweight tent setup provides valuable techniques. Those interested in a specific tent style might explore our pop-up dome tent collection, which typically offers good structural stability in rainy conditions.
Condensation vs. Leaks: Solving the Mystery of Interior Moisture
One of the most common disappointments for campers occurs when they discover moisture inside their tent and assume it’s leaking. In reality, condensation is often the culprit—moisture from your breath and body vapor that collects on cool tent surfaces.
How to Distinguish Between Condensation and Leaks
| Condensation | Leaks |
|---|---|
| Forms primarily on ceiling and walls | Usually appears in specific spots |
| Worse in the morning | Occurs during rainfall |
| Even distribution across surfaces | Concentrated near seams or zippers |
| Increases with more people in tent | Present regardless of occupancy |
| Improves with ventilation | Persists despite airflow |
The Critical Role of Ventilation
Proper airflow is the most effective defense against condensation. Quality pop-up tents incorporate:
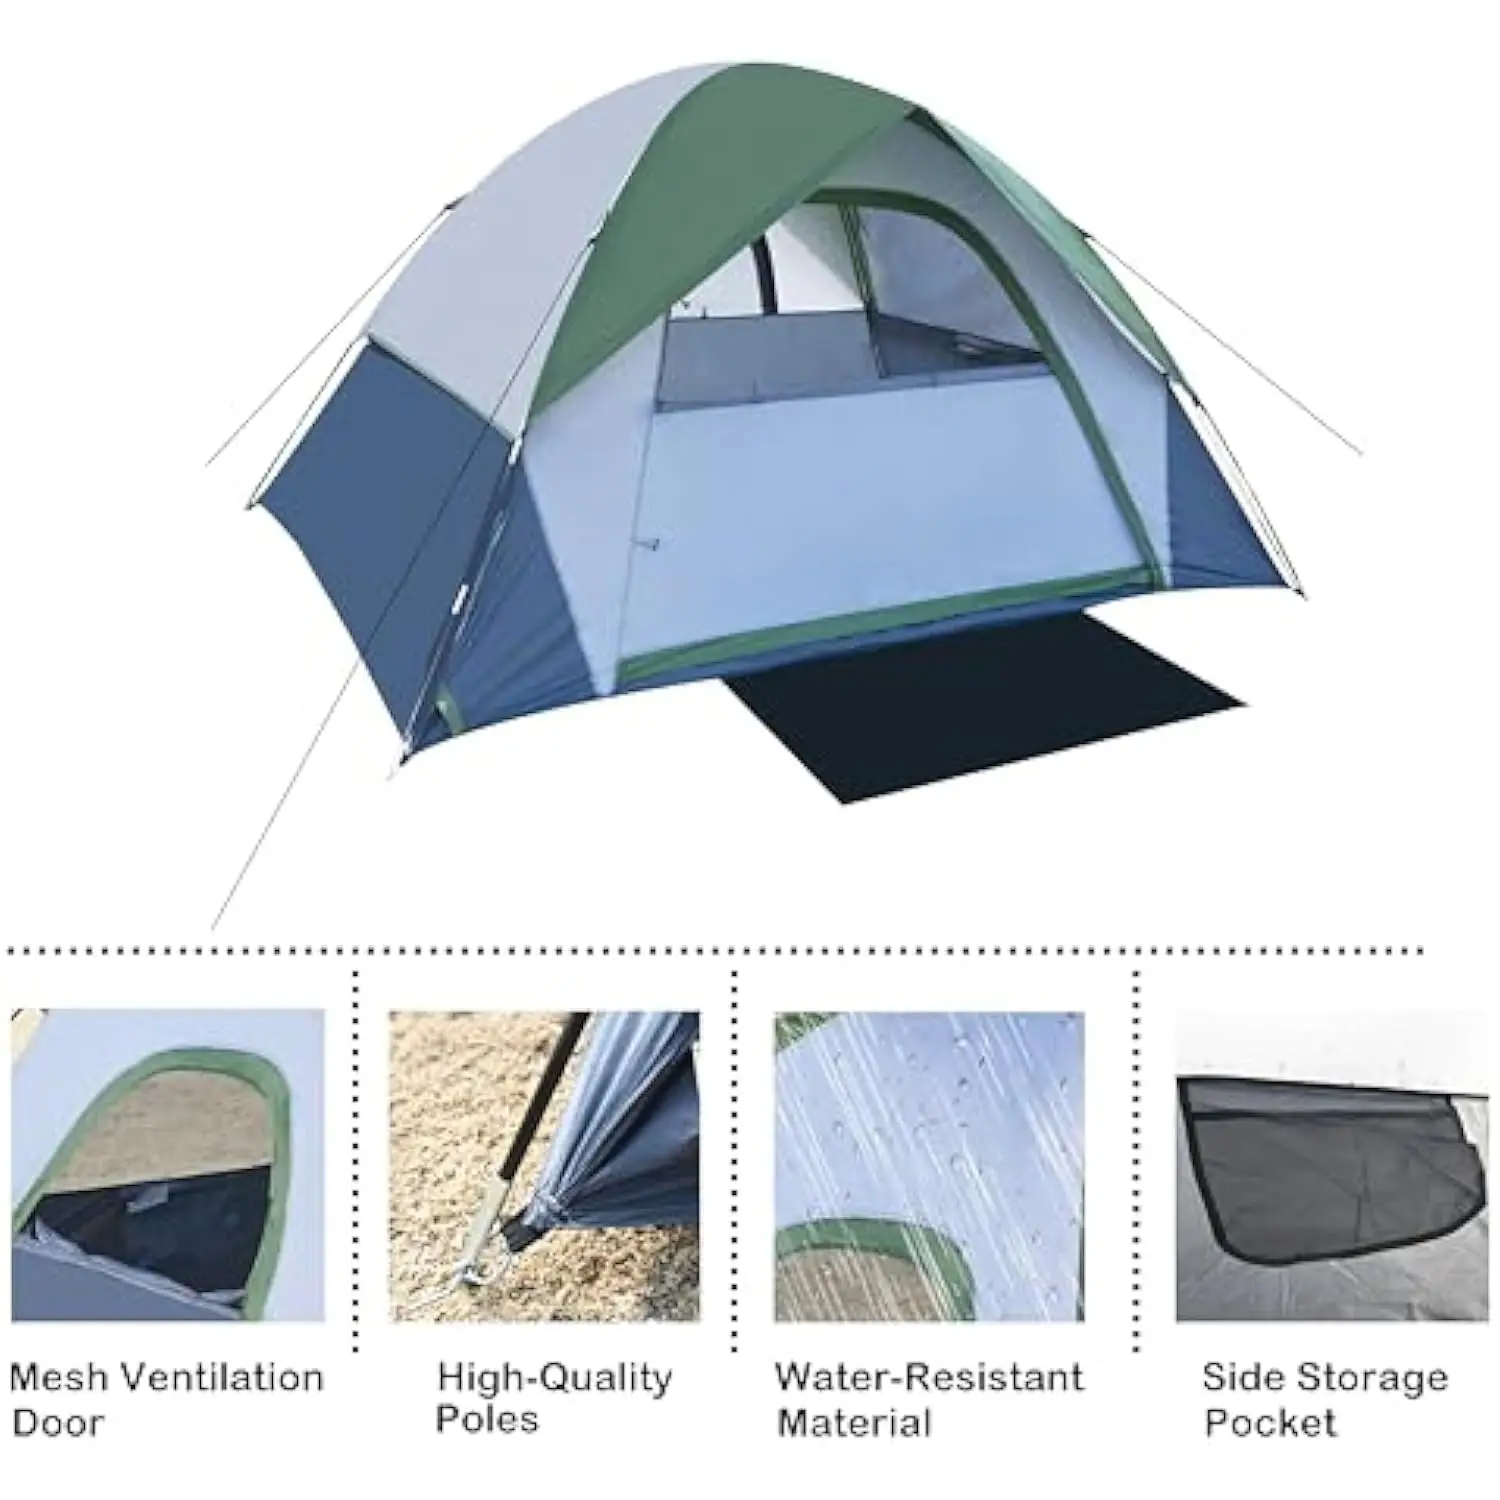
- Mesh panels: Allow moisture to escape while keeping insects out
- Adjustable vents: Positioned to create airflow even during rain
- Door and window placement: Designed to promote cross-ventilation
Practical Strategies to Minimize Condensation
- Open vents as much as weather permits, even in cool conditions
- Avoid cooking or boiling water inside the tent
- Store wet gear in vestibules rather than the main tent area
- Shake out sleeping bags each morning to release trapped moisture
- Consider using a small camping towel to wipe down interior surfaces if condensation forms
Understanding how to manage ventilation is particularly important in smaller tents. For options that balance weight with good ventilation systems, explore our lightweight pop-up tent collection that prioritizes airflow design.

Strategic Site Selection and Setup for Maximum Rain Protection
Even the most waterproof tent can leak if improperly positioned or set up. Taking time to select an appropriate site and properly deploy your pop-up tent significantly improves its rain performance.
Choosing an Optimal Campsite for Wet Conditions
Look for slight elevation: Position your tent on gentle rises where water naturally flows away from, not toward, your tent.
Avoid natural drainage paths: Even dry depressions can become water channels during rain. Stay at least 200 feet (60 meters) from water bodies, which can rise unexpectedly.
Consider natural windbreaks: Trees and bushes can reduce wind-driven rain but beware of falling branches in storms.
Check overhead hazards: Avoid camping under damaged or dead trees that might drop limbs during wet, windy conditions.
Setting Up Your Pop-Up Tent for Rain Resistance
Orient the tent properly: Position the smallest side toward prevailing winds to reduce force against the structure.
Ensure proper tension: Even though pop-up tents self-deploy, adjusting the tension for an evenly taut rainfly is critical for water to shed properly.
Use all guy lines: These external cords maintain proper tent shape and prevent the rainfly from touching the inner tent during wind and rain.
Create drainage channels: In heavy rain, dig small trenches around your tent to direct water flow away from your shelter.
Consider a footprint: A ground cloth cut slightly smaller than your tent floor adds protection but should never extend beyond the tent edges (which would collect water).
For those exploring various shelter types for different weather conditions, understanding different camping shelter options for two can help you choose the right design for your needs. If speed of setup is your priority while still wanting good rain protection, our instant camping tent collection offers solutions that balance quick deployment with weather resistance.
Maintaining Your Pop-Up Tent’s Waterproof Performance
Even the best waterproofing will degrade over time due to UV exposure, physical abrasion, and repeated packing and unpacking. Regular maintenance preserves your tent’s ability to repel water.
Cleaning Procedures That Preserve Waterproofing
- Spot clean with mild soap and cold water
- Never machine wash or dry clean
- Avoid harsh detergents or bleach
- Rinse thoroughly to remove all soap residue
- Allow to air dry completely before storage
Signs Your Tent Needs Re-waterproofing
- Water no longer beads on the surface
- Fabric begins to soak up moisture
- Seam tape is peeling or deteriorating
- Water starts seeping through previously dry areas
Re-waterproofing Techniques
For Fabric:
1. Clean the tent thoroughly and allow it to dry
2. Apply a specialized tent waterproofing spray evenly to the rainfly
3. Pay particular attention to high-wear areas
4. Allow to dry completely before packing
For Seams:
1. Clean seams with rubbing alcohol on a cloth
2. Apply seam sealer appropriate for your tent material (silicone-based for silicone-treated fabrics, water-based for PU-coated fabrics)
3. Use a small brush to ensure even application
4. Allow 24 hours to cure completely
Proper Storage for Longevity
- Always store completely dry to prevent mildew
- Loosely fold rather than stuff when possible
- Store in a cool, dry place away from direct sunlight
- Consider using a breathable storage bag rather than the compressed carry sack
Campers often wonder about appropriate sizing for comfortable rainy-day camping when movement is restricted. Our article addressing whether a 2-person tent is actually big enough helps determine if you’ll have adequate space for extended periods inside during inclement weather.
What to Look for When Buying a Rain-Ready Pop-Up Tent
When shopping for a pop-up tent with serious rain protection in mind, certain specifications and features deserve special attention.
Essential Waterproofing Specifications
• Rainfly HH Rating: Minimum 3000mm for reliable rain protection
• Floor HH Rating: Minimum 5000mm to prevent ground moisture seepage
• Factory-Sealed Seams: Verify that seams come pre-sealed, not just “taped” or “welded”
• Material Quality: Look for ripstop fabrics that prevent small tears from expanding
Design Elements for Enhanced Rain Performance
• Full-Coverage Rainfly: Should extend nearly to the ground on all sides
• Adequate Vestibule Space: At least one protected entry area
• Strategic Vent Placement: Positioned to allow airflow even during rainfall
• Robust Pole Structure: Stronger frames better withstand wind-driven rain
• Quality Zippers with Flaps: Water-resistant or covered zippers prevent leakage
Balancing Quick Setup with Weather Resistance
The fastest pop-up tents (30-second setup) sometimes sacrifice some weather protection features. Consider how you’ll primarily use the tent—if rain protection is your top priority, you might opt for a pop-up tent that takes slightly longer to set up (1-2 minutes) but offers better weather resistance.
Price Considerations
While budget options exist, truly waterproof pop-up tents typically range from $80-$300. The higher price points generally reflect:
– More durable waterproof coatings
– Better quality control in manufacturing
– Stronger materials and components
– More comprehensive waterproofing features
For hikers seeking specific recommendations for lightweight waterproof options, our guide to top waterproof pop-up tents for hiking provides targeted suggestions. Campers looking for the ideal balance between quick setup and protection might explore our easy-setup camping tent collection.
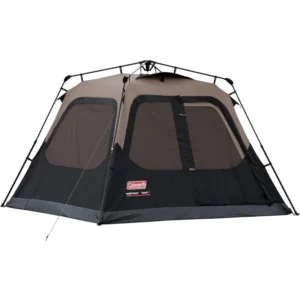

Easy Setup Camping Tent, Instant Camping Tent
Instant Cabin Tent Double Layer Canvas 1-Minute Setup Spacious Family Camping Shelter with Air Vents$308.10 Select options This product has multiple variants. The options may be chosen on the product page
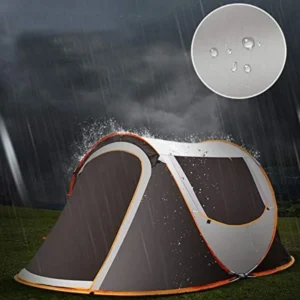
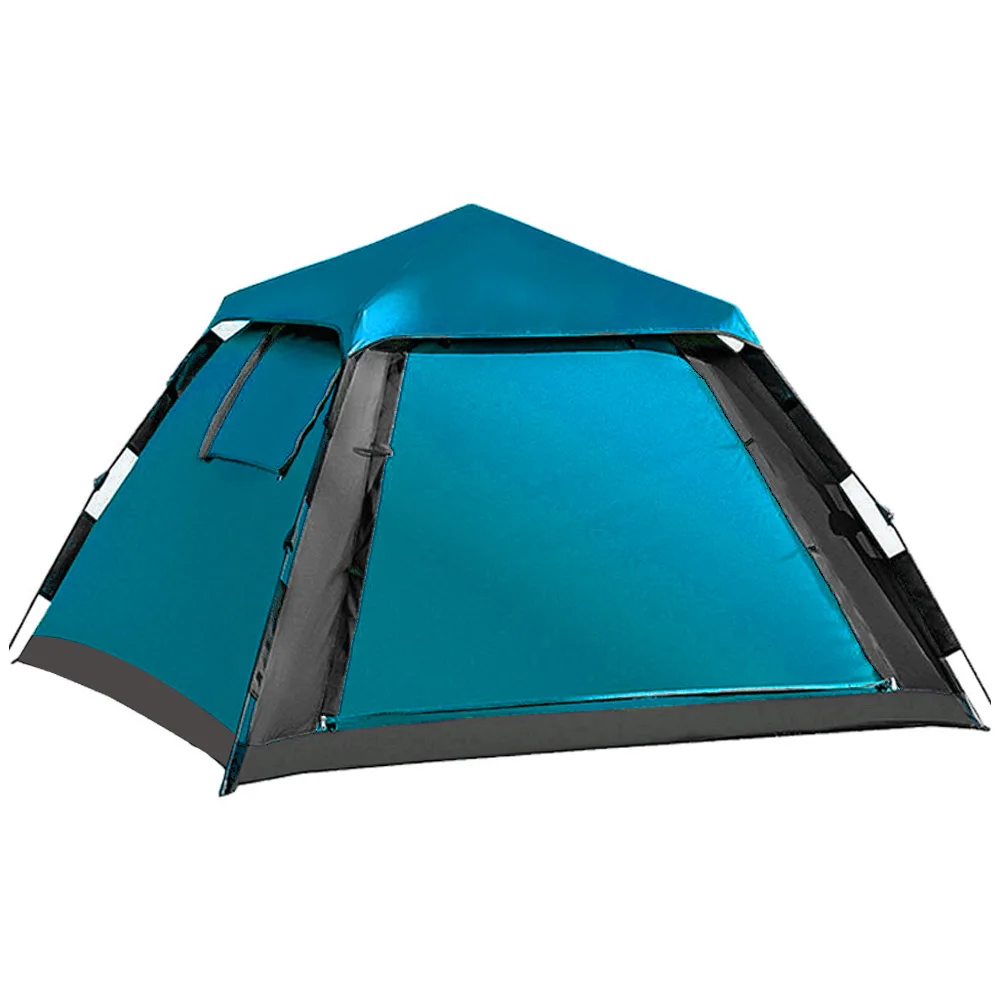
Pop Up Dome Tent, Waterproof Pop Up Tent
$218.89 Select options This product has multiple variants. The options may be chosen on the product page $633.01 Select options This product has multiple variants. The options may be chosen on the product page
Easy Setup Camping Tent, Trekking Pole Backpacking Tent
$142.40 Select options This product has multiple variants. The options may be chosen on the product page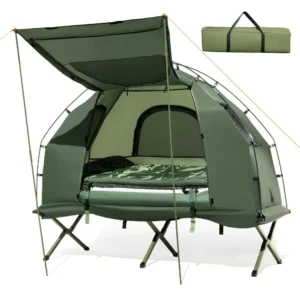
Easy Setup Camping Tent, Waterproof Camping Tent
All-in-One Elevated 1-Person Camping Tent Cot with Integrated Sleeping System for Outdoor Adventures$535.16 Select options This product has multiple variants. The options may be chosen on the product page
Quick Fixes for Common Rain Issues During Your Camping Trip
Even with the best preparation, unexpected rain situations may arise. Here are solutions to common problems:
Q: What can I do if I discover a leak during a rainstorm?
A: For an emergency fix, use clear tape, seam sealer, or even duct tape on the outside of the rainfly where water is entering. Apply when the surface is as dry as possible, possibly during a break in the rain. For seams, waterproof silicone-based adhesives provide a more durable temporary solution.
Q: My tent floor is starting to let in moisture. What now?
A: First, check if you’re on low ground where water is pooling. If possible, relocate to higher ground. If not, create drainage channels around your tent to direct water away. Inside, use a tarp as an additional floor layer and elevate sleeping pads and gear with available items.
Q: How can I handle wind-driven rain coming under my rainfly?
A: Lower the height of your tent by adjusting poles if possible. Add extra guy lines to pull the rainfly closer to the ground on the windward side. In a pinch, secure the rainfly edges with rocks or gear to minimize gaps.
Q: Everything inside is getting damp from condensation. Help!
A: Increase ventilation immediately, even if it seems counterintuitive during rain. Wipe down interior surfaces with a camp towel. Move wet items to vestibules or waterproof bags. If possible, briefly open tent doors/windows during breaks in the rain to allow fresh air exchange.
Q: When should I abandon my tent for safety?
A: If you experience rising water, nearby lightning strikes, or extremely high winds that threaten the tent’s structural integrity, it’s time to seek more substantial shelter. Your vehicle, a camping shelter, or other solid structures are preferable to riding out severe weather in a compromised tent.
For a broader understanding of the advantages these shelters offer despite weather challenges, our article on the benefits of pop-up camping tents provides comprehensive context about their overall value to campers.
Conclusion: Enjoying Dry Camping Adventures with Your Pop-Up Tent
Pop-up tents can indeed provide effective protection from rain when you understand the five key elements that contribute to their waterproof performance. The combination of quality waterproof materials, essential design features like full-coverage rainflies and bathtub floors, proper ventilation management, strategic site selection and setup, and regular maintenance creates a reliable shelter system capable of keeping you dry in most rain conditions.
While no tent can guarantee absolute dryness in extreme weather, the convenience of pop-up designs no longer means sacrificing adequate protection from the elements. By applying the knowledge from this guide, you can select, set up, and maintain a pop-up tent that delivers both the quick deployment you desire and the weather protection you need.
At Explore Elements, we believe that understanding your gear empowers you to make the most of your outdoor adventures. With the right preparation and knowledge, your pop-up tent can be a trustworthy companion through many rainy camping trips, allowing you to stay comfortable and enjoy the unique beauty that comes with camping in all weather conditions.