

Essential Preparation: Before You Head Out
Before heading into the wilderness with your lightweight two-person tent, proper preparation is crucial for a stress-free camping experience. Understanding your equipment and practicing at home can make the difference between a smooth setup and a frustrating ordeal when you’re tired from hiking all day.
A typical lightweight two-person tent consists of several key components:
- Tent body (the main shelter with mesh and fabric)
- Rainfly (the waterproof outer layer)
- Poles (usually aluminum or carbon fiber)
- Stakes (for securing the tent to the ground)
- Guylines (cords that add stability)
- Footprint (optional ground cloth that protects your tent floor)
Knowing whether you have a freestanding tent (stands up on its own) or a non-freestanding tent (requires stakes to stand) significantly impacts your setup approach. Trekking pole tents, which use your hiking poles instead of dedicated tent poles, require even more specific knowledge.
Taking time to understand shelter options for two campers helps you make better decisions about setup locations and methods. Most experienced campers recommend practicing your setup at home before your trip. Time yourself to get a realistic idea of how long it takes, and create a mental checklist of the steps involved.
Don’t forget to check that all components are present before your trip. Many lightweight backpacking tents come with the bare minimum of stakes needed, so consider packing extras along with a small repair kit containing tape and an extra pole section.
Selecting the Ideal Campsite
Finding the perfect spot to pitch your tent is a crucial first step that impacts comfort, safety, and the difficulty of your setup process.
Level Ground and Site Preparation
Look for level ground whenever possible, as sleeping on a slope can lead to an uncomfortable night with blood rushing to your head or feet. Before setting up, remove rocks, pinecones, sticks, and other debris that could damage your tent floor or create uncomfortable bumps.
Water Management
Avoid setting up in low-lying areas where water might collect during rainfall. Inspect the area for natural drainage patterns – signs of previous water flow like small channels or compressed vegetation are red flags. A good rule is to maintain at least 200 feet distance from water sources to prevent contamination and avoid areas that might flood.
Wind Considerations
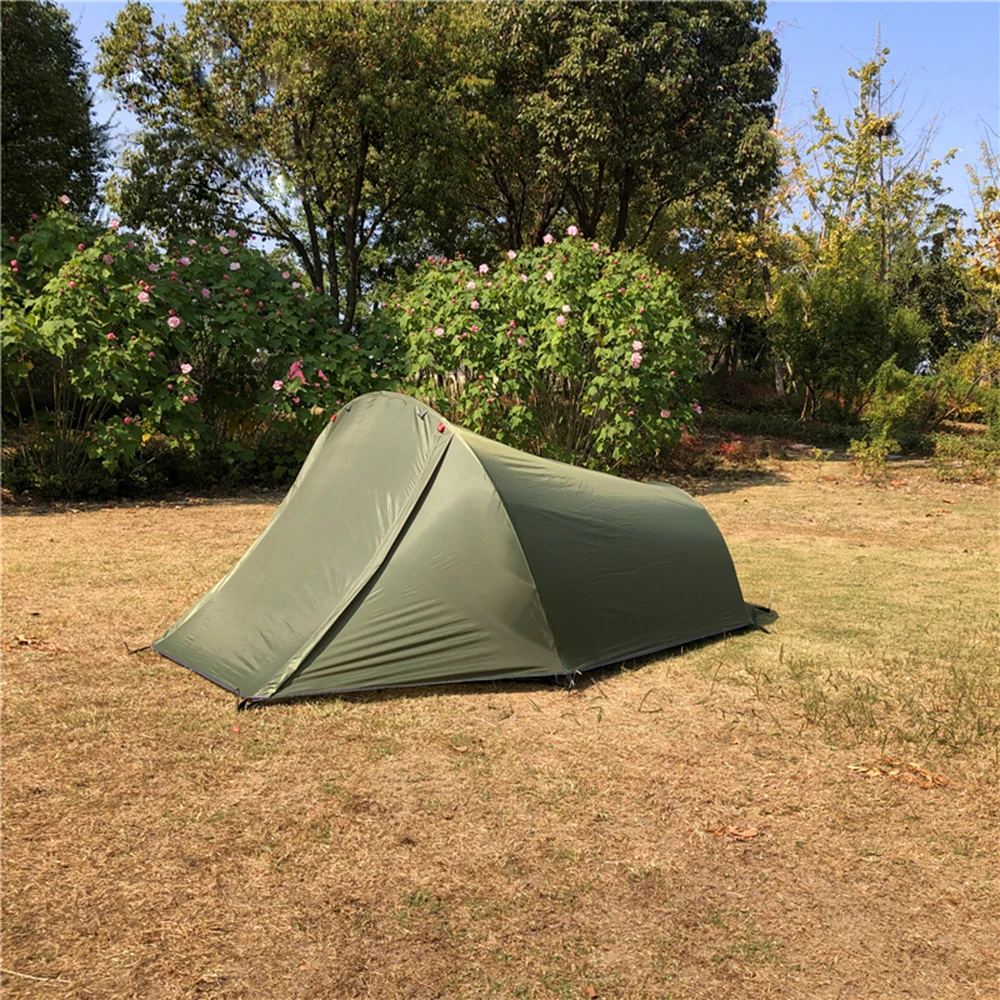
Use natural windbreaks like boulders, trees, or terrain features to shield your tent. When possible, position the narrower end of your tent facing the prevailing wind direction to reduce resistance. This technique is especially important for compact camping shelters for forest hiking, where wind patterns can change dramatically through tree canopies.
Safety Assessment
Always look up! Hanging branches (sometimes called “widowmakers”), dead trees, or unstable rocks pose serious hazards. Consider wildlife patterns and avoid setting up on game trails or near signs of animal activity.
Leave No Trace
Choose durable surfaces like established campsites when possible. Avoid fragile vegetation and stay on designated areas in popular camping zones. Remember that good campsite selection demonstrates respect for nature and future campers.
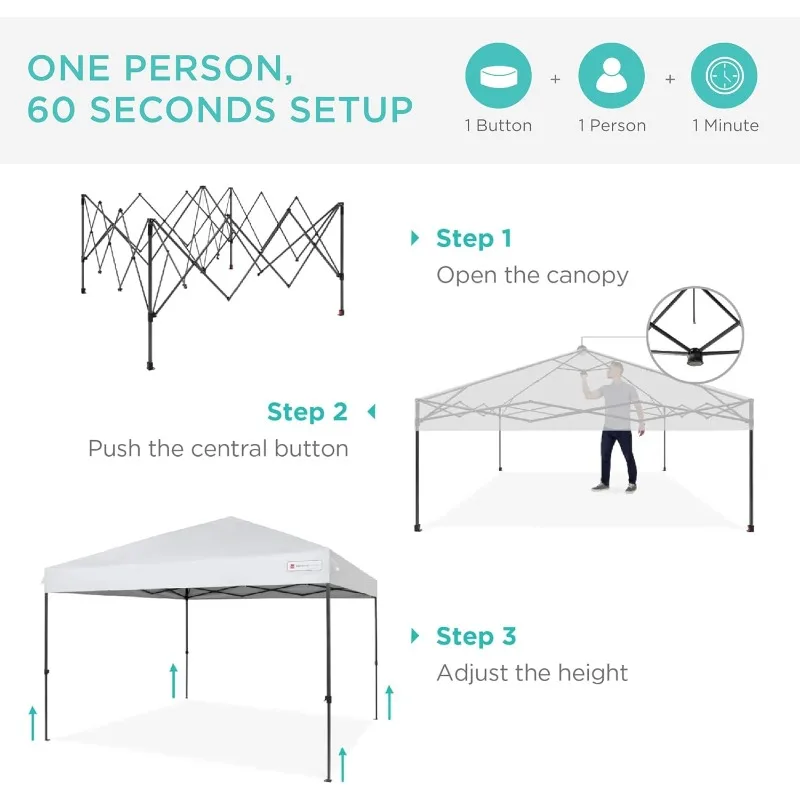
Step-by-Step Setup Process
Setting up your lightweight two-person tent efficiently requires a systematic approach. Follow these steps for a smooth, frustration-free experience:
Final Site Check: Before unpacking, confirm your chosen spot is level, debris-free, and safely positioned.
Organize Your Gear: Lay out all components where you can easily see them—tent body, rainfly, poles, stakes, and guylines. This prevents losing small items in grass or dirt.
Position the Footprint: If using one, place your footprint (ground cloth) exactly where you want your tent, making sure it doesn’t extend beyond the tent edges where it could collect water.
Assemble the Poles: Connect pole sections carefully, allowing them to snap together naturally. Forcing them can damage the shock cord or splinter the poles. For complex pole structures, lay them out in their final configuration to visualize how they’ll connect.
Attach Poles to Tent Body: Most modern freestanding backpacking tents use either pole clips or sleeve systems. For clip systems, attach the body starting from one end and working systematically to the other. For sleeves, carefully thread poles through without forcing them.
Stake the Tent Body: Insert stakes at a 45-degree angle away from the tent for maximum holding power. Start with opposite corners to help square the tent properly, then add remaining stakes.
Apply the Rainfly: Orient the rainfly by identifying the front (usually marked by a logo or vestibule). Drape it evenly over the tent, making sure seams align with the poles underneath.
Secure Vestibules and Attach Guylines: Stake out vestibules for maximum space, then attach essential guylines to provide stability and create proper airflow between the tent body and rainfly.
Make Final Adjustments: Walk around the tent adjusting tension evenly. The rainfly should be taut but not so tight that it strains seams or zippers. Check that the tent body isn’t sagging anywhere.

Lightweight Backpacking Tent, Ultralight Backpacking Tent, Ultralight Bivy Tent
Ultralight Single Person Camping Tent with Aluminum Poles for 3-Season Backpacking Waterproof DesignPrice range: $94.88 through $326.82 Select options This product has multiple variants. The options may be chosen on the product page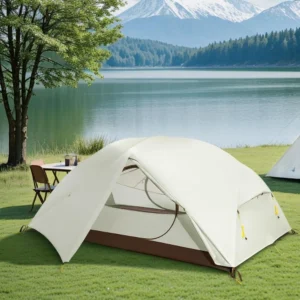
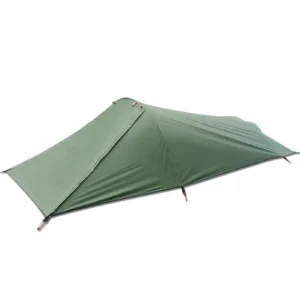
Lightweight Backpacking Tent, Ultralight Backpacking Tent, Waterproof Backpacking Tent
$391.05 Select options This product has multiple variants. The options may be chosen on the product page
Compact Backpacking Tent, Lightweight Backpacking Tent, Waterproof Camping Tent
$335.52 Select options This product has multiple variants. The options may be chosen on the product page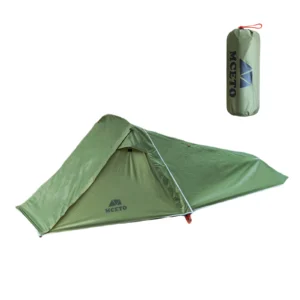
Backpacking Tent with Vestibule, Freestanding Backpacking Tent, Lightweight Backpacking Tent
Price range: $446.89 through $447.22 Select options This product has multiple variants. The options may be chosen on the product page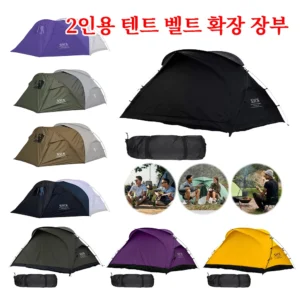
Backpacking Tent with Vestibule, Trekking Pole Backpacking Tent, Waterproof Camping Tent
Price range: $271.99 through $519.52 Select options This product has multiple variants. The options may be chosen on the product page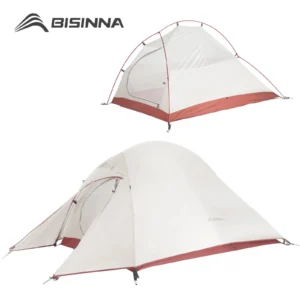
Lightweight Backpacking Tent, Trekking Pole Backpacking Tent, Ultralight Backpacking Tent
$459.47 Select options This product has multiple variants. The options may be chosen on the product page
Adapting to Different Conditions
Your tent setup needs to adapt to the environment you’re camping in. These situation-specific techniques will help ensure comfort and safety in varying conditions.
Strong Wind Setup
- Position the tent with the smallest side facing the prevailing wind
- Use all available guylines, not just the corners
- Double-stake critical anchor points using a V-configuration
- Lower your tent profile by adjusting pole configurations if your model allows
- Use natural windbreaks whenever possible
Rainy Conditions
- Set up the rainfly first if your tent design allows for a “fly first” pitch
- Work quickly and methodically to minimize water entering the tent
- Tighten all guylines to prevent rainfly-to-tent contact that can lead to leaks
- Angle vestibule doors away from wind to prevent rain blowing inside
- Consider digging small trenches around the tent if heavy rain is expected (fill them in before leaving)
Difficult Terrain Adaptations
On rocky ground, use rocks to secure guylines instead of stakes. For sandy areas, use specialized sand stakes or bury regular stakes horizontally in the sand like a “dead man’s anchor.” Many lightweight tents for extended hikes include adaptable staking options designed for varied terrain.
Temperature Considerations
In hot weather, maximize ventilation by extending vestibules and setting up in shaded areas with natural breeze. In cold conditions, reduce ventilation and look for sheltered locations that protect from wind chill.
Troubleshooting Common Setup Problems
Even experienced campers encounter tent setup challenges. Here’s how to handle the most common issues:
Pole Problems
Broken Section: Use a repair sleeve (small tube that slides over the break) as a splint. No repair sleeve? A tent stake taped alongside the break can work temporarily.
Tension Issues: If poles seem too tight or too loose, disassemble and check that you have the correct poles in the right places. Forcing poles can damage both poles and tent fabric.
Uneven or Sagging Rainfly
An uneven rainfly creates pools that collect water and strain fabric. Loosen all attachment points, reposition the rainfly for even coverage, then systematically tighten each point, starting from opposite corners.
Stake Problems
Pulling Out: Try angling stakes away from the tent at 45 degrees instead of vertically. For soft ground, place a rock or flat piece of wood under the stake head to distribute pressure.
Bending: Use a rock to help drive stakes into hard ground rather than stomping on them, which can bend the shaft. Consider upgrading to stronger stakes for rocky areas.
Understanding the proper sizing requirements for two people helps maintain correct tension throughout your tent, preventing many common setup issues.
Guyline Mastery and Weather Protection
Guylines are often the most underutilized feature of lightweight tents, yet they dramatically improve stability and weather resistance when used correctly.
Proper guyline attachment starts with identifying all attachment points on your tent – most quality tents have multiple guyline loops positioned strategically around the rainfly. For maximum stability, prioritize corners and midpoint attachments, especially those that align with internal pole structures.
The ideal tension for guylines should be taut enough to prevent flapping but not so tight that it distorts the tent shape. A helpful rule of thumb: if you can pluck the guyline and it produces a low musical note, the tension is about right.
Two essential knots every camper should know:
- Taut-line hitch: Creates an adjustable loop that holds tension and can be easily adjusted
- Trucker’s hitch: Provides mechanical advantage for creating extremely tight lines
For windy conditions, use a triangulation technique by angling guylines away from the tent at different directions rather than straight out. This creates multiple anchor points that resist wind from any direction.
Choosing waterproof backpacking tents with well-designed guyline systems can significantly enhance your weather protection capabilities, particularly in unpredictable mountain environments.
Efficiency Tips from Experienced Campers
Skilled campers have developed numerous techniques to streamline the tent setup process through years of experience.
For two-person setups:
– Assign specific roles based on strengths (one person handles poles while the other manages stakes)
– Work from opposite ends to maintain even tension
– Develop verbal shorthand for quick communication (“stake ready,” “tension check”)
When setting up solo:
– Connect all pole sections on the ground before inserting into tent attachments
– Use your pack or a tree to hold one end while you secure the other
– Create a consistent order of operations you follow every time
Organization makes a tremendous difference in setup efficiency. Keep all small components like stakes and guylines in bright-colored bags to prevent losing them. Color-coding can help identify which components go where, especially helpful when finding your perfect space-saving tent for two.
Most experienced campers can set up a lightweight two-person tent in under 5 minutes in good conditions, while beginners might take 15-20 minutes. Regular practice dramatically improves speed and reduces frustration.
Post-Setup Optimization and Comfort
Once your tent is standing, several adjustments can significantly improve your camping experience.
Start by checking the tent floor tension. A properly tensioned floor lies flat without wrinkles, which prevents water pooling and uncomfortable pressure points. If needed, adjust stake positions to remove any floor bunching.
Optimizing vestibule space transforms your camping experience. Create a “mudroom” area in the vestibule nearest the door for dirty shoes and wet gear. Use the outer edges of vestibules to store packs and cooking equipment, keeping them accessible but protected.
For ventilation management:
– In dry conditions, open all vents completely
– In light rain, keep top vents open but protect side vents
– In heavy rain, position the rainfly vents downwind while maintaining some airflow
The space between your rainfly and tent body is critical for preventing condensation. Maintain at least 1-2 inches of separation throughout. Models with specialized backpacking tent vestibules provide additional storage while maintaining proper airflow.
Small comfort enhancements make a big difference. Position headlamp pockets toward the head of your sleeping area and use internal gear loops to hang clothing or small items that need drying.
Quick Takedown and Proper Storage
Breaking down your tent properly is just as important as setting it up correctly.
- Remove all personal items and shake out any debris from the interior
- If weather permits, allow the tent to dry before packing
- Remove stakes first, clean off dirt, and store in their dedicated bag
- Detach guylines or secure them to prevent tangling
- Remove the rainfly, fold it separately from the main tent body
- Disassemble poles carefully, starting from the middle and working outward
- Fold the tent body rather than stuffing it (unless manufacturer specifically recommends stuffing)
The folding vs. stuffing debate continues among outdoor enthusiasts, but most tent manufacturers now recommend folding as it creates fewer stress points and creases in the same places. However, occasionally changing your folding pattern prevents permanent creases from forming.
For proper tent packing techniques, fold your tent to roughly the width of your stuff sack, then roll it tightly with poles and stakes in the center to create an even cylinder that slides easily into the storage bag.
Most complete tent takedowns should take 5-10 minutes. Never pack a wet tent for more than a few hours if avoidable, as mildew can develop quickly and damage waterproofing and fabrics.
Essential Gear and Upgrades for Easier Setup
While most tents come with everything needed for basic setup, a few affordable upgrades can dramatically improve the experience:
- Premium stakes: Lightweight aluminum Y-stakes or shepherd’s hooks offer better holding power than basic stakes
- Reflective guylines: Make nighttime adjustments safer and prevent tripping hazards
- Footprint: Protects your tent floor from abrasion and moisture
- Seam sealer: Refresh waterproofing on key seams before major trips
- Lightweight hammer or stake mallet: Makes stake placement easier in hard ground
For specialized environments, consider trekking pole backpacking tents that eliminate the need for dedicated poles, saving weight and simplifying setup once you master the technique.
When considering accessories, remember that each additional ounce matters in backpacking. Focus on multi-purpose items like quality stakes that work in various terrains rather than terrain-specific options that might see limited use.
Summary: Your Tent Setup Checklist
- Select level, debris-free site away from hazards
- Layout all components before beginning
- Stake corners at 45° angle for maximum hold
- Ensure even pole tension throughout the structure
- Apply rainfly with proper alignment to tent body
- Secure and adjust all guylines for stability
- Check overall tension and symmetry before finalizing
- Verify all stakes are secure and properly angled
- Confirm ventilation points are appropriately configured